
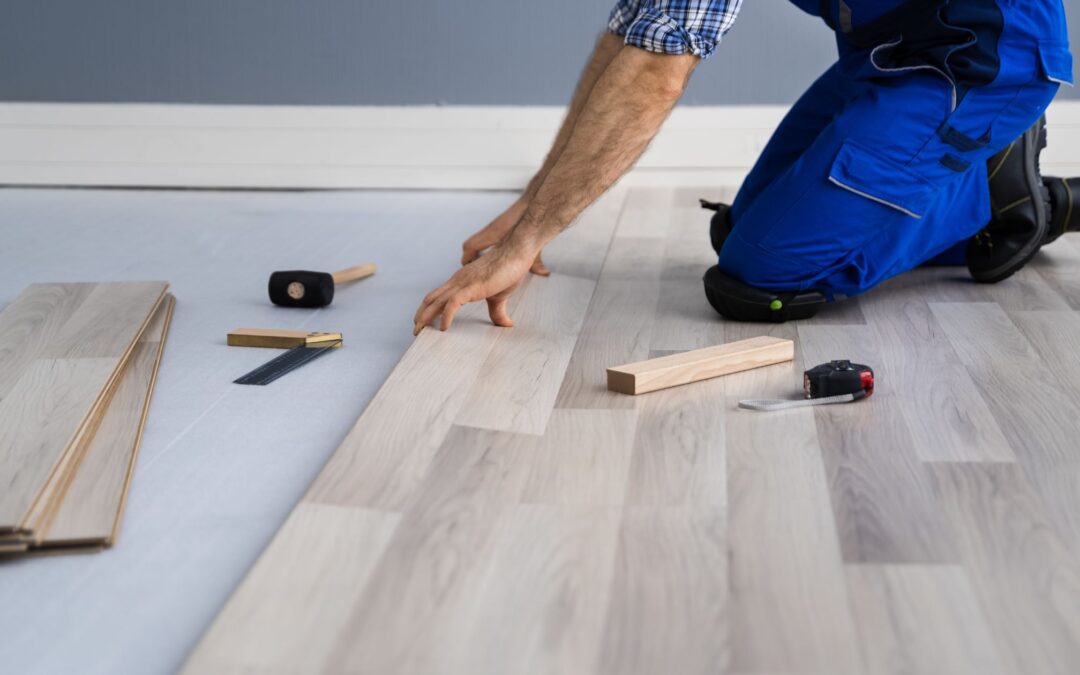
Installing new flooring can completely change the appearance and function of your home. Whether you’re replacing worn carpet, updating a kitchen, or choosing flooring for an entire house, the materials you select and how they’re installed will influence the final result. Understanding the flooring installation process helps you plan your project, avoid common mistakes, and choose a surface that works for your household.
Homeowners in Medford and throughout Southern Oregon have several flooring options to consider, including luxury vinyl plank, laminate, ceramic tile, and hardwood. Each material offers different advantages in appearance, moisture resistance, durability, and maintenance. Installation requirements also vary, which is why selecting the right product involves more than comparing colors and finishes.
This guide covers the essentials of residential flooring installation, from preparing your subfloor and comparing materials to understanding installation techniques and deciding whether to hire a professional. You’ll also find information about flooring for pets and families, current design considerations, and what to expect when requesting an installation estimate.
What to Know Before Starting a Flooring Installation Project
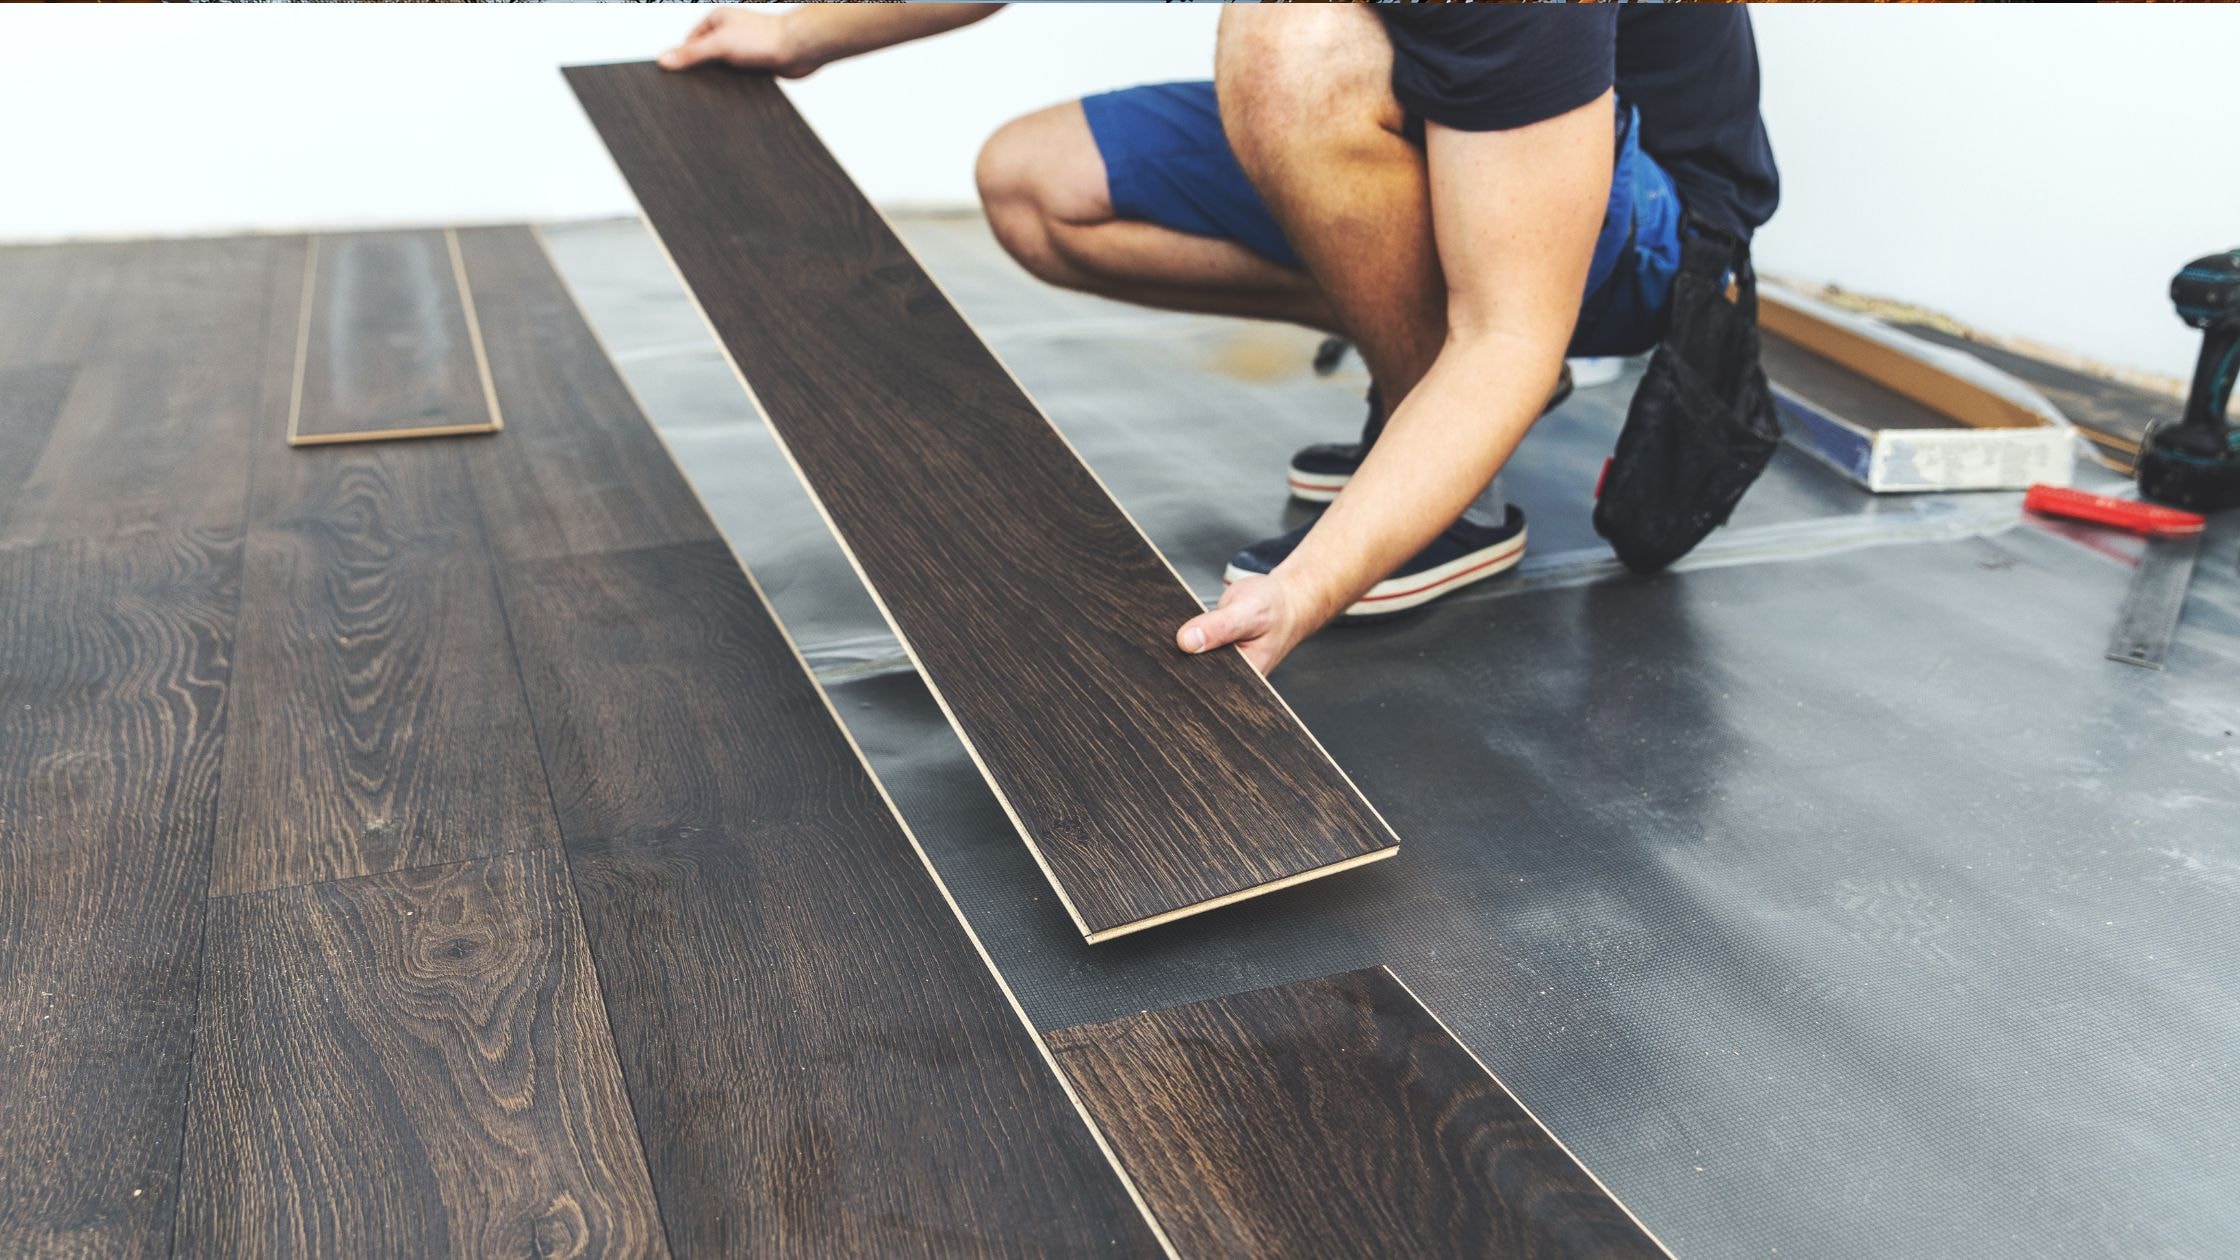
A successful flooring installation begins well before the first plank or tile is laid. Measuring the space, inspecting the existing floor, and understanding the installation requirements of your selected material can prevent delays and unexpected problems.
Start by measuring the length and width of each room to calculate the total square footage. Because walls aren’t always perfectly straight and flooring must be cut around obstacles, you’ll usually need more material than the exact room dimensions indicate. Ordering approximately 10% extra is a common starting point, although complex layouts, diagonal patterns, and certain materials may require additional waste allowance.
The next consideration is the condition of the existing subfloor. Loose boards, uneven surfaces, moisture problems, and damaged materials should be addressed before installing new flooring. Covering these issues rather than correcting them can lead to premature wear, movement, cracking, or failure.
It’s also important to consider how new flooring will connect with surrounding rooms. Doorways, stairways, cabinets, and existing flooring transitions may affect material selection and installation methods. Planning these details early helps create a consistent appearance throughout your home.
Professional flooring installers can evaluate these conditions before work begins and explain which materials and installation techniques are appropriate for the space.
How to Install Vinyl Plank Flooring: A Step-by-Step Overview
Luxury vinyl plank flooring is a popular choice for homeowners who want the appearance of hardwood with relatively simple maintenance and improved moisture resistance. Available in numerous colors and wood-inspired designs, vinyl plank flooring works well in many kitchens, living areas, bedrooms, and other residential spaces.
Many modern vinyl products use click-lock installation systems. These planks connect through interlocking edges to create a floating floor, meaning the flooring rests over the subfloor without being permanently glued or nailed down. However, not every vinyl product uses the same installation method, so manufacturer instructions should guide the process.
Preparing the Subfloor for Vinyl Plank Installation
Proper preparation is one of the most important parts of installing vinyl plank flooring. Begin by evaluating the existing surface for loose materials, movement, uneven areas, and moisture-related problems. Remove debris and ensure the subfloor meets the flooring manufacturer’s requirements for cleanliness, flatness, and stability.
Uneven surfaces can place additional stress on locking joints and cause planks to move underfoot. High spots may need to be corrected, while low areas may require an approved patching or leveling compound. Concrete subfloors should also be evaluated for moisture conditions before installation.
In certain situations, vinyl plank flooring can be installed over existing tile, concrete, or other suitable surfaces. This may reduce demolition work, but an overlay is only appropriate when the existing flooring is stable and the manufacturer permits the installation. Not every existing material is suitable, and some must be removed or repaired first.
Installing and Finishing Vinyl Planks
Once the subfloor is ready, installers plan the layout and establish a straight starting line. Beginning along a long, straight wall is a common approach, although room dimensions and manufacturer requirements may influence the best starting location.
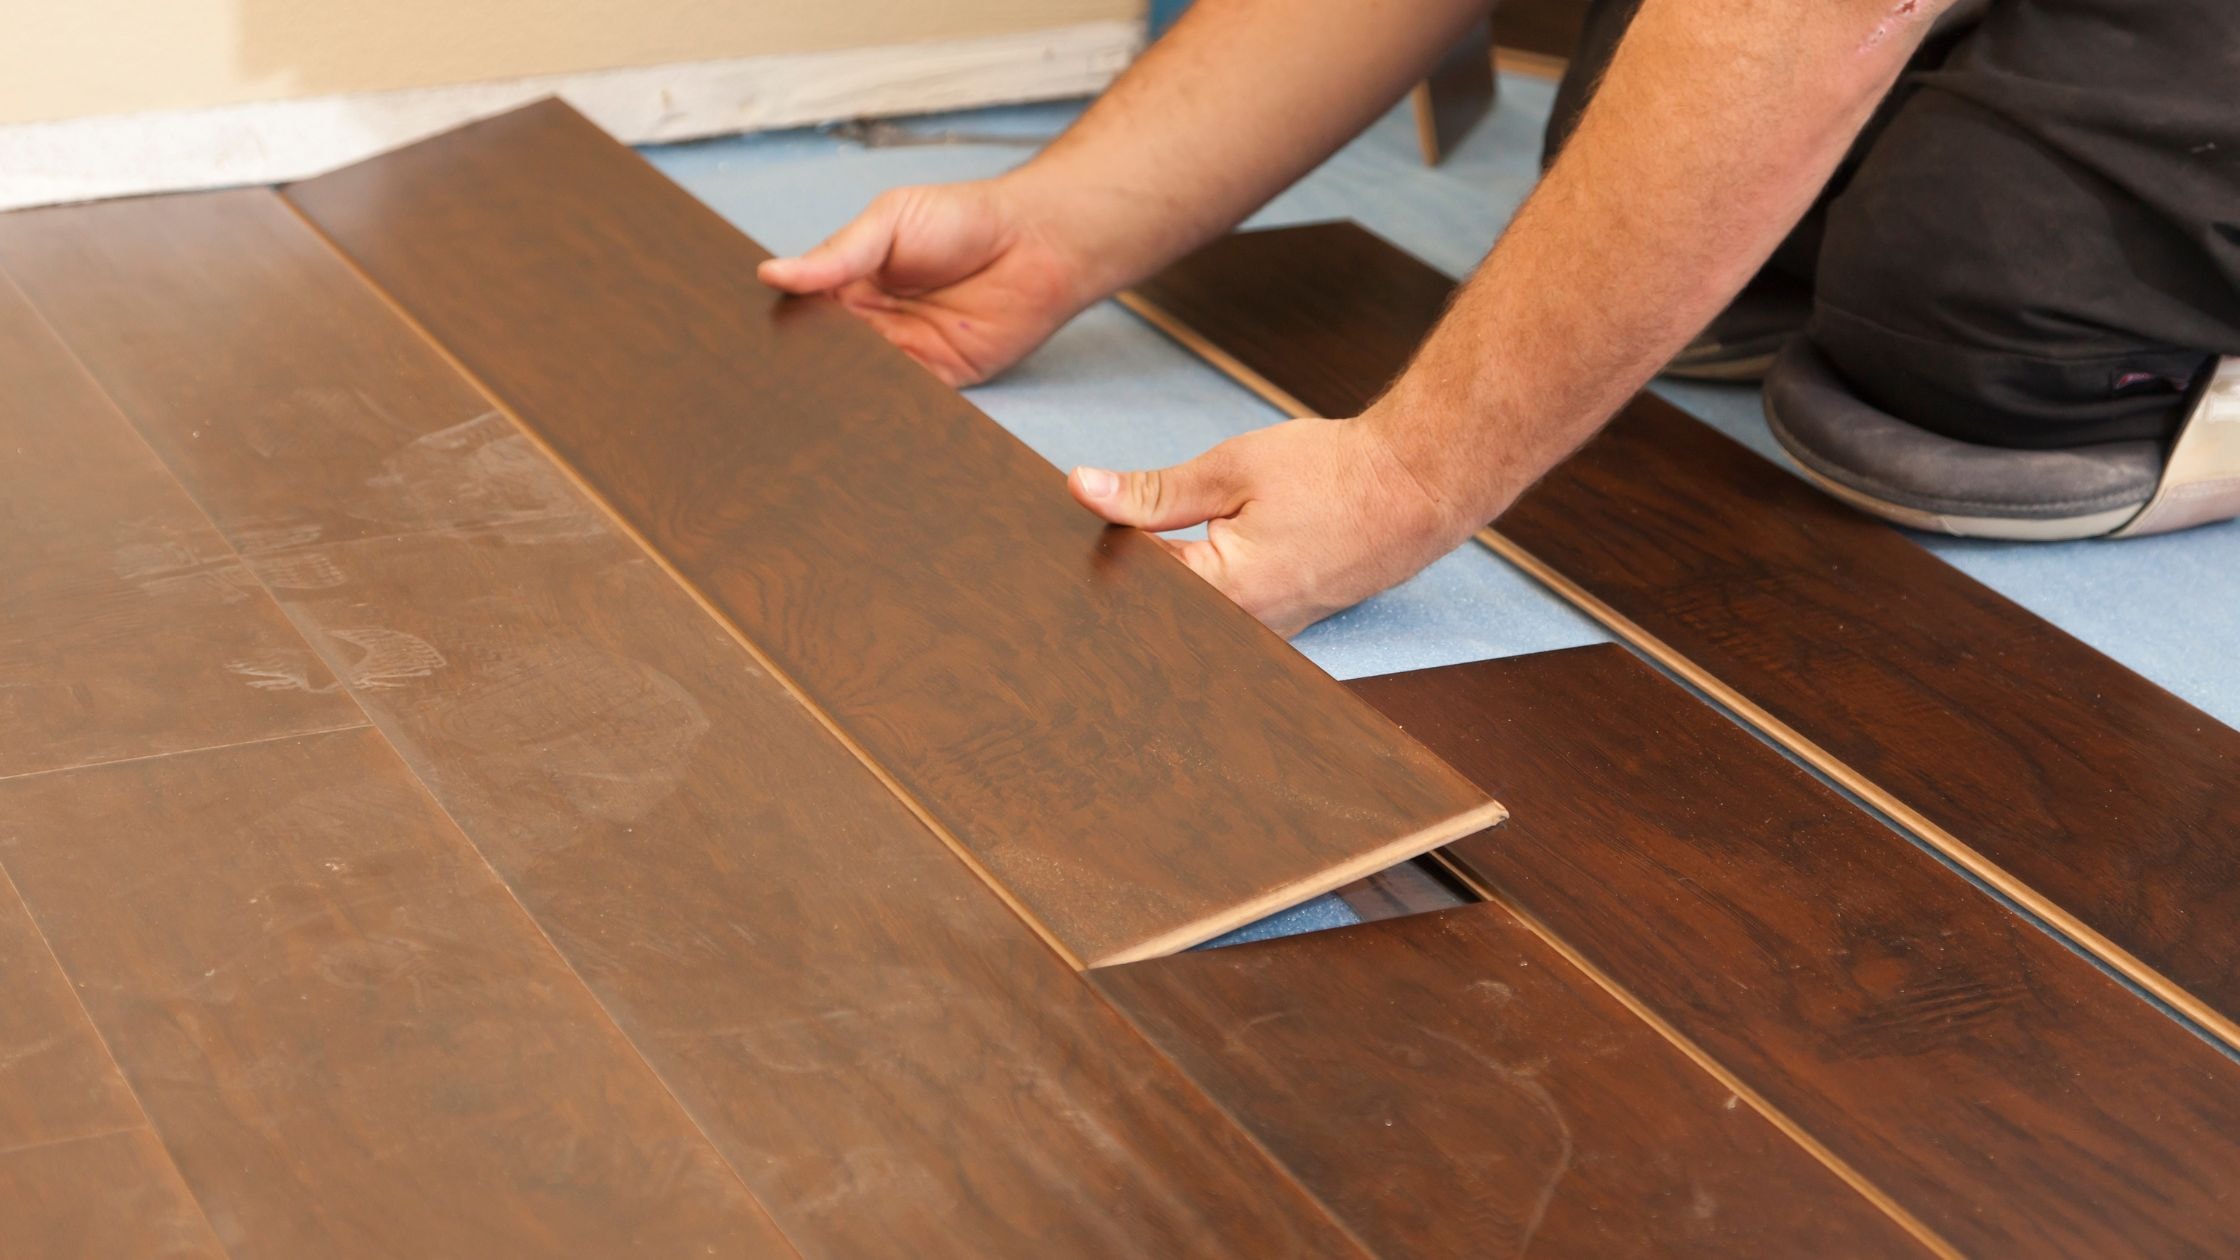
Click-lock planks are installed row by row, with the joints staggered according to the product instructions. Expansion gaps are maintained around walls and other fixed obstacles to allow the floating floor to move as designed.
Careful measuring and cutting are particularly important around door frames, cabinets, and fixtures. Installers also plan transitions between rooms to prevent awkward height differences and create a finished appearance.
Although vinyl plank installation can be manageable for experienced DIY homeowners, complicated layouts and subfloor problems may require professional assistance. Proper installation helps prevent gaps, buckling, and premature damage to the locking system.
For a more detailed walkthrough, read our step-by-step guide to installing vinyl plank flooring.
Laminate vs. Vinyl Flooring: Understanding the Differences
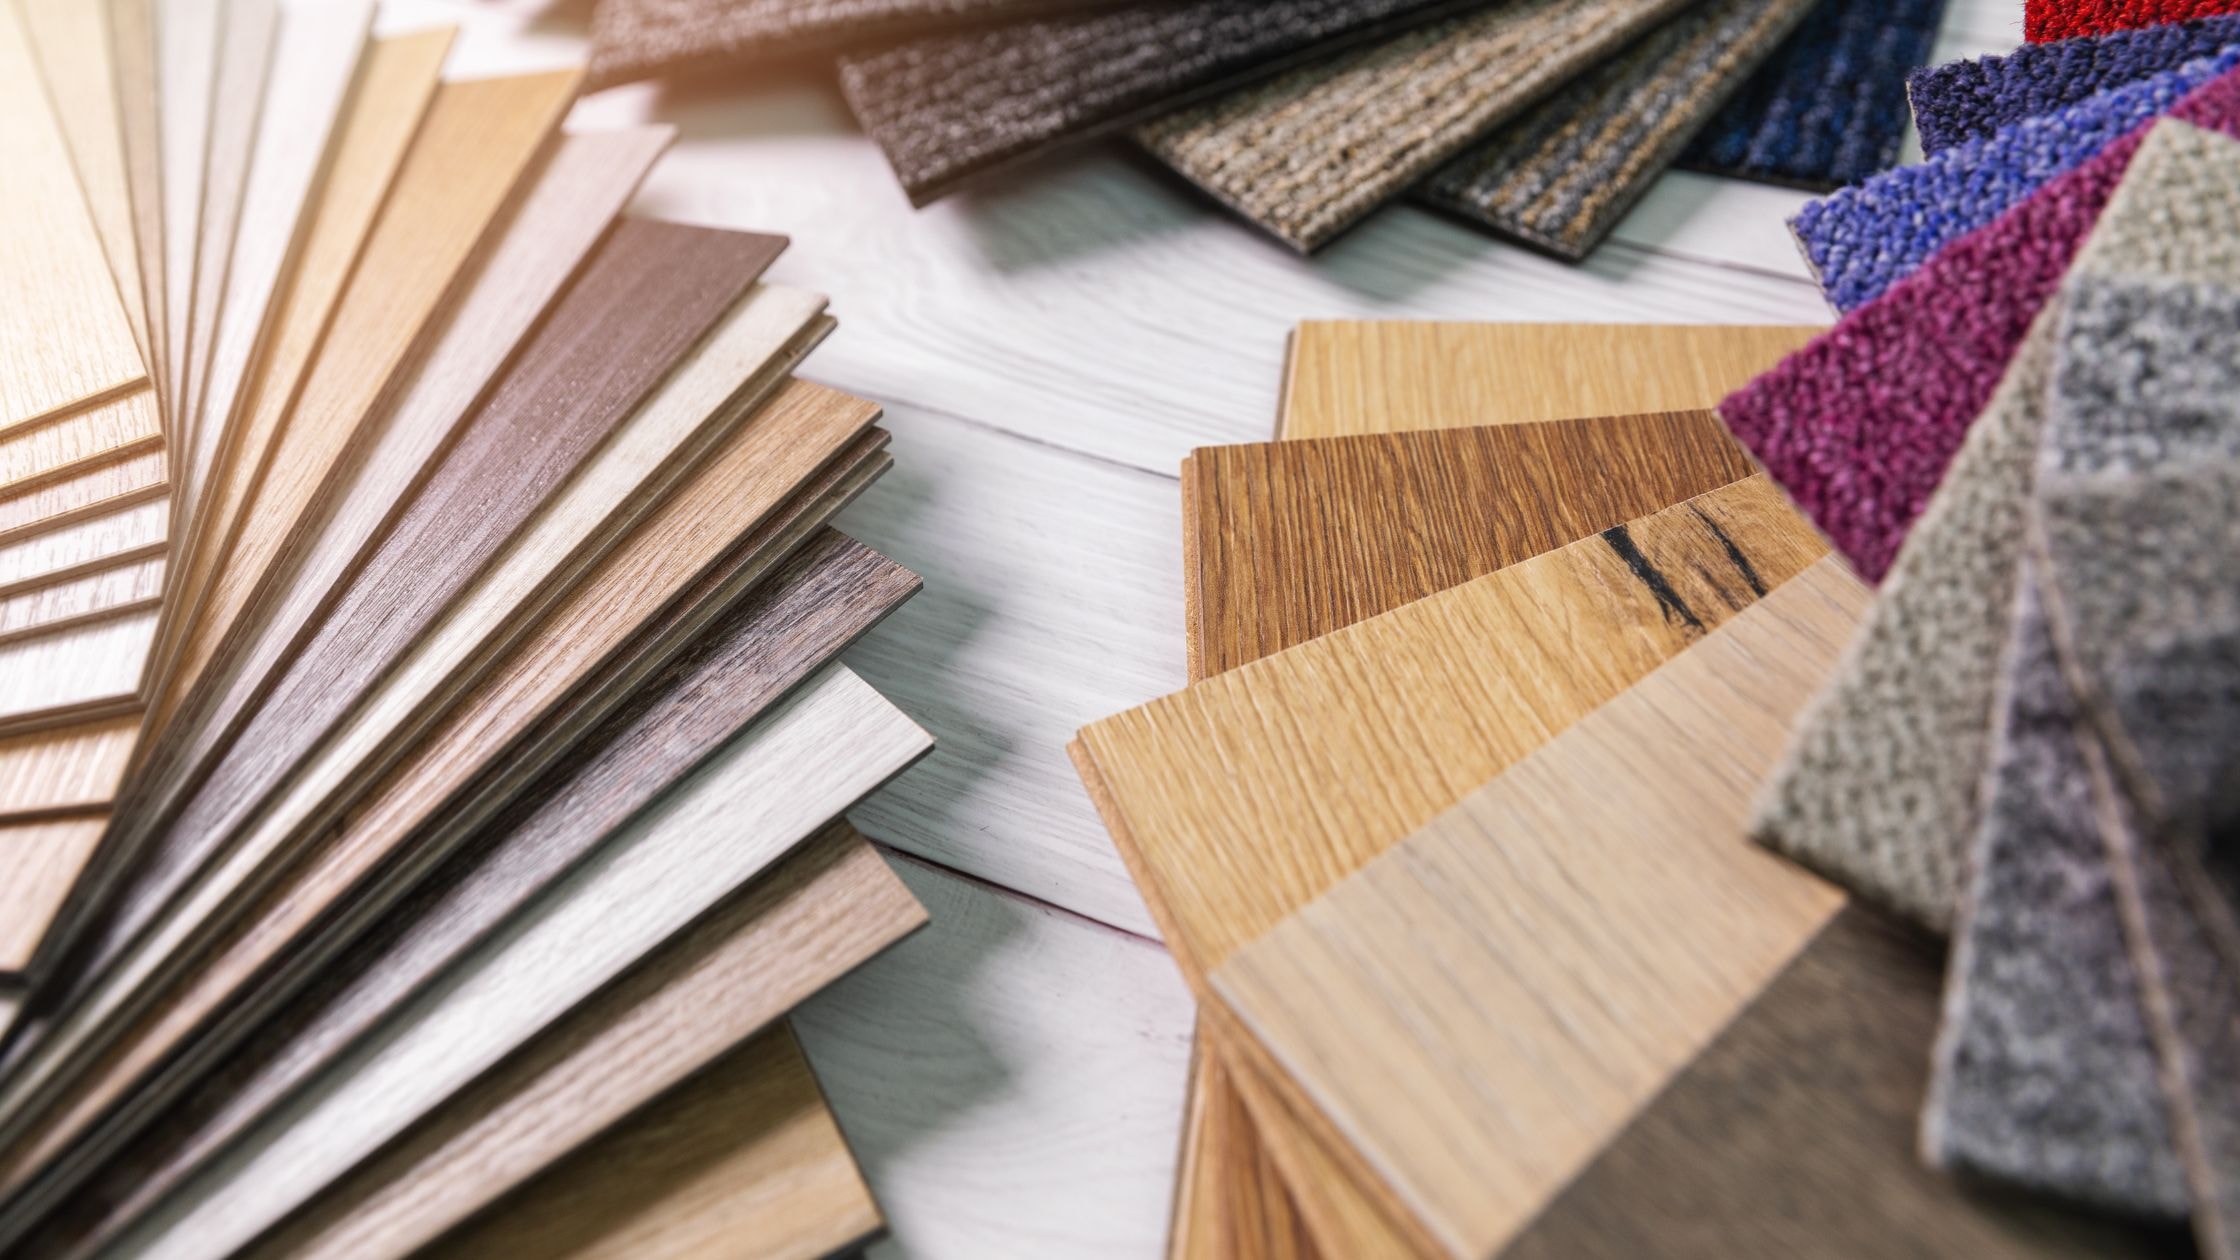
Laminate and vinyl flooring are frequently compared because both offer realistic wood-inspired designs at a variety of price points. While they may look similar after installation, their construction and performance characteristics are different.
Laminate flooring typically consists of a fiberboard-based core, a printed decorative layer, and a protective surface coating. This layered construction provides durability and can offer strong resistance to certain types of scratches and everyday wear.
Vinyl flooring, on the other hand, generally uses synthetic materials such as PVC. Luxury vinyl products are available with different core constructions, protective wear layers, and installation systems. Many offer greater resistance to moisture than traditional laminate flooring.
Moisture Resistance and Everyday Performance
One of the biggest differences between laminate and vinyl is how they respond to water.
Traditional laminate flooring can swell or become damaged when moisture reaches its fiberboard core. Some modern laminate products offer improved water resistance, but the level of protection varies by manufacturer.
Luxury vinyl plank and tile products generally resist water absorption more effectively. This makes many vinyl products appropriate for kitchens, bathrooms, and other areas where occasional spills are expected.
However, even flooring marketed as waterproof doesn’t automatically protect the underlying subfloor from a major leak or prolonged water exposure. Water can still reach areas beneath the flooring through seams, edges, and adjoining surfaces.
Comparing Installation Methods
Both laminate and vinyl are available in click-lock formats that can be installed as floating floors. Laminate planks commonly require an approved underlayment, while certain luxury vinyl products include attached padding.
Vinyl is also available in glue-down and peel-and-stick formats. These installation methods provide different advantages depending on subfloor conditions, traffic levels, and product specifications.
Before choosing between the two, consider moisture exposure, scratch resistance, indoor temperature conditions, maintenance requirements, and the appearance you prefer. The best option depends on how the room will be used rather than which material is universally better.
Explore our complete comparison of laminate vs. vinyl flooring to understand the advantages and limitations of each material.
Tile Flooring Installation: What Every Homeowner Should Know
Ceramic and porcelain tile are valued for their durability, moisture resistance, and wide range of available designs. Tile flooring is frequently used in kitchens, bathrooms, entryways, and other areas where homeowners want a hard surface that can withstand regular use.
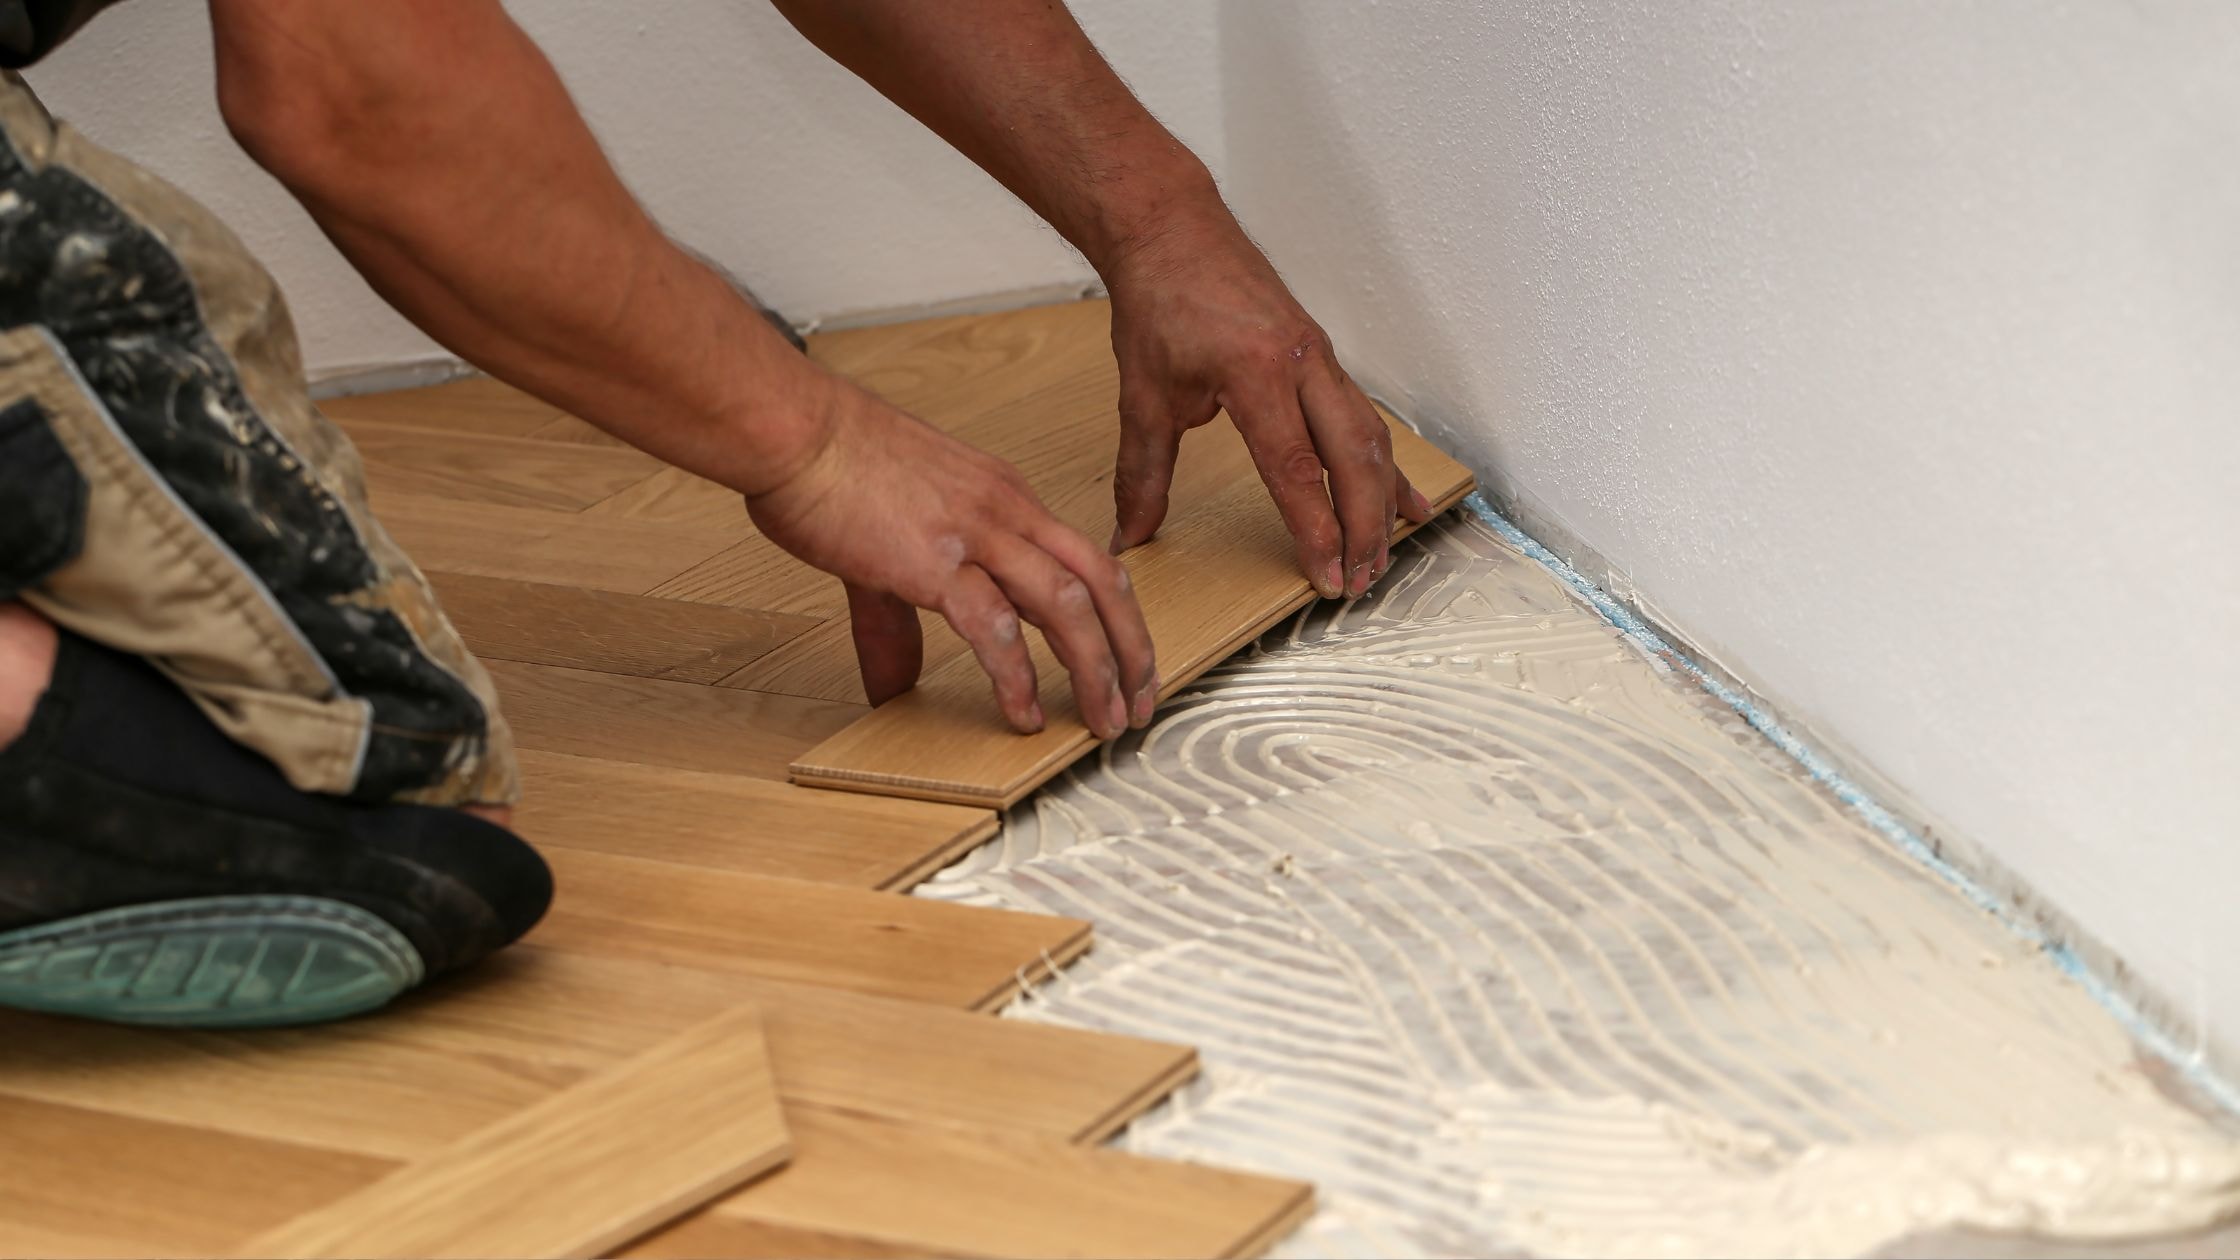
However, tile installation requires careful preparation and precise workmanship. Unlike many floating flooring systems, tile is bonded to a properly prepared substrate using mortar or another approved setting material. Errors in preparation, layout, or installation can contribute to cracked tiles, uneven surfaces, and moisture-related problems.
Preparing the Surface and Planning the Layout
Tile installation begins with evaluating the subfloor and ensuring it meets the structural and flatness requirements for the selected tile. Excessive movement or deflection can cause tile or grout to crack, so reinforcing the floor or installing an appropriate underlayment may be necessary.
Installers also determine whether an uncoupling membrane, backer board, or other approved substrate preparation is required. These materials serve different purposes and must be selected for the specific installation.
Once the surface is ready, the tile layout is planned to achieve balanced cuts and consistent spacing. Establishing reference lines and dry-fitting tiles helps installers avoid narrow pieces along walls and awkward patterns around doorways.
Mortar selection, trowel size, and proper mortar coverage also influence how securely the tile bonds to the substrate.
Grouting, Sealing, and Finishing Tile Floors
After the tile has been installed and the setting material has cured appropriately, grout is applied between the tiles. Grout creates a consistent finished appearance and fills the joints, but it does not replace waterproofing where waterproofing is required.
Some natural stone materials and certain grout products require sealing to reduce staining or moisture absorption. Others may not require a sealer at all. Product specifications and manufacturer recommendations determine the appropriate treatment.
Properly installed tile can provide many years of service, but long-term performance depends on subfloor stability, correct installation techniques, and regular maintenance.
Tile projects involving complex patterns, uneven surfaces, large-format materials, or moisture-sensitive areas are often best handled by experienced installers.
For a closer look at surface preparation, layout, grout, and installation methods, read our complete guide to tile flooring installation.
Peel-and-Stick Vinyl Flooring: Is It a Good DIY Option?
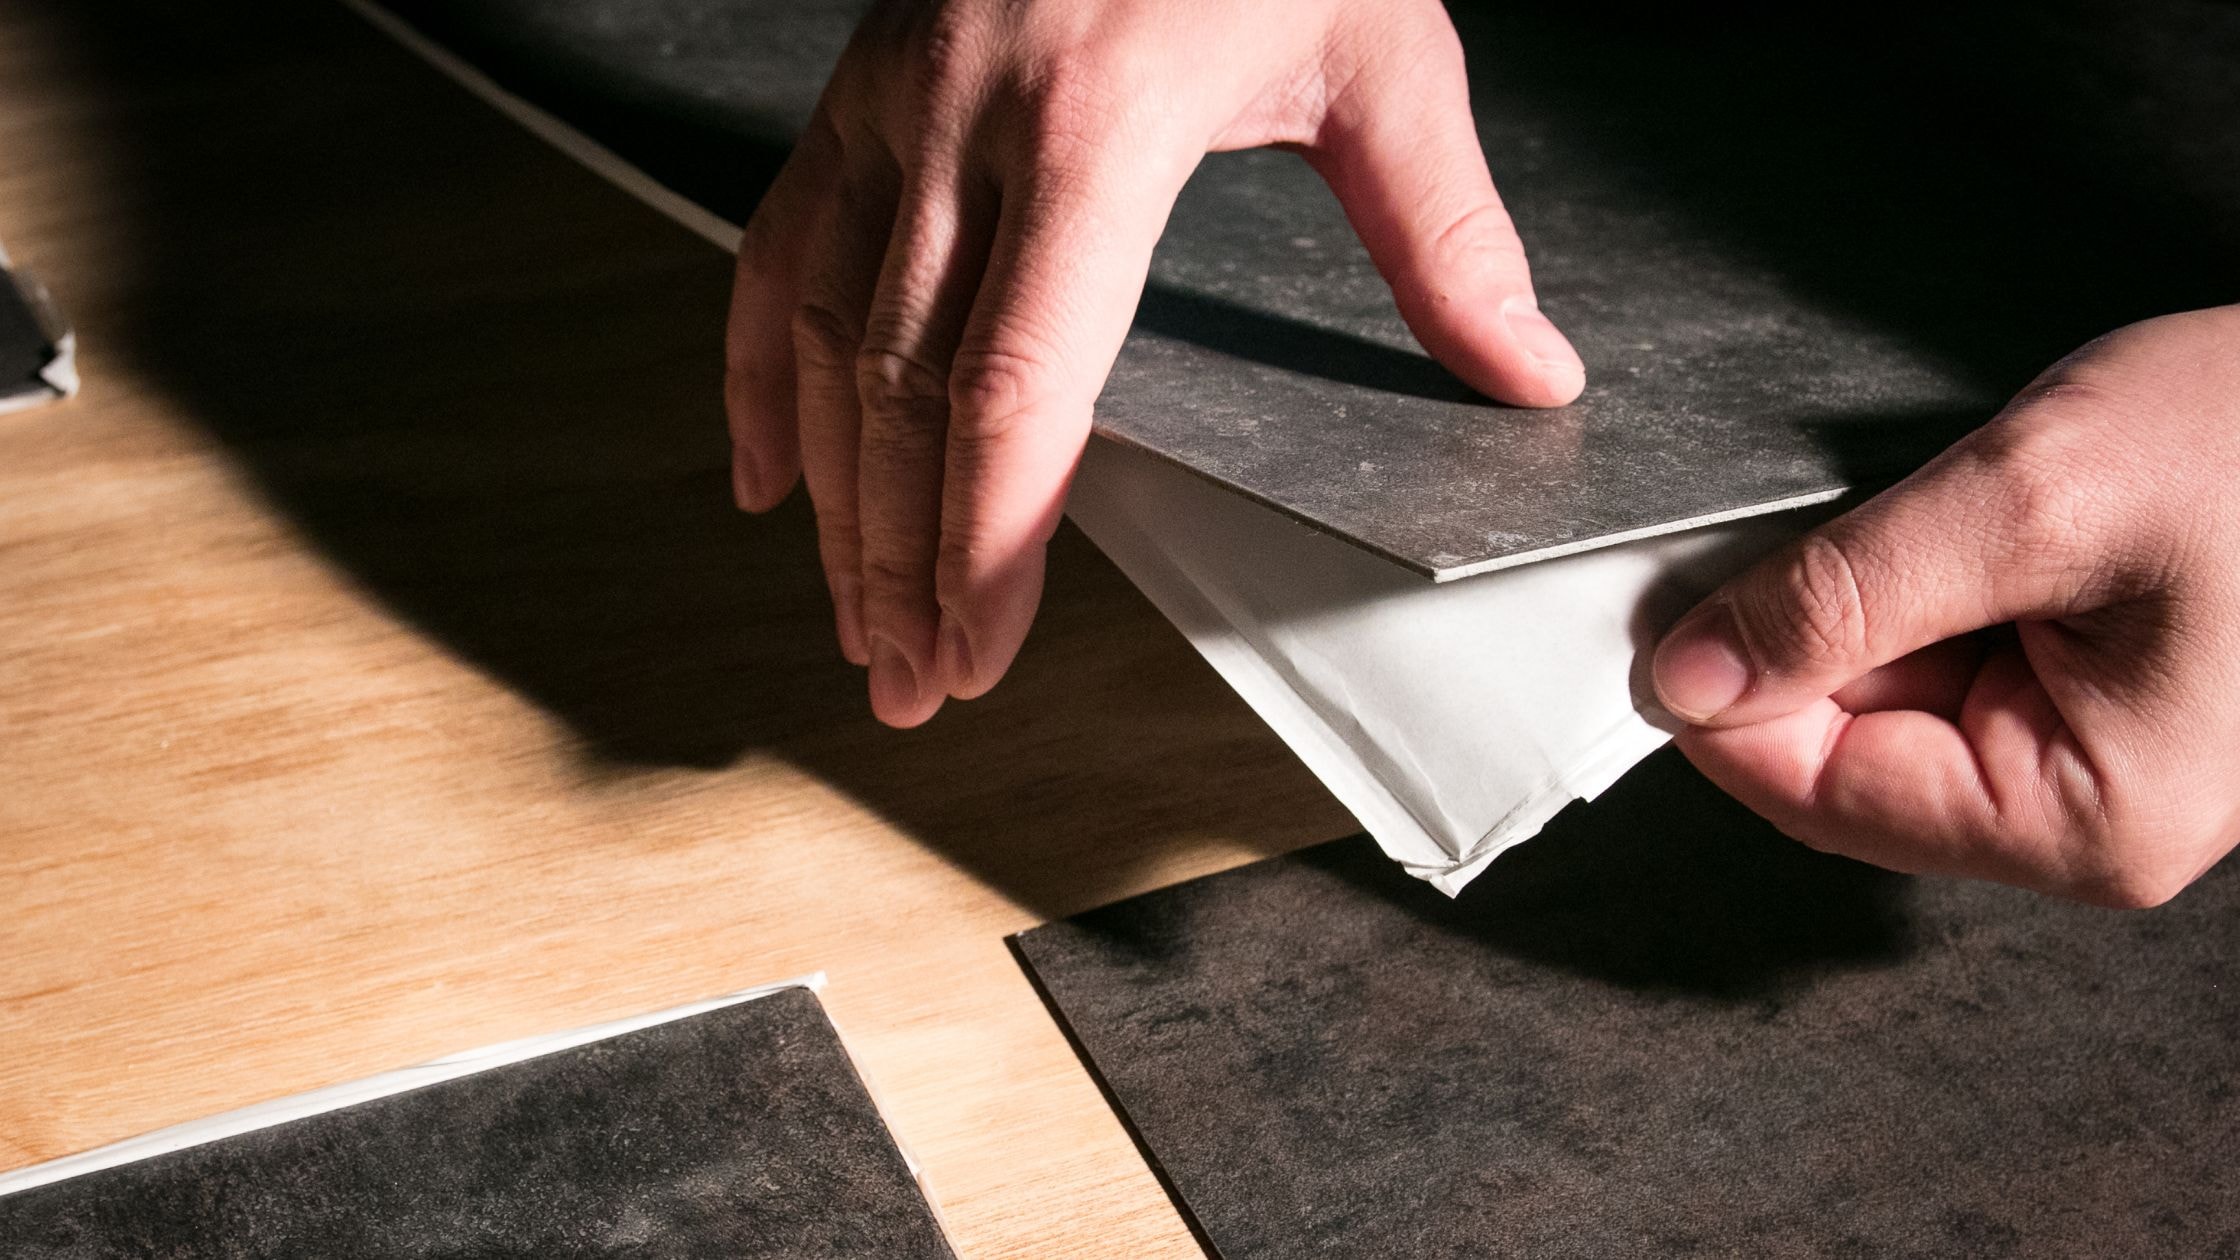
Peel-and-stick vinyl flooring appeals to homeowners who want a relatively simple way to update a room. These products feature a pressure-sensitive adhesive backing that allows individual tiles or planks to attach directly to a suitable surface.
Because they generally require fewer specialized tools than traditional tile or hardwood, peel-and-stick products can be attractive for smaller projects and certain budget-conscious renovations.
However, their convenience doesn’t eliminate the importance of proper installation.
Preparing the Surface for Peel-and-Stick Vinyl
Peel-and-stick flooring requires a clean, smooth, dry, and stable surface. Dust, grease, wax, moisture, or uneven areas can interfere with adhesion and contribute to lifting or separation.
Before installation, remove contaminants and address cracks, gaps, or rough surfaces. Thin vinyl tiles may reveal imperfections in the subfloor, so preparation is particularly important for achieving a smooth appearance.
The layout should also be planned before removing the adhesive backing. Many installations begin from carefully established reference lines near the center of the room, although the appropriate starting location depends on the product and layout.
Once positioned, tiles are pressed or rolled into place according to the manufacturer’s instructions to achieve proper adhesion.
Limitations of Peel-and-Stick Flooring
Not every room is suitable for peel-and-stick vinyl. Some products may wear more quickly than higher-performance luxury vinyl flooring, particularly in heavily used spaces.
Temperature conditions can also influence adhesive performance. Installing the flooring outside the recommended temperature range may lead to adhesion problems or difficulty positioning the material.
Some adhesives bond quickly, while others require specific rolling pressure or curing conditions. Proper installation instructions should always take priority over generalized DIY advice.
Homeowners should also consider whether an existing floor is suitable for installation over it. Certain surface finishes, damaged materials, and moisture conditions can prevent reliable adhesion.
Peel-and-stick vinyl may work well for appropriate smaller projects, but professional evaluation can help determine whether the product will perform as expected.
Learn more about preparation and installation considerations in our peel-and-stick vinyl flooring guide.
Choosing Flooring for Homes With Children and Pets

Flooring needs can change significantly when children and pets are part of the household. Spilled drinks, muddy paws, pet accidents, dropped toys, and regular activity all place additional demands on flooring surfaces.
For families, the ideal material often combines durability, easy cleaning, moisture resistance, and a comfortable surface.
Luxury vinyl, ceramic or porcelain tile, and properly finished or sealed concrete can be practical choices in certain areas because they offer surfaces that are relatively easy to clean. However, each material has different characteristics that should be considered before installation.
Durability, Scratches, and Moisture Resistance
Scratch resistance is particularly important for households with large dogs or active children. Some flooring products have protective coatings that withstand everyday wear, while others may show scratches or dents more readily.
Luxury vinyl can offer a useful combination of durability and moisture resistance, although sharp claws, tracked-in grit, and heavy impacts can still damage the surface.
Tile is another durable option that handles many common household spills well, but it can feel harder and colder underfoot. Dropped objects may also chip certain tile surfaces.
Moisture protection should be considered carefully. Even when the flooring itself resists water, accidents and spills should be cleaned promptly to prevent moisture from reaching seams or underlying materials.
Comfort and Everyday Maintenance
Comfort also matters in rooms where children crawl, play, or spend time on the floor. Some vinyl products feature cushioned backing, while textured surfaces may provide better traction than highly polished alternatives.
Maintenance requirements can influence which flooring is most practical. Busy households often benefit from materials that can be cleaned with regular sweeping and manufacturer-approved products rather than specialized treatments.
Homes with attached garages may require additional planning. Flooring transitions between the garage and living spaces need to account for height differences, traffic, tracked-in moisture, and temperature variations. Garage floors themselves may require products specifically rated for vehicle loads and the conditions of that space.
Choosing flooring based on household activity and the needs of each room helps create a home that is both attractive and functional.
For more information about durability, cleaning, and pet-friendly materials, explore our guide to the best flooring options for dogs and families.
Vinyl vs. Hardwood Flooring: Which Is Better for Your Home?

Hardwood and luxury vinyl are both popular flooring choices, particularly for homeowners who want a wood-inspired appearance. While modern vinyl can closely replicate natural wood grain, the two materials differ in construction, maintenance, repair options, and long-term characteristics.
Understanding these differences can help you choose the flooring that best matches your priorities.
Benefits of Hardwood Flooring
Hardwood offers the natural appearance and character of genuine wood. Each board has unique grain variations, and many hardwood products can be refinished when the surface becomes worn.
Depending on the flooring type and thickness, hardwood may be sanded and refinished multiple times during its lifespan. This ability can extend its useful life and make it appealing to homeowners who want a long-term flooring investment.
Hardwood may also contribute to a home’s appeal to potential buyers, although its effect on resale value depends on the property, market, and installation quality.
However, wood is sensitive to moisture and environmental conditions. Excessive humidity, water exposure, and temperature fluctuations can cause expansion, contraction, or other movement. Scratches and dents are also possible, particularly in busy households.
Benefits of Luxury Vinyl Flooring
Luxury vinyl offers realistic wood-look designs with generally improved moisture resistance and straightforward maintenance. It is available in different plank sizes, colors, textures, and protective wear-layer options.
Many vinyl products cost less initially than genuine hardwood, although total installation costs vary depending on material quality and preparation requirements.
Vinyl may be particularly attractive for kitchens, entryways, and households where spills occur frequently. However, it cannot typically be sanded and refinished like hardwood, so significant wear or damage may require plank replacement.
Over the long term, hardwood’s ability to be refinished may offset some of its higher initial cost. Vinyl may offer lower upfront expenses but different replacement considerations.
Installation Considerations for Both Materials
Hardwood installation can involve nailing, stapling, gluing, or floating methods depending on the product. Subfloor conditions, moisture testing, acclimation requirements, and plank layout all influence the installation process.
Vinyl products may use click-lock, glue-down, or other systems. While some formats are more approachable for DIY installation, subfloor preparation and manufacturer requirements remain essential.
For Medford homeowners, the best choice depends on room conditions, expected traffic, maintenance preferences, and long-term goals.
Read our detailed comparison of vinyl vs. hardwood flooring to explore these differences further.
Flooring Design Trends and Installation Considerations
Flooring styles continue to evolve as manufacturers introduce new colors, formats, textures, and performance features. Looking at established design trends can help homeowners choose flooring that complements their interiors without relying entirely on short-lived styles.
Several design directions highlighted in 2025 remain useful when evaluating flooring options.
Wide Plank Flooring and Natural Finishes
Wide plank flooring has become a recognizable feature in many residential interiors. Larger planks create fewer visible seams and can emphasize natural-looking wood grain patterns.
Hardwood, laminate, and luxury vinyl manufacturers offer wide plank products in various colors and textures. Warmer wood tones, realistic surface finishes, and natural-looking patterns can work with traditional and contemporary spaces.
However, wider planks may have different subfloor preparation and installation requirements. Product selection should account for both appearance and performance.
Sustainable Materials and Mixed Flooring Designs
Environmental considerations have encouraged interest in recycled content, renewable materials, and products with documented indoor air emissions.
Homeowners researching these features should compare specific products rather than assuming an entire flooring category is environmentally friendly.
Mixing flooring materials is another design option. For example, tile may be used in an entryway while hardwood or luxury vinyl continues into the living area.
These transitions require careful planning to accommodate differences in material thickness, expansion requirements, and finished floor height.
Bold Patterns and New Flooring Technology
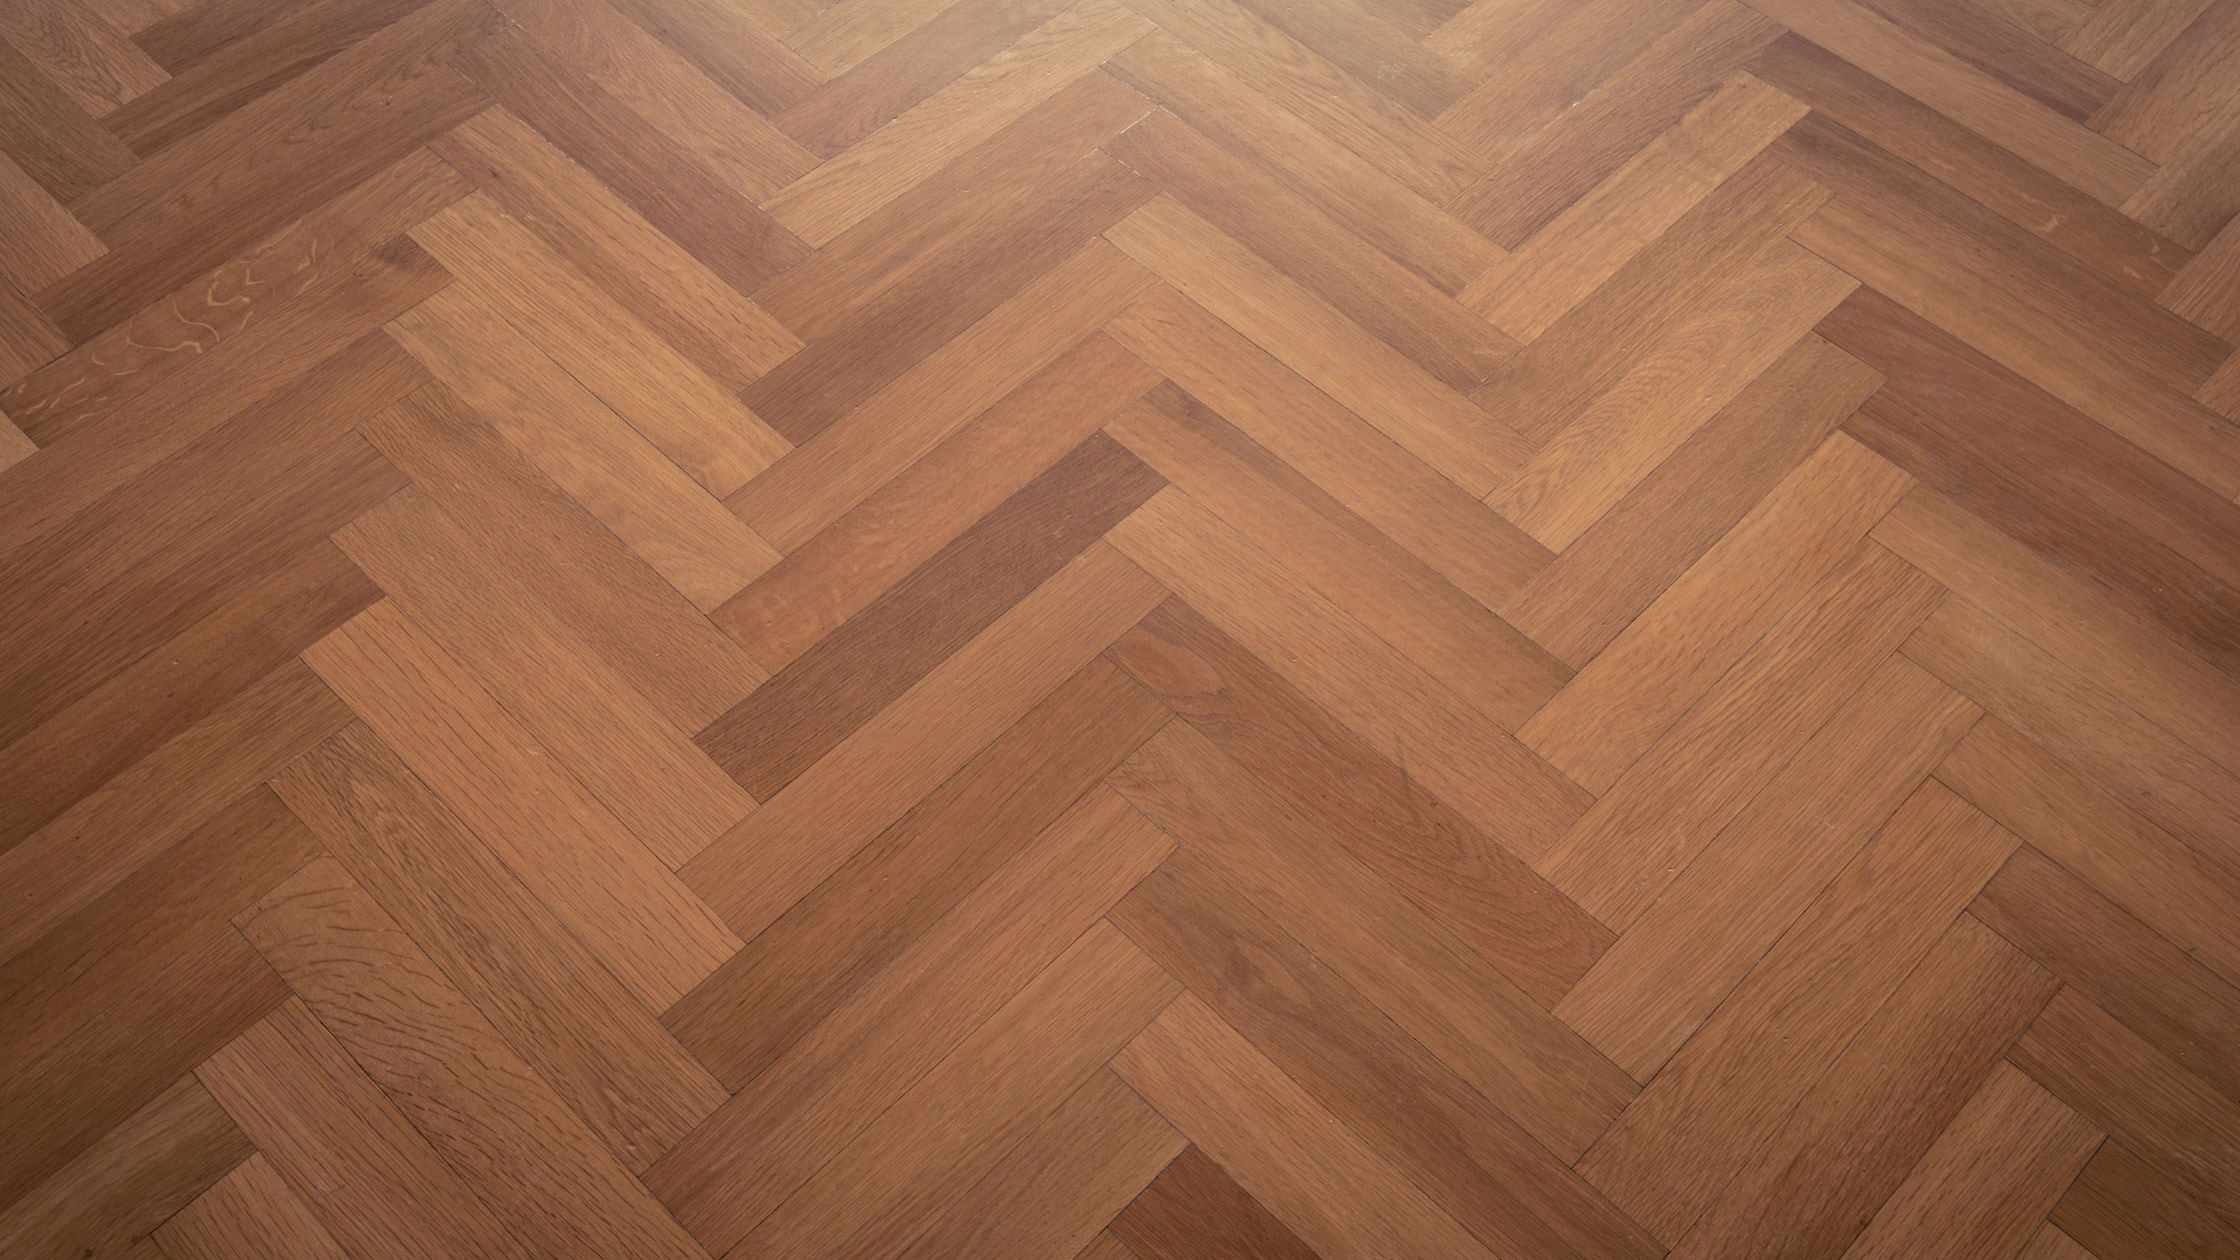
Decorative layouts, geometric designs, and textured surfaces provide additional opportunities for personalization. Herringbone patterns, contrasting colors, and unique tile arrangements can create focal points in a room.
These designs may require more planning and additional material for cuts, particularly when precise pattern alignment is important.
Flooring technology has also expanded to include compatible radiant heating systems and certain sensor-based floor applications. These systems require careful coordination between the selected flooring material, heating components, electrical requirements, and installation methods.
Not every floor is suitable for installation over radiant heat. Homeowners should verify compatibility and maximum surface temperature requirements before selecting materials.
For additional inspiration, explore our flooring trends for 2025, including design ideas and developments that can still inform remodeling decisions.
DIY vs. Professional Flooring Installation: How to Decide
Some flooring projects are well suited to homeowners with basic installation experience, while others require more specialized knowledge and equipment.
Click-lock vinyl and certain laminate products are commonly considered DIY-friendly because they don’t always require adhesives or fastening directly to the subfloor. However, installation becomes more complicated when rooms contain uneven surfaces, multiple doorways, built-in fixtures, or challenging transitions.
Tile and traditional hardwood installations often require additional tools, preparation, and technical knowledge. Mistakes involving substrate preparation, moisture conditions, or installation methods can be difficult and expensive to correct.
Before deciding whether to complete a project yourself, consider the condition of the existing floor, the tools required, the complexity of the layout, and the time available to complete the work.
Professional installers can evaluate issues that may not be obvious from the finished surface. They can also explain product compatibility, manufacturer installation requirements, and any workmanship warranty they provide.
Hiring a professional does not automatically guarantee that every future flooring issue will be covered, but working with an experienced installer can help reduce preventable mistakes and establish clear expectations for the project.
For homeowners who want to minimize disruption or who are dealing with significant subfloor problems, professional installation may be the more practical choice.
Getting a Free Estimate for Professional Flooring Installation
Once you’ve narrowed down your flooring options, the next step is understanding what the project will involve.
A professional flooring estimate should provide more than a general description of the material being installed. It should help identify necessary preparation work, installation methods, project responsibilities, and the expected timeline.
At Oregon Floor Works, homeowners can discuss their flooring goals and the conditions of their space before selecting a product.
What Happens During a Flooring Estimate?
A flooring professional may begin by measuring the rooms and evaluating the existing floor. This includes looking for uneven surfaces, subfloor movement, moisture concerns, and other conditions that could affect installation.
The installer may also review doorways, transitions, cabinets, and room layouts to identify areas that require additional preparation or specialized work.
Product samples can help homeowners compare colors and textures in their own lighting conditions. This is particularly useful for wood-look vinyl, laminate, and hardwood because the appearance of flooring can change throughout the day.
A detailed estimate can also explain whether the existing flooring needs to be removed, what subfloor preparation may be necessary, and how the selected material will be installed.
What Should Be Included in a Written Estimate?
Before moving forward with a flooring project, ask for a written estimate that clearly describes the work.
It should identify the flooring materials, installation labor, anticipated preparation requirements, and any items that are excluded from the quoted scope. Homeowners should also clarify whether removal and disposal of existing flooring, furniture moving, transitions, trim work, and cleanup are included.
Some installers offer furniture-moving services, but these arrangements vary and should never be assumed.
The estimate should also address the expected installation schedule, payment terms, product warranty information, and any workmanship warranty offered by the contractor.
Having these details in writing helps homeowners compare proposals and reduces the likelihood of misunderstandings once installation begins.
How to Prepare Your Home for Flooring Installation Day
A little preparation before installation begins can make the process more efficient and reduce disruptions.
Clear personal belongings, smaller furniture, and fragile items from the work area based on the installer’s instructions. Discuss larger furniture and appliances in advance so everyone understands who is responsible for moving them.
Homeowners should also plan for access to the rooms being remodeled. Depending on the flooring material, some spaces may be unavailable during installation or while adhesives, mortar, finishes, or grout cure.
Pets and children should be kept away from active work areas where tools, exposed surfaces, and construction materials could create hazards.
Temperature and humidity requirements are another important consideration. Some flooring products require specific indoor conditions before, during, and after installation. Manufacturers may also have product-specific acclimation requirements.
Finally, discuss the final walkthrough with your installer. Before considering the project complete, inspect the flooring for visible problems, confirm that transitions and trim have been addressed as agreed, and review maintenance instructions.
Taking these steps can help homeowners feel more prepared for installation and start caring for their new floors correctly.
Plan Your Flooring Installation With Confidence
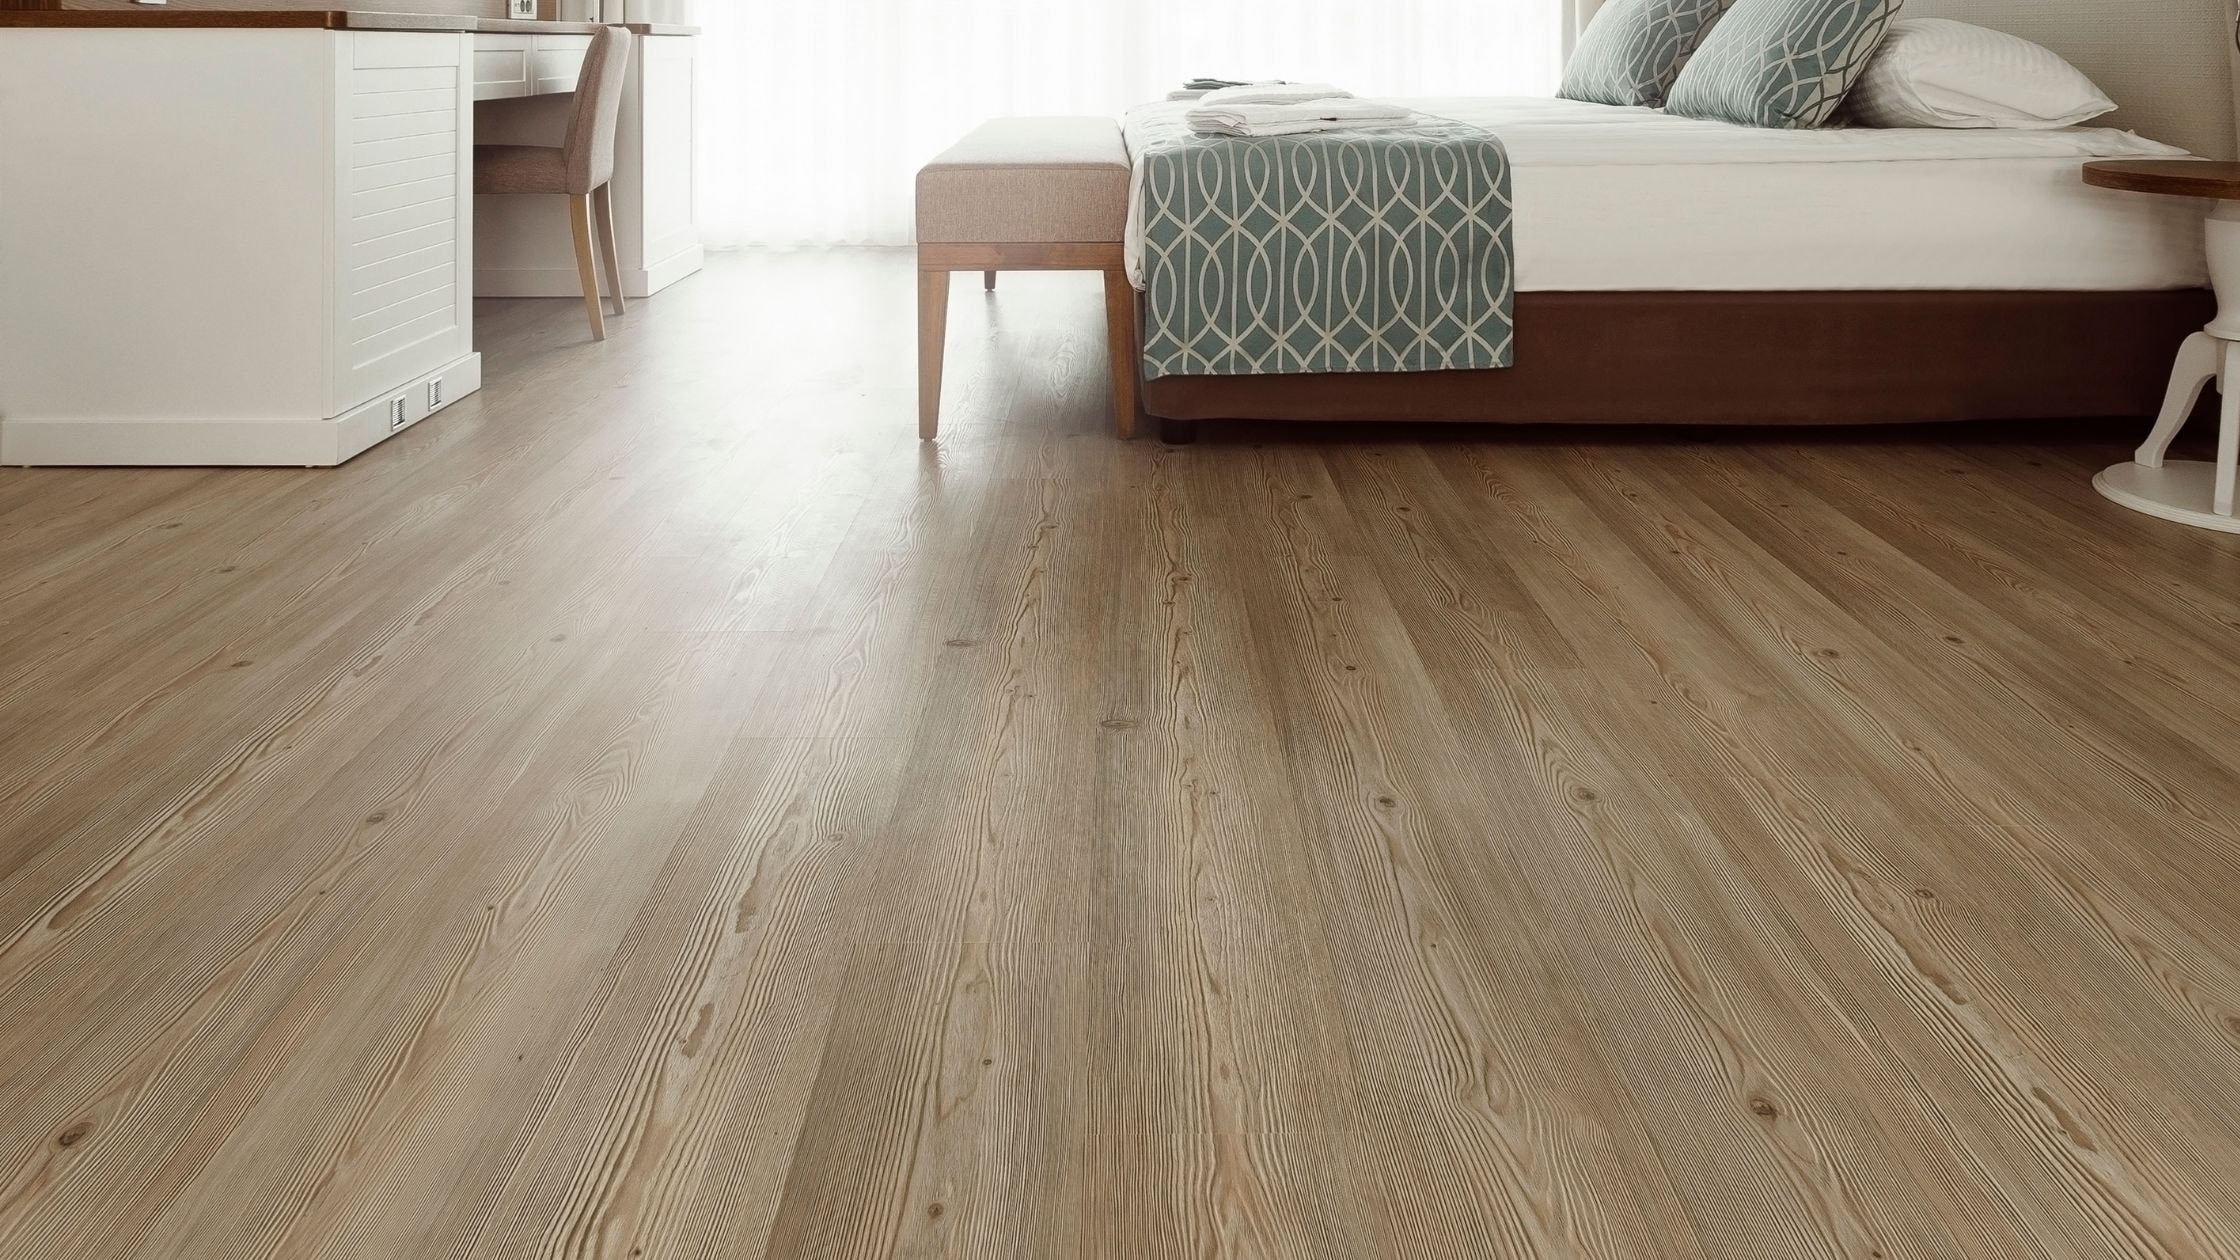
A successful flooring installation combines the right materials, careful preparation, and installation techniques suited to the home. Whether you prefer luxury vinyl plank, laminate, tile, or hardwood, understanding the differences between these products can help you avoid preventable problems and make more informed decisions.
The condition of the subfloor, moisture exposure, daily traffic, and installation method all influence how well new flooring will perform over time. Considering these factors before purchasing materials can help homeowners choose flooring that looks attractive and remains functional for years to come.
Oregon Floor Works helps homeowners in Medford and throughout Jackson County explore flooring materials and plan installation projects that fit their spaces. From material selection and subfloor preparation to installation and finishing details, our goal is to help create floors that meet your home’s practical and design needs.
Ready to explore your options? Learn more about our professional tile installation services and contact Oregon Floor Works to discuss your next flooring project.