

Tile flooring installation transforms kitchens, bathrooms, and entryways into durable, beautiful spaces. This versatile material withstands moisture, heavy traffic, and daily wear better than many alternatives. However, successful installation requires careful planning, proper materials, and attention to detail throughout the process.
Understanding the tile installation project from start to finish helps homeowners make informed decisions. Some choose professional installation for guaranteed results, while others tackle the job themselves to save money. Either path demands knowledge of materials, techniques, and potential challenges. This guide covers everything needed to achieve lasting, attractive tile floors.
Planning Your Tile Installation
Choosing the Right Tile
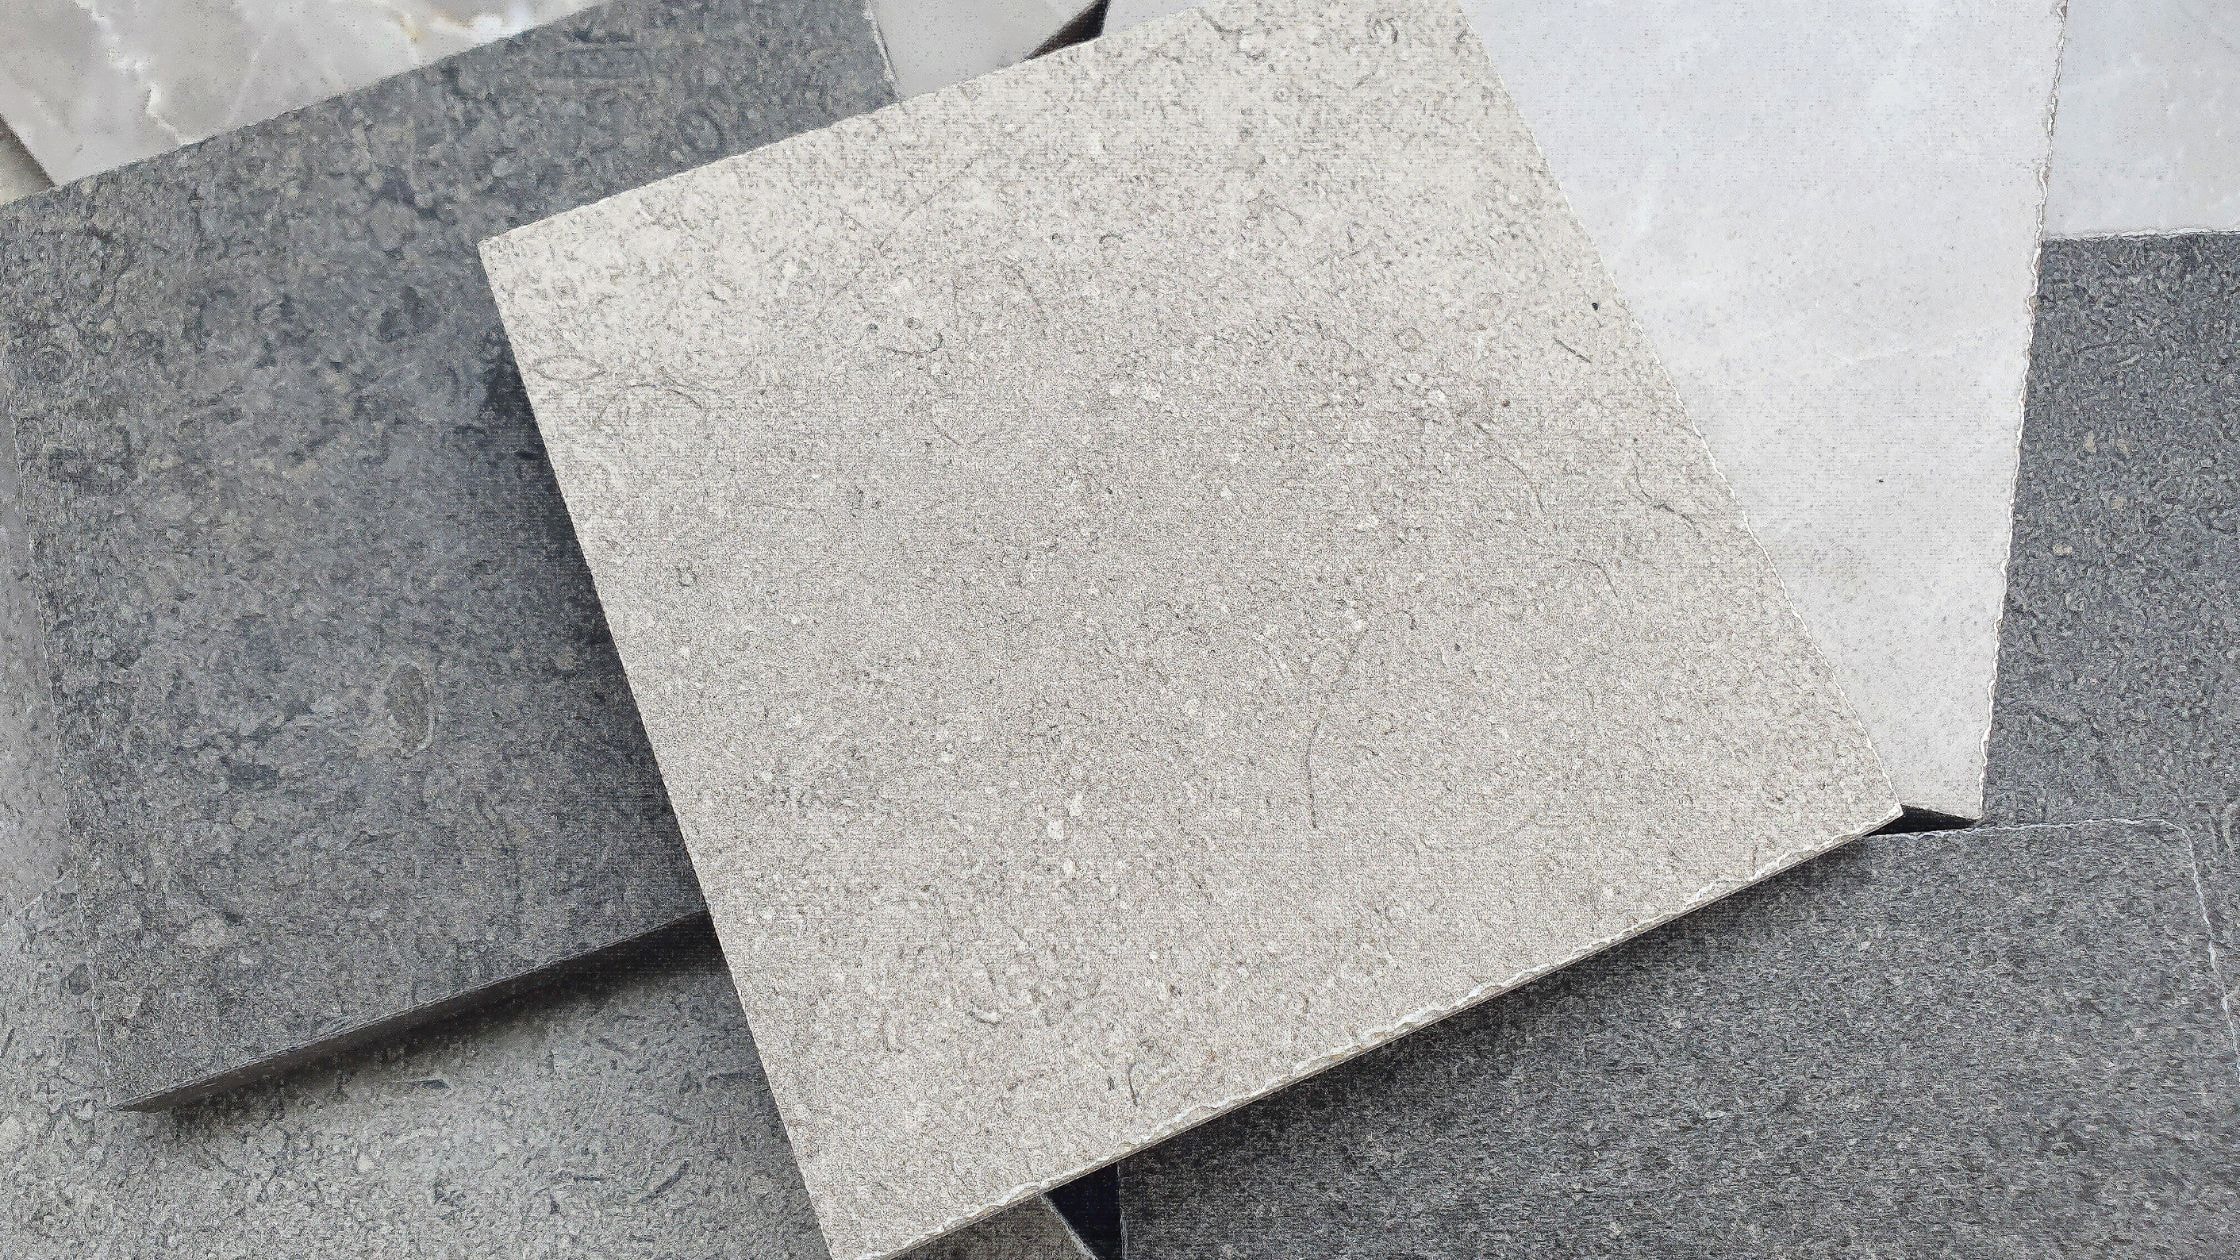
Tile selection affects both appearance and installation difficulty. Ceramic tile offers affordability and ease of cutting, making it popular for DIY projects. Porcelain tile provides superior durability and water resistance but requires more powerful cutting tools. Natural stone tile creates unique patterns but demands careful handling and special sealers.
Room function determines appropriate tile choices. Bathroom floors need slip-resistant surfaces with water-resistant properties. Kitchen floors benefit from stain-resistant tile that handles spills and dropped objects. Entryways require durable tile that withstands tracked-in dirt and moisture.
Tile size influences installation complexity and final appearance. Large format tile covers space faster but requires extremely flat surfaces. Small tile creates more grout lines, adding installation time but offering better slip resistance. Mosaic tile comes pre-mounted on mesh backing sheets, simplifying layout while creating intricate patterns.
Quick tip: Purchase extra tile beyond calculated needs to account for cuts, breakage, and future repairs—most professionals recommend adding 10-15 percent to initial measurements.
Measuring and Calculating Materials
Accurate measurements prevent material shortages during installation. Measure room length and width in feet, then multiply to calculate square footage. Irregular spaces require dividing the room into sections, calculating each separately, then adding totals together.
Tile quantities depend on individual tile size and layout patterns. Diagonal patterns require more tile than straight layouts due to increased cutting. Complex designs with borders or insets need careful planning to determine exact quantities.
Beyond tile itself, proper installation requires mortar, grout, spacers, and sealing materials. Mortar coverage depends on tile size and back texture. Grout quantity varies based on tile size and line width. Most suppliers assist with calculations when provided accurate room measurements.
Preparing the Surface for Tile Floor Installation
Subfloor Requirements
The subfloor must provide a stable, flat foundation. Wood subfloor requires inspection for damaged boards, loose sections, or squeaks. Any movement in the subfloor telegraphs through tile, causing cracks and loose pieces. Secure all loose boards and replace damaged sections before proceeding.
Concrete subfloors need evaluation for cracks, high spots, and low areas. Small cracks should be filled with concrete patching compound. Major cracks or uneven surfaces may require grinding high spots or applying self-leveling compound. The surface must be completely flat within industry standards.
Moisture testing prevents future problems, especially over concrete. Excess moisture causes mortar failure and grout deterioration. Simple moisture tests reveal whether additional preparation is necessary. Moisture barriers solve many concrete moisture issues.
Installing Backer Board
Backer board creates an ideal tile installation surface over wood subfloors. This cement-based material provides rigidity and moisture resistance that plywood alone cannot offer. Bathrooms and kitchens benefit greatly from this additional protection.
Cut backer board pieces to fit the room layout, leaving small gaps at walls for expansion. Secure sheets to the subfloor using special backer board screws spaced according to manufacturer specifications. Screw heads should sit flush with or slightly below the surface.
Tape all backer board joints using fiberglass mesh tape embedded in thin-set mortar. This process creates a continuous, stable surface for tile installation. Allow the mortar to cure completely before laying tile.
Did you know? Using the wrong mortar type for backer board installation can void warranties and lead to tile failure within months of installation.
Layout and Planning the First Tile Placement
Finding the Center Point
Successful tile installation begins with proper layout. Find the room center by measuring and marking the midpoint of opposite walls. Snap chalk lines between these marks, creating intersecting lines at the room center.
Dry-lay tile along these center lines to visualize the final pattern. This step reveals how tiles will align at room edges and corners. Adjust the starting point if the layout creates awkward cuts or very small pieces at walls.
The first tile placement determines the entire floor pattern. Starting at the center ensures balanced layouts with equal cuts on opposite walls. Some installers prefer starting at the most visible wall, working toward less visible areas.
Creating Reference Lines
Beyond center lines, additional reference lines guide installation and maintain straight rows. Use a carpenter’s square to verify lines meet at perfect right angles. Even slight deviations multiply across the room, creating noticeable alignment problems.
Mark reference lines for every few rows to catch alignment drift before it becomes severe. Measure from these lines regularly during installation to keep tiles tracking straight. This vigilance prevents the frustrating discovery of crooked rows after mortar has set.
Complex patterns require more detailed layout plans. Draw the entire floor plan on paper, showing each tile position. This preparation identifies potential problems and calculates exact tile quantities needed.
The Tile Installation Process
Mixing and Applying Mortar
Proper mortar mixing ensures strong tile bonds. Follow manufacturer instructions exactly regarding water-to-powder ratios. Mix only the amount that can be used within the working time, which varies by product and conditions.
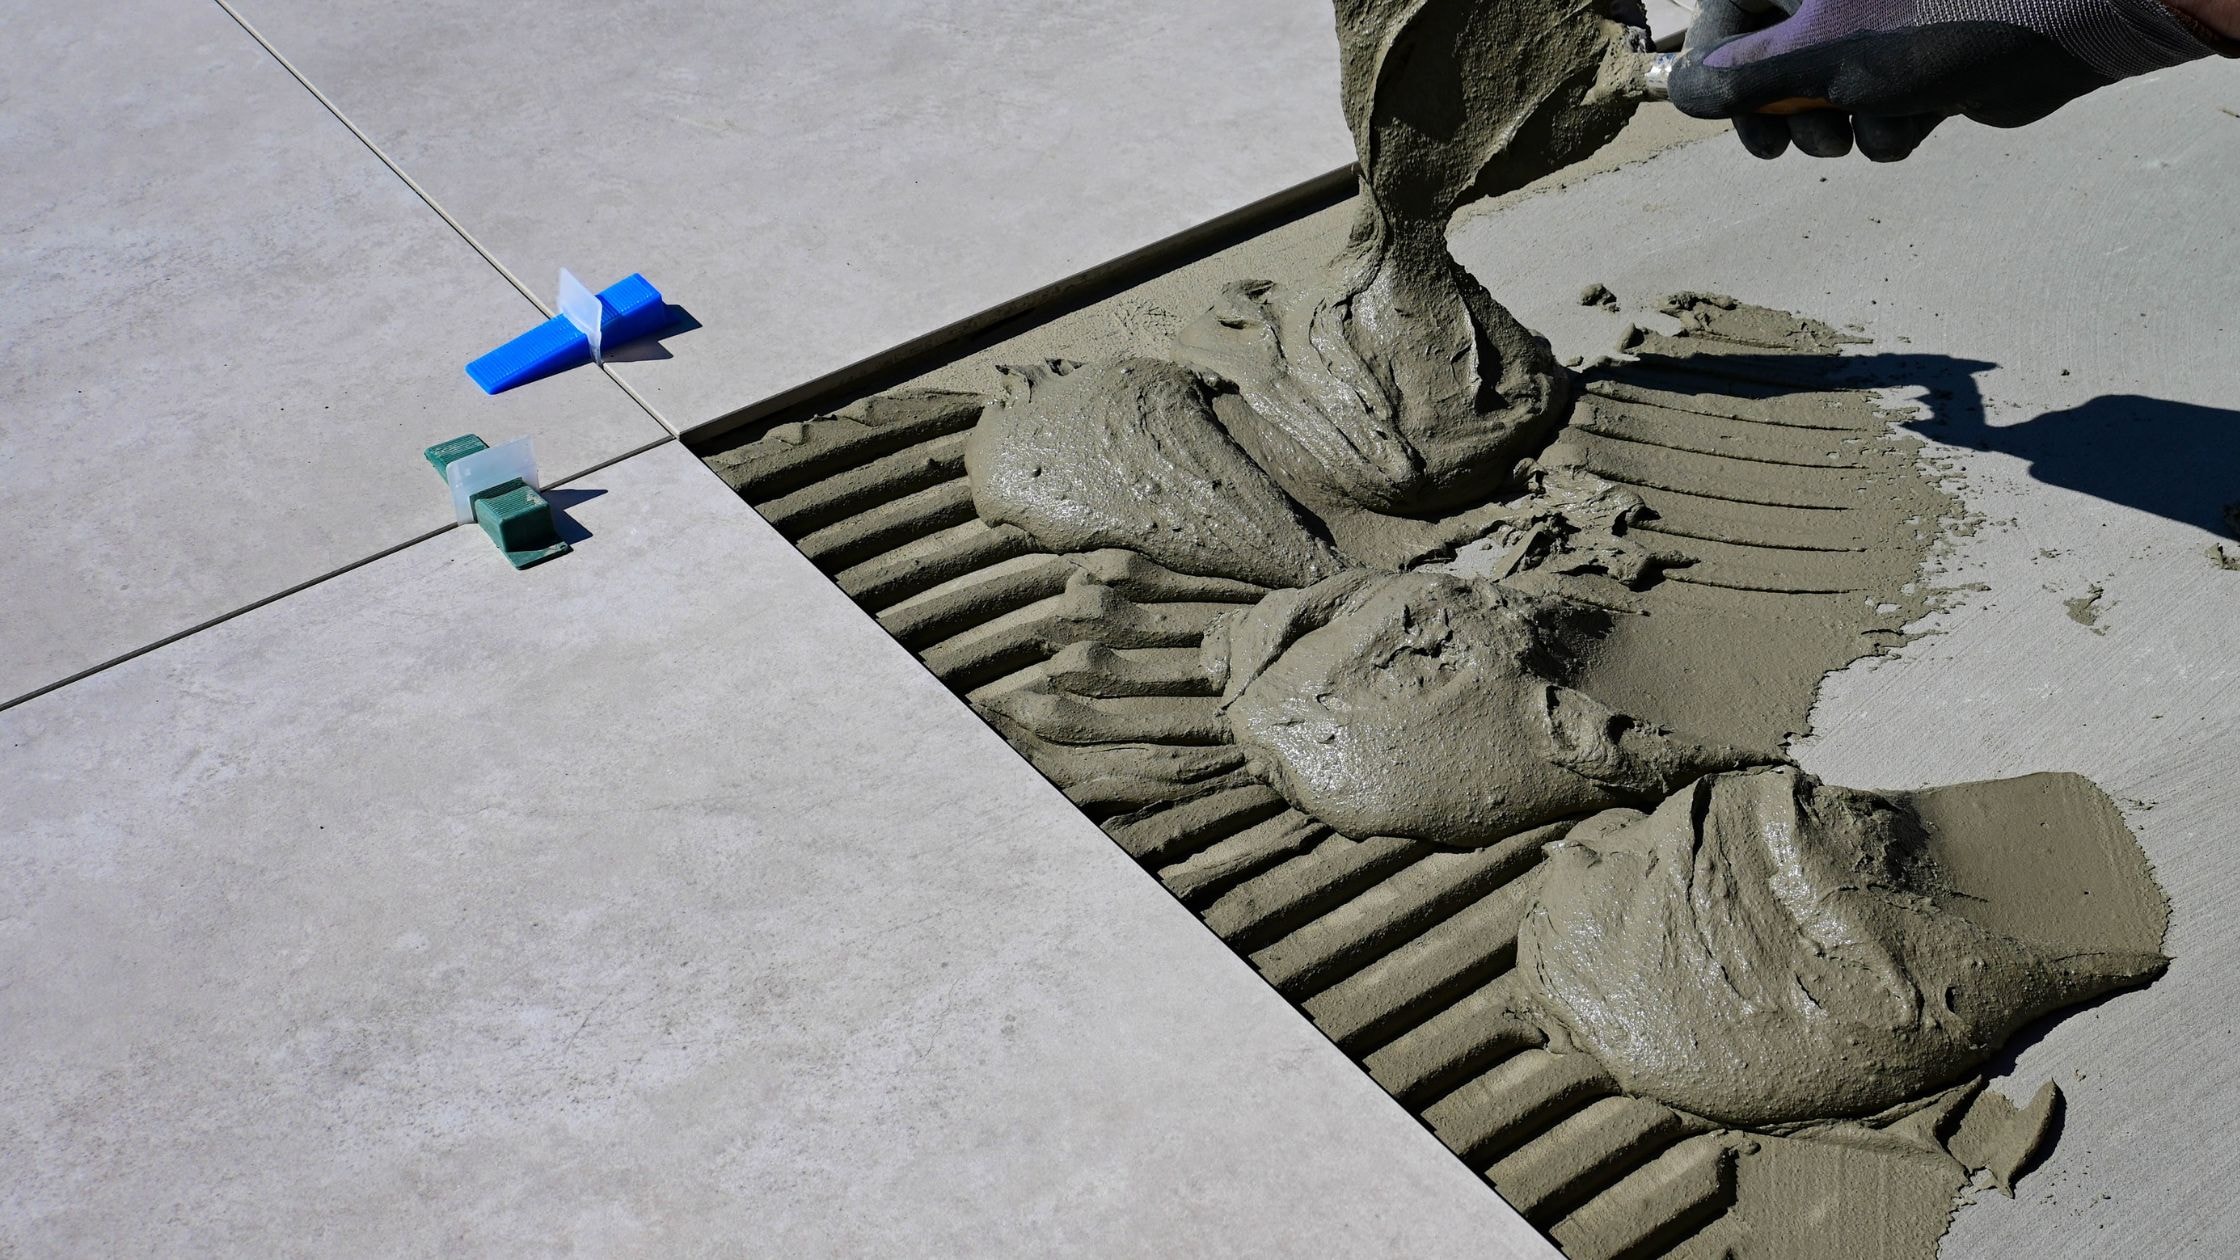
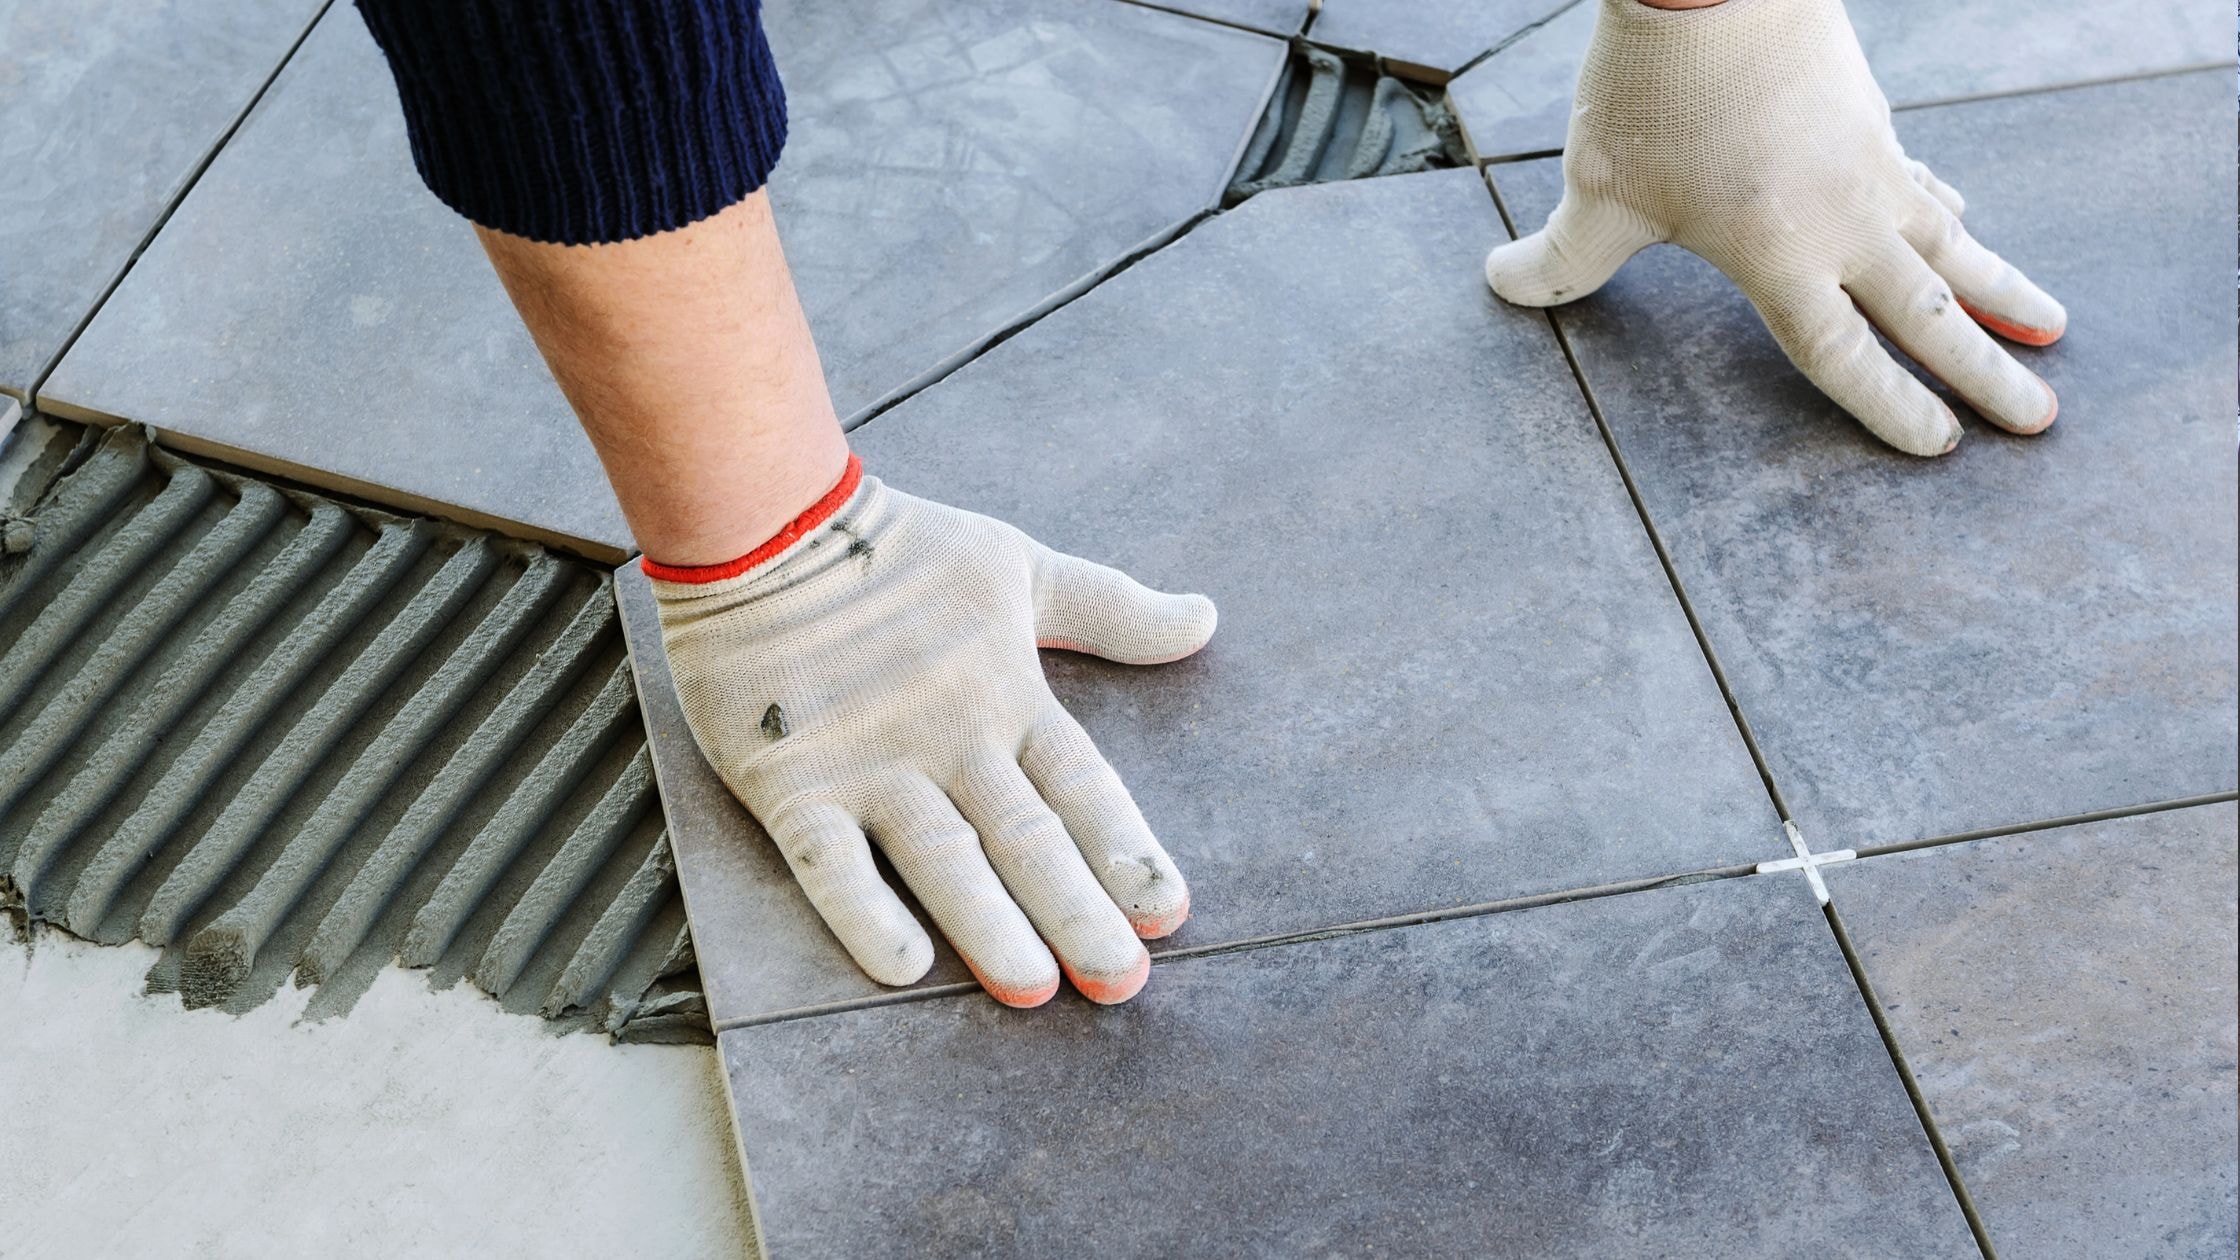
Apply mortar using a notched trowel held at consistent angles. The notch size depends on tile size—larger tiles require deeper notches for adequate coverage. Spread mortar in sections small enough to tile before the mortar skins over.
Comb the trowel through mortar in straight lines, creating uniform ridges. These ridges collapse when tile is pressed down, spreading mortar evenly across the tile back. Proper technique ensures complete coverage without voids that weaken the bond.
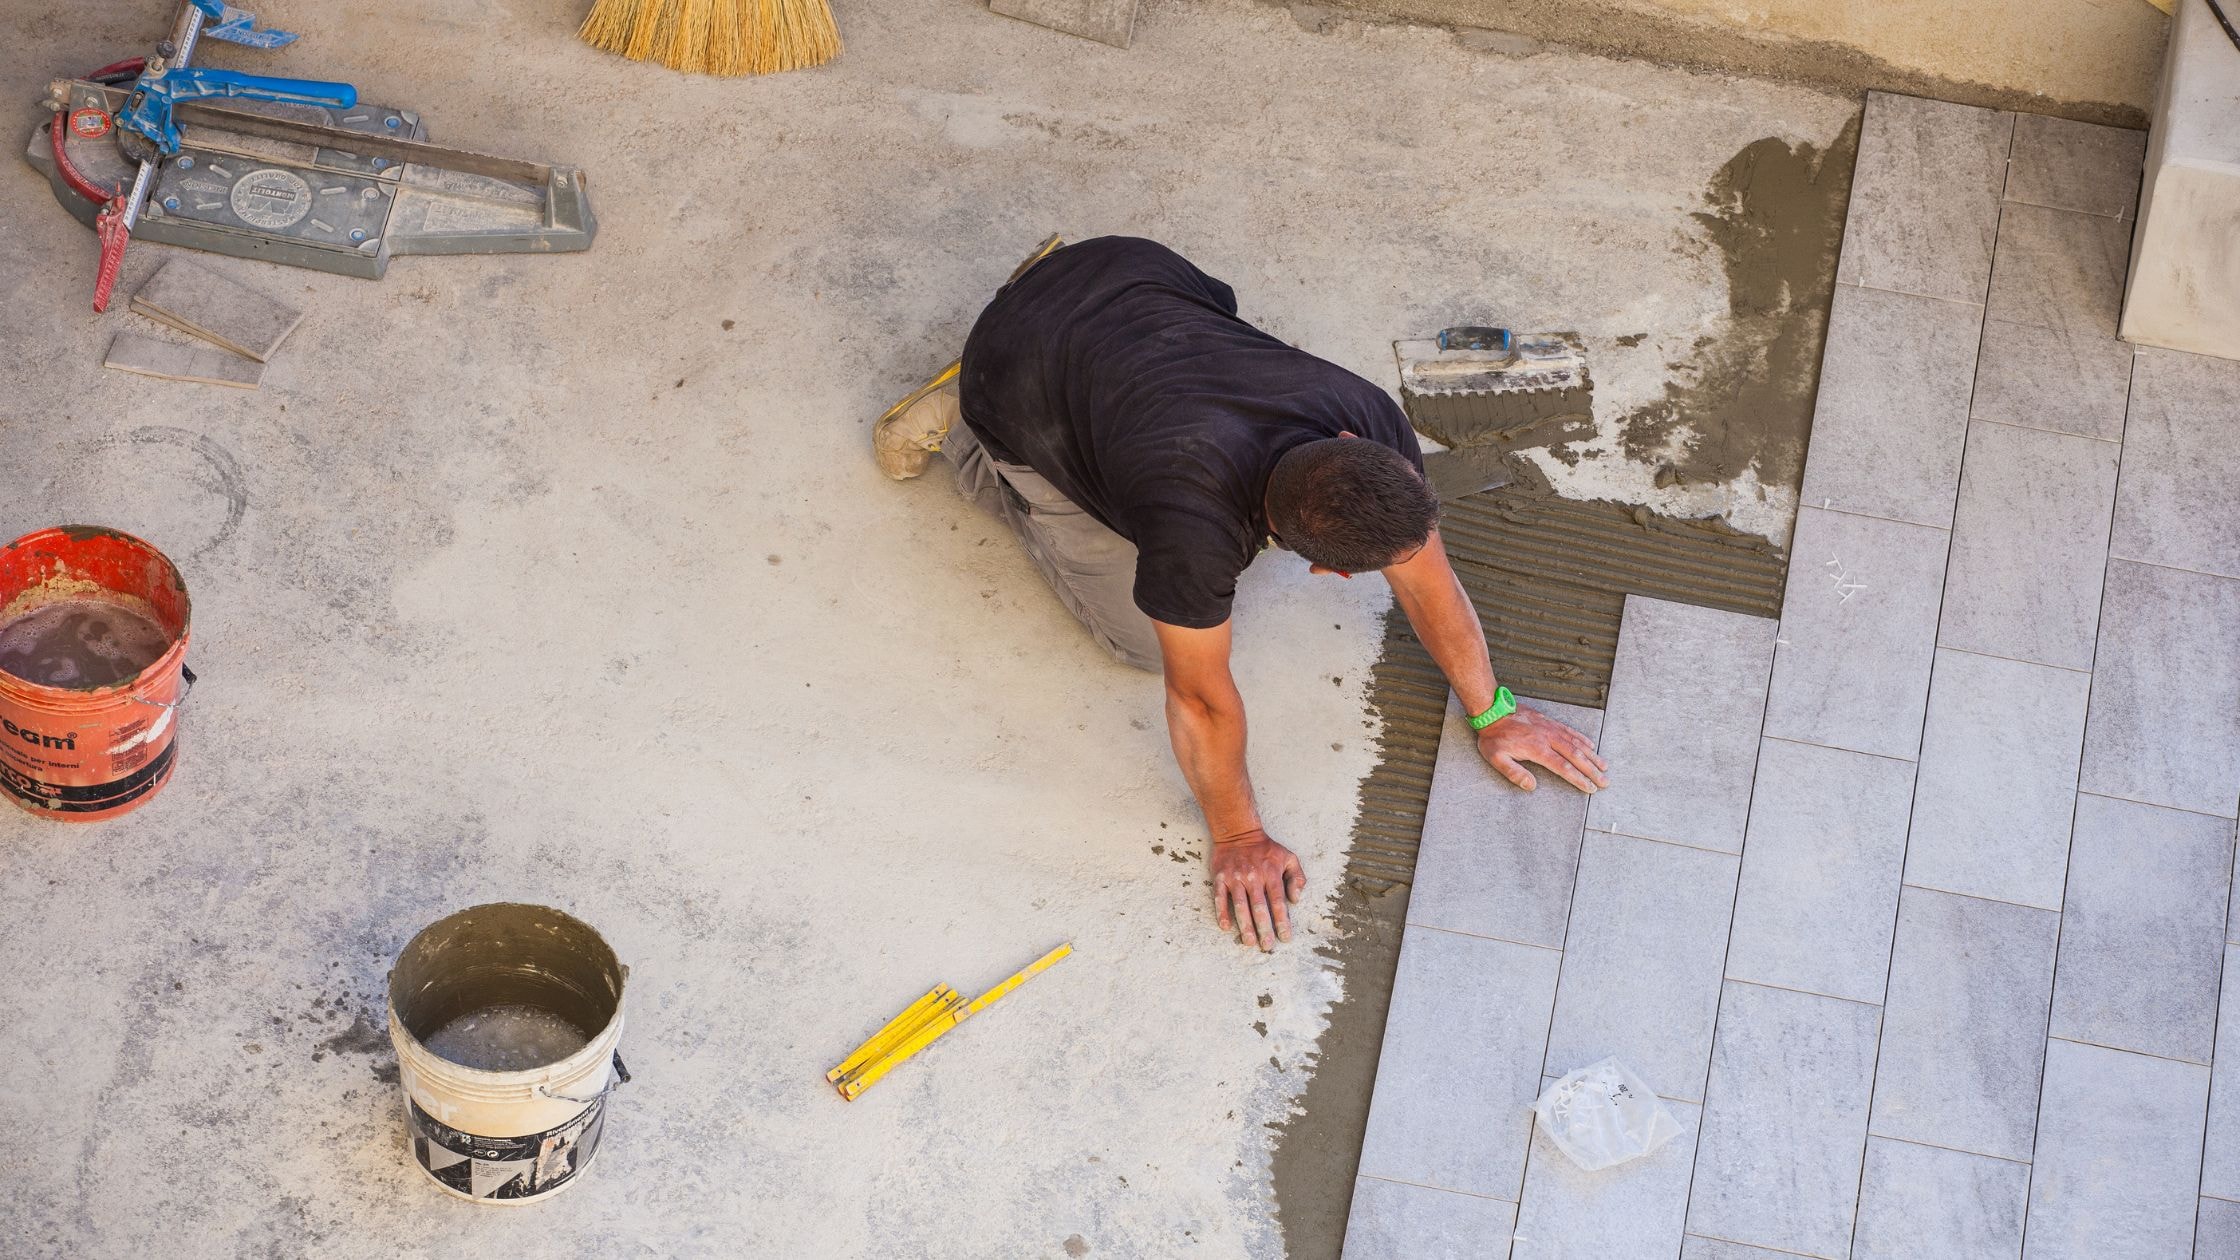
Laying Floor Tile
Start laying tile at the predetermined starting point, typically the room center or a prominent wall. Press the first tile firmly into mortar with a slight twisting motion. This action embeds the tile and removes air pockets.
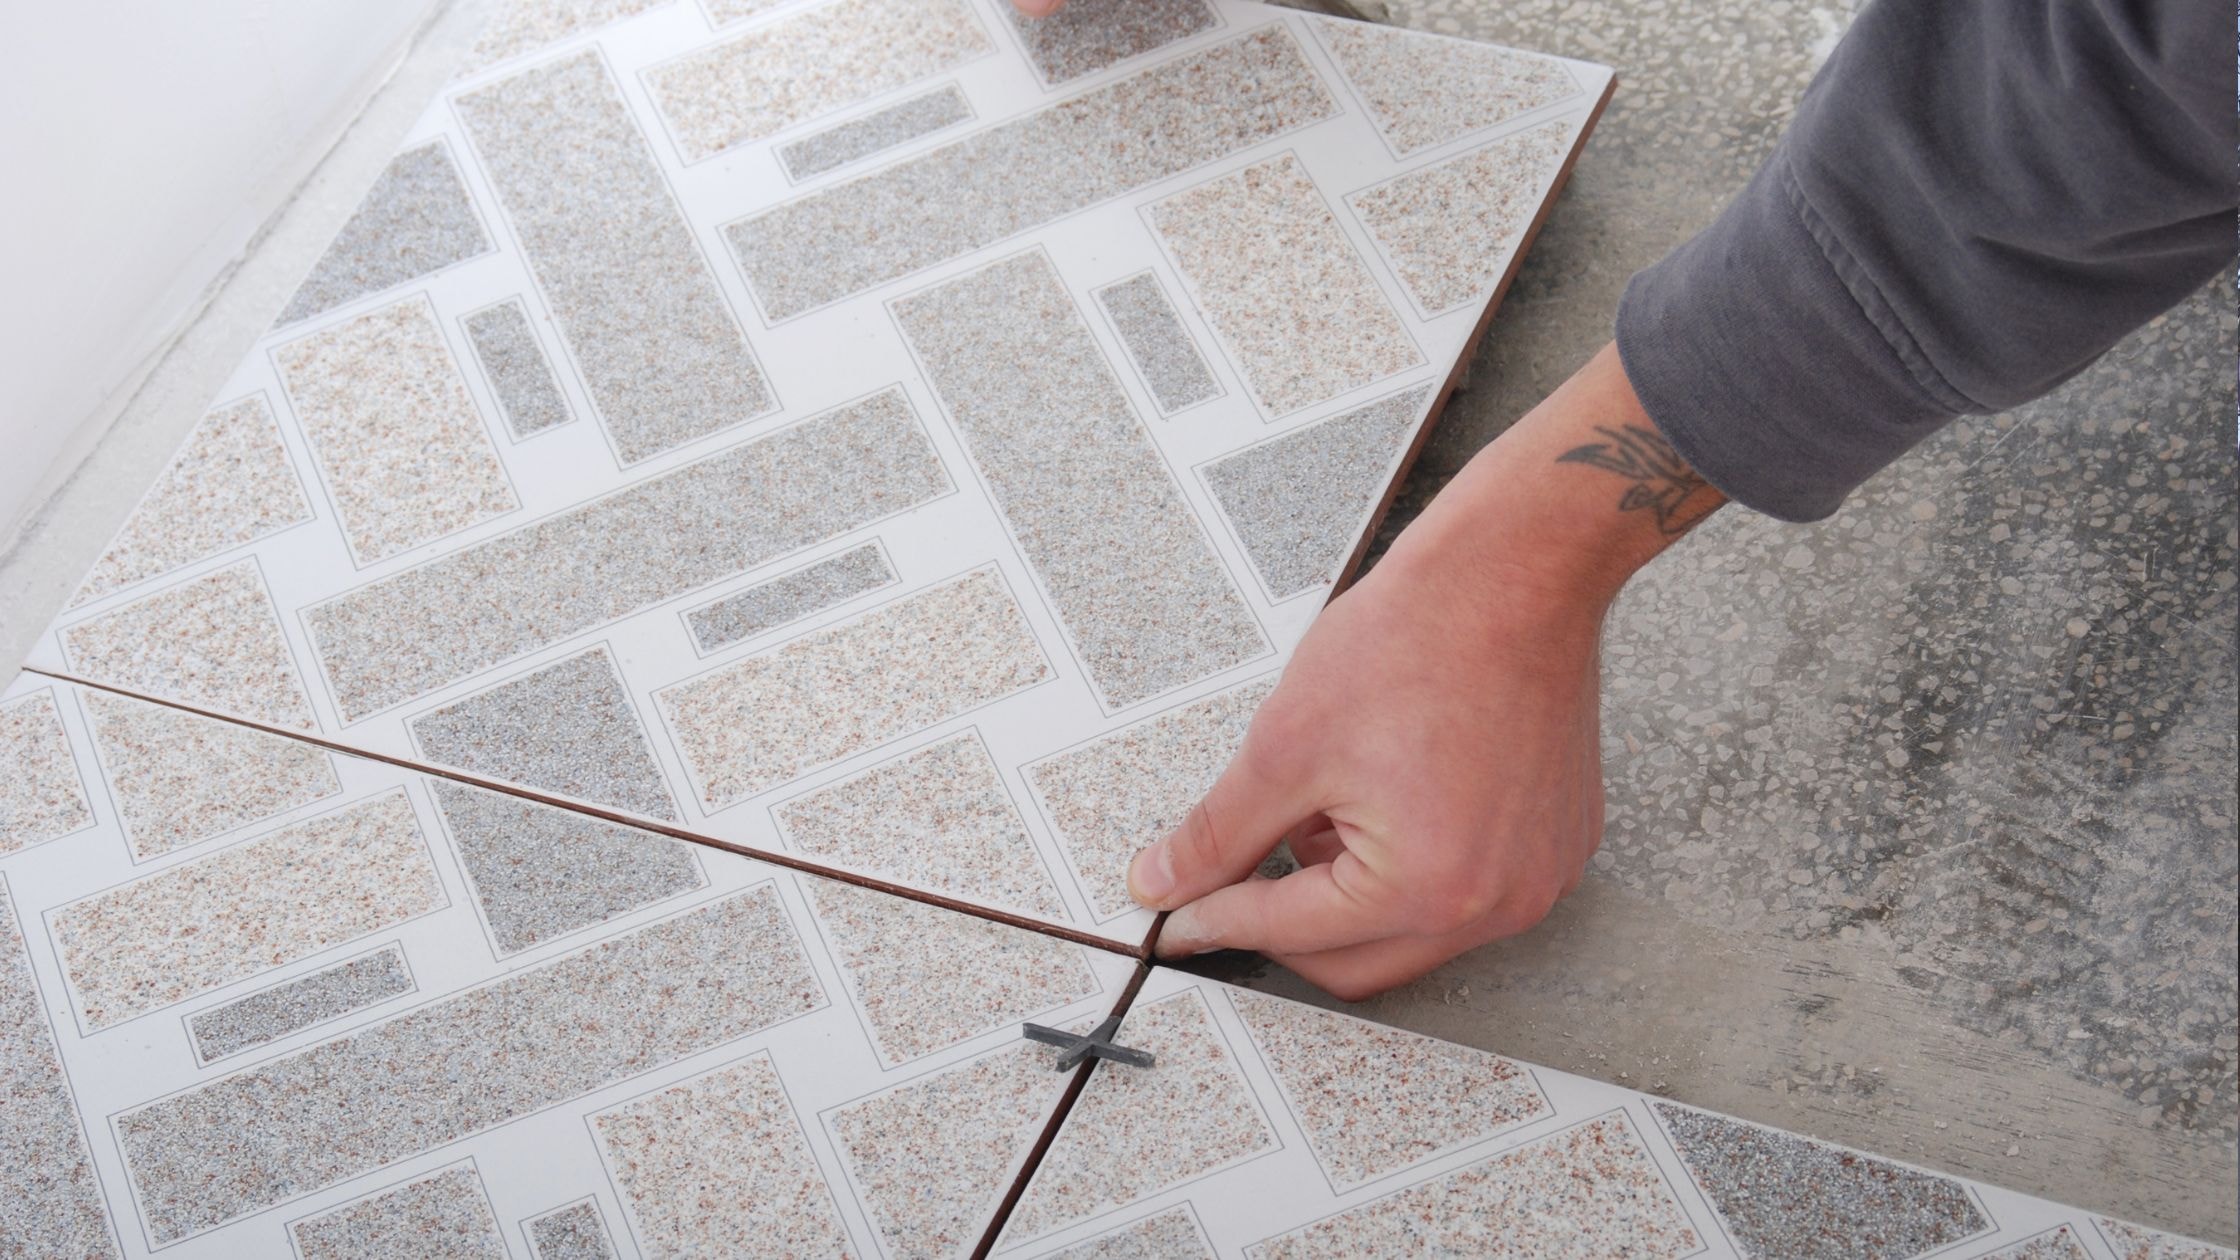
Insert spacers between tiles to maintain consistent lines. These plastic crosses or T-shapes ensure uniform spacing throughout the installation. Spacer size determines grout width, affecting both appearance and cleaning ease.
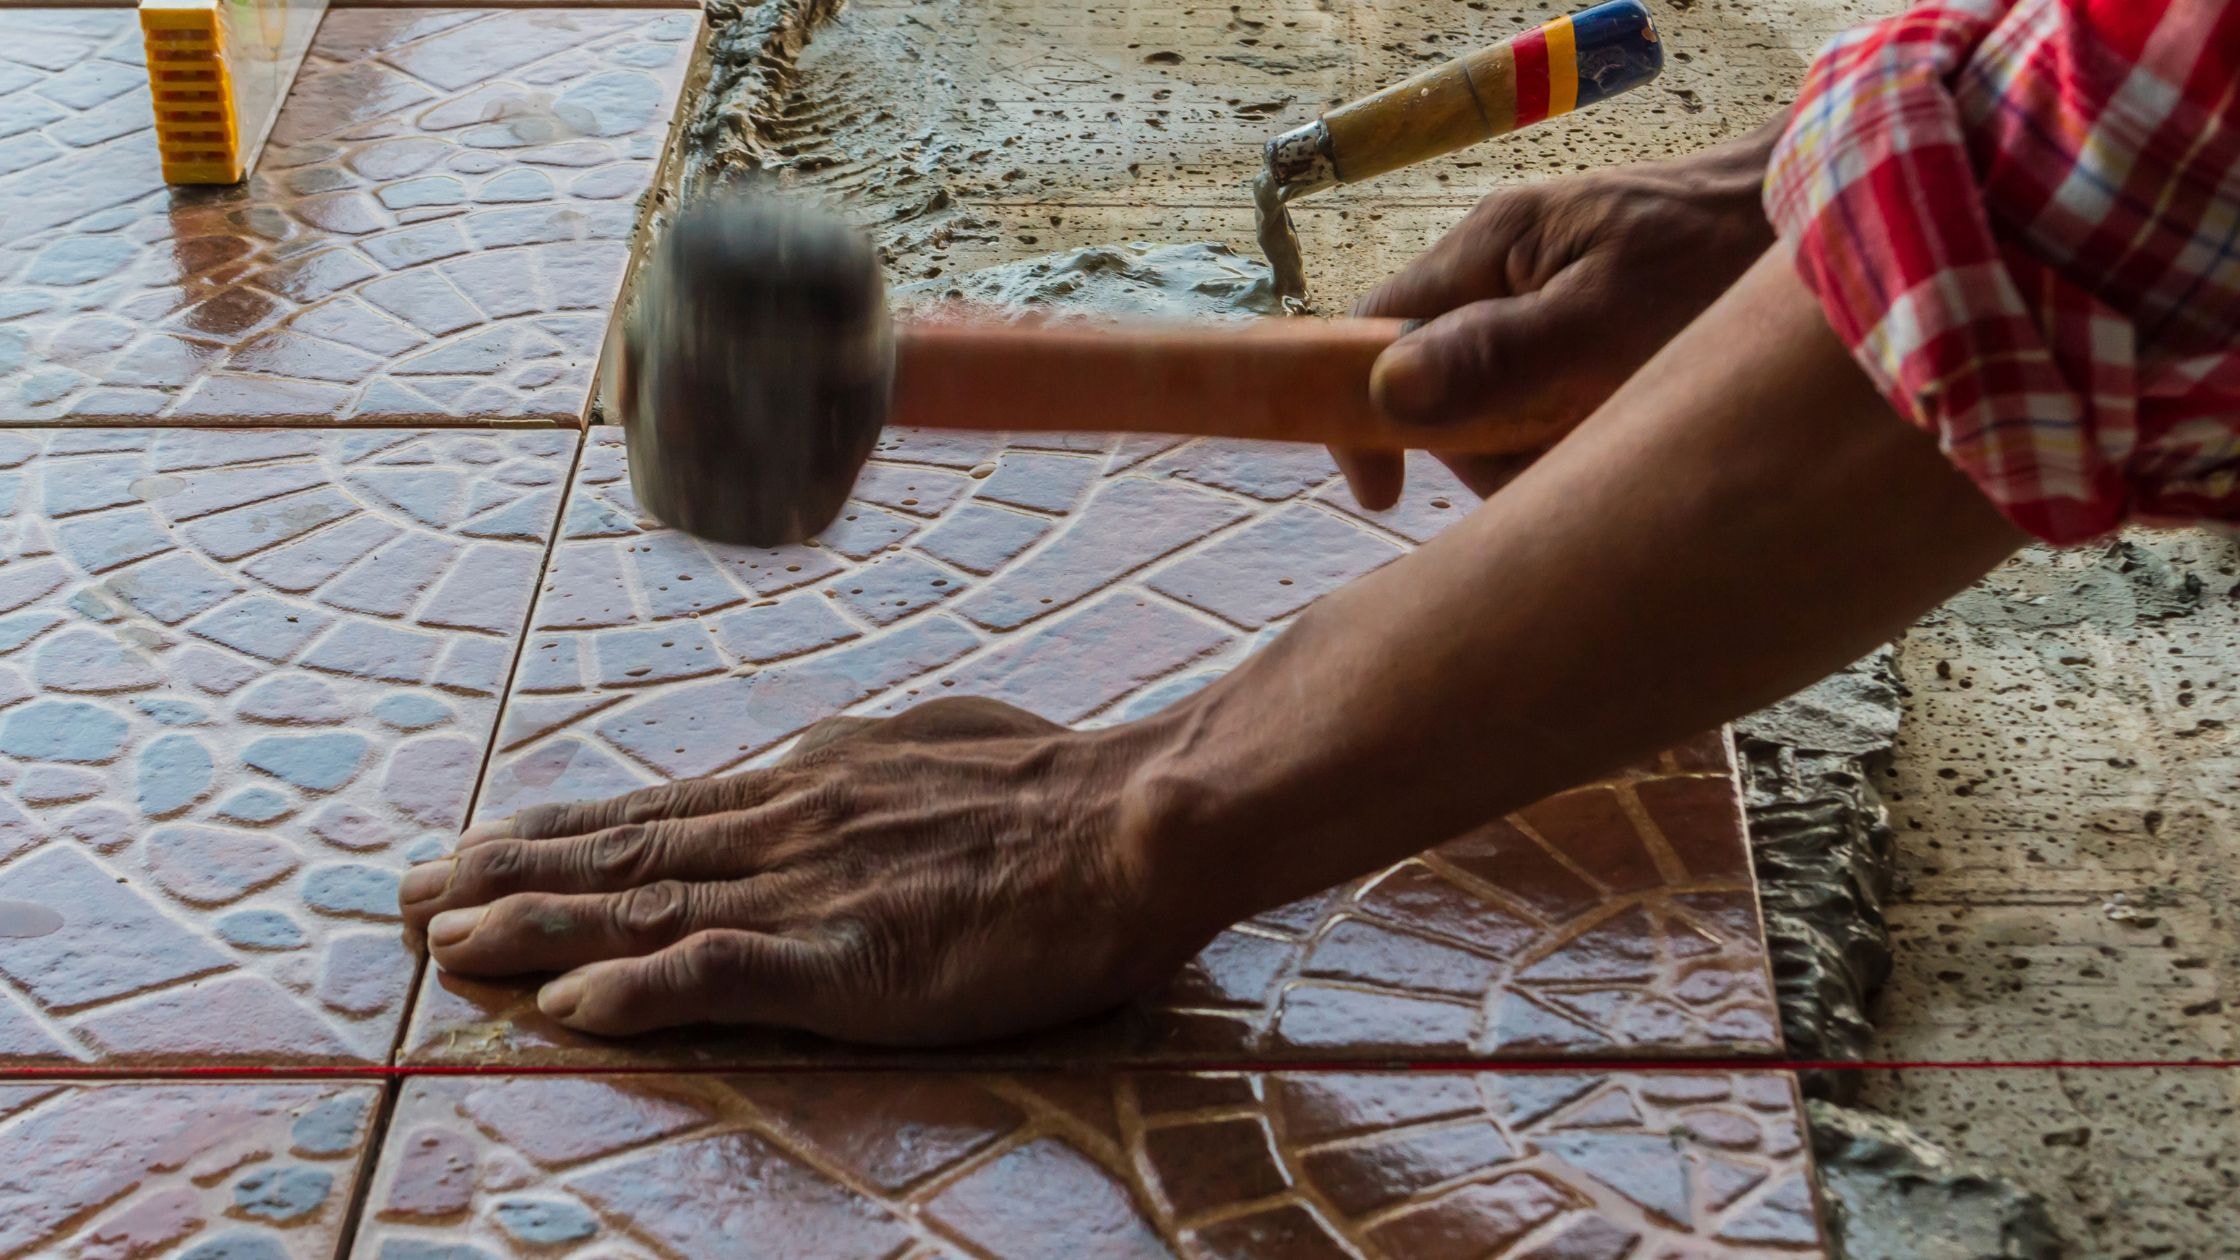
Use a rubber mallet to seat tiles firmly and level with adjacent pieces. Tap gently to avoid cracking tile while achieving proper embedment. Check each tile with a level, adjusting as needed before mortar begins setting.
Quick tip: Periodically lift a recently installed tile to verify mortar coverage—at least 95 percent of the back should show mortar transfer for proper bonding.
Cutting and Fitting Tile
Tiles at walls, corners, and around obstacles require cutting. Measure each cut tile individually rather than assuming uniform measurements. Walls rarely run perfectly straight, so custom fitting prevents gaps.
A tile cutter handles most straight cuts in ceramic tile. Score the glaze surface, then snap the tile along the score line. This tool works quickly for production cutting but cannot handle curves or notches.
Wet saws cut any tile type and handle complex cuts. The diamond blade and water cooling system create clean, precise cuts without tile damage. Wet saws represent the best way to cut porcelain and stone tile.
Mark cut tiles clearly before cutting. Double-check measurements to avoid wasting expensive tile. Practice cuts on spare pieces build confidence before tackling visible cuts.
Working Around Obstacles and Edges
Room features like doorways, cabinets, and fixtures require careful planning. Maintain consistent lines around these obstacles for professional appearance. Cut tiles to fit snugly without forced gaps.
Transitions between tile and other flooring materials need appropriate trim pieces. Transition strips cover expansion gaps while creating smooth walking surfaces. Choose trim that complements both flooring materials for cohesive appearance.
Wall edges require special attention to ensure straight lines. Cut tiles should align with wall planes even when walls themselves run crooked. This detail separates amateur from professional-looking installations.
Grouting Your Tile Floor
Grout Selection and Mixing
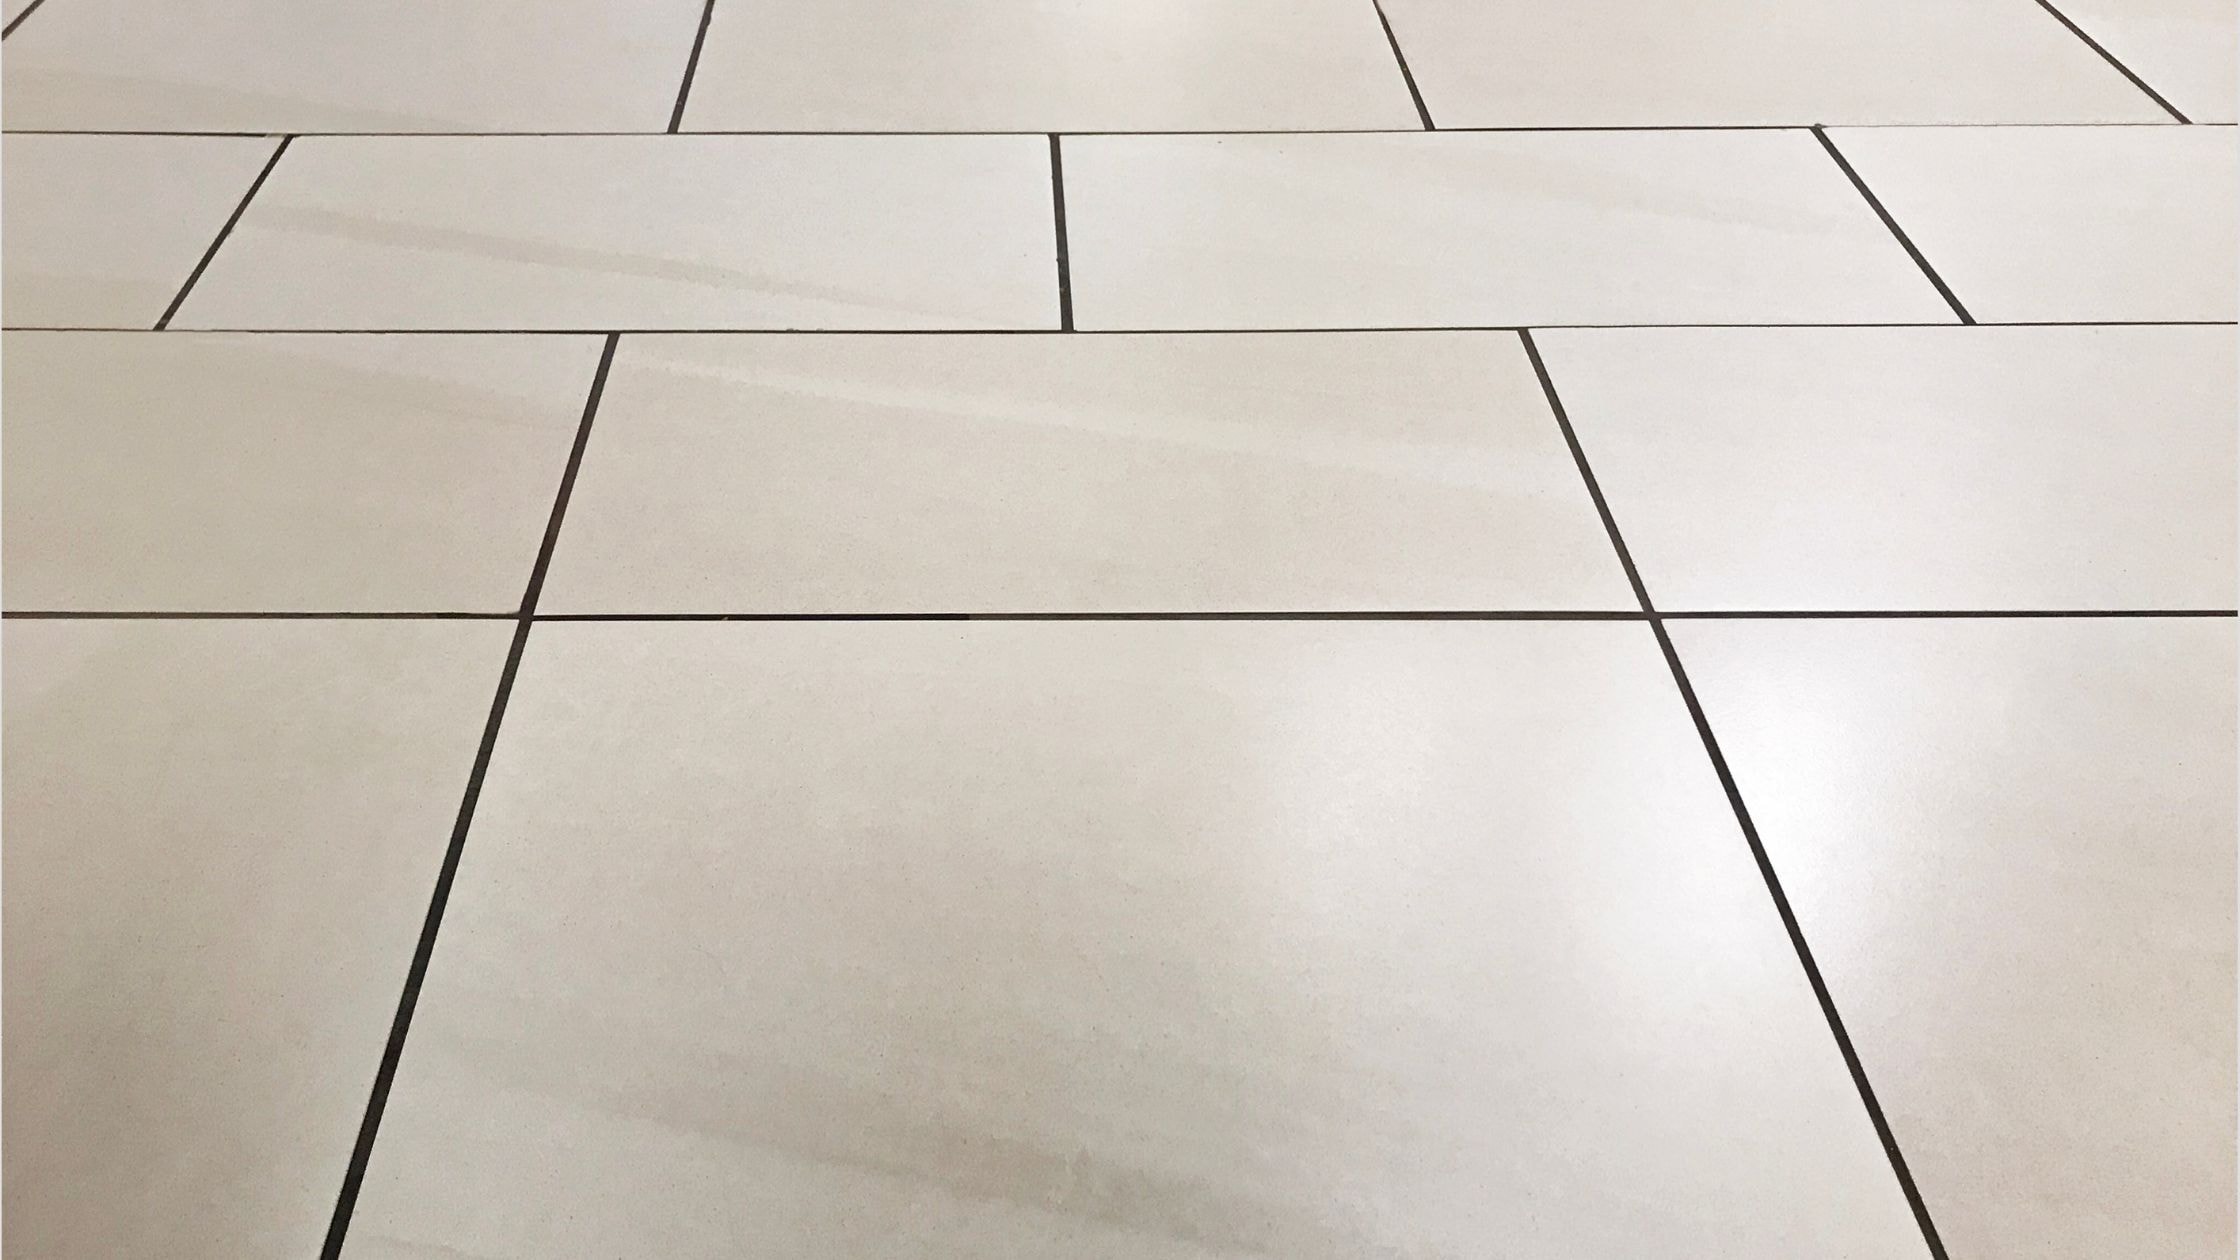
Grout fills spaces between tiles, protecting edges and creating the final appearance. Sanded grout works for joints wider than one-eighth inch, while unsanded grout suits narrower lines. Color selection dramatically impacts the overall look.
Mix grout to a thick paste consistency, smooth and free of lumps. Let the mixture slumber for several minutes, then remix before use. This process activates bonding agents and ensures proper performance.
Prepare only enough grout for 30-60 minutes of work. Working time varies with temperature and humidity. Mixed grout that begins hardening becomes difficult to work and should be discarded.
Applying and Finishing Grout
Remove all spacers before grouting begins. Any spacers left in place show through grout as defects. Clean mortar residue from joints using a margin trowel or similar tool.
Spread grout diagonally across tiles using a rubber float. Pack grout firmly into joints, ensuring complete filling. Make multiple passes to eliminate voids and air pockets.
Remove excess grout by holding the float at steep angles and working diagonally to the lines. This technique prevents pulling fresh grout from joints. Leave joints slightly recessed rather than flush with tile surfaces.
Clean tile surfaces with a damp sponge once grout begins firming. Rinse the sponge often, wringing it nearly dry. Multiple light passes work better than heavy scrubbing, which can pull grout from joints.
Watch for grout haze as the surface dries. Polish away haze using clean, dry cloths. Some tile types require special cleaners to remove stubborn haze without damaging surfaces.
Curing and Sealing
Grout requires proper curing for full strength development. Follow manufacturer recommendations, typically keeping the surface damp for several days. Cover the floor to prevent premature drying.
Sealing grout protects against stains and moisture penetration. Wait until grout cures completely before applying sealer—typically 72 hours minimum. Apply sealer carefully, avoiding tile surfaces unless using penetrating sealers designed for both materials.
Some tile types require separate sealing for protection. Natural stone especially needs appropriate sealers to prevent staining. Test sealers in inconspicuous areas before applying to entire surfaces.
For more guidance on various flooring options and installation considerations, explore The Ultimate Guide to Flooring Installation for Homeowners.
Professional Installation vs. DIY Approach
Benefits of Professional Installation
Experienced installers bring expertise that prevents common mistakes. They assess subfloor conditions, recommend appropriate materials, and guarantee their work. Professional installation typically includes warranty coverage for both labor and materials.
Professionals complete jobs faster than DIY attempts. Their experience allows efficient work without sacrificing quality. They own specialized tools that handle any challenge, from tricky cuts to large format tile installation.
Complex patterns, expensive materials, or challenging conditions favor professional installation. The investment protects valuable tile and ensures lasting results. Proper installation prevents premature failure and costly repairs.
DIY Installation Considerations
Homeowners with experience and proper tools can successfully install tile. Simple layouts in small spaces present manageable challenges for careful DIY installers. The process requires patience, attention to detail, and willingness to research proper techniques.
Tool investment adds to project costs for DIY installation. Wet saws, trowels, spacers, and safety equipment accumulate expenses. Rental tools reduce costs but limit practice time for skill development.
Time commitment often exceeds initial estimates. Working around furniture, other obligations, and learning curves extends project timelines. Mistakes require additional materials and time to correct.
The Tile Council of North America provides detailed technical guidelines for proper installation methods across various conditions and applications.
Common Installation Challenges

Dealing with Uneven Surfaces
Discovering uneven subfloors after starting installation creates significant problems. The best approach involves thorough surface preparation before beginning. Self-leveling compounds correct many issues, though severe problems may require professional assessment.
Lippage occurs when adjacent tiles sit at different heights. This defect creates trip hazards and unprofessional appearance. Proper mortar application and careful leveling prevent lippage. Large format tile shows lippage more readily than smaller pieces.
Maintaining Pattern Alignment
Tile alignment challenges increase over distance from starting points. Regular measurements and reference line checks catch drift early. Small corrections made frequently prevent major misalignment.
Spacers help maintain uniform lines, but tiles themselves may vary slightly in size. Adjusting spacer placement compensates for these variations while maintaining overall pattern integrity.
Maintenance and Long-term Care
Proper maintenance preserves tile floor beauty and extends lifespan. Regular sweeping removes grit that can scratch surfaces. Damp mopping with appropriate cleaners maintains appearance without damaging grout or tile.
Grout requires periodic resealing to maintain stain resistance. Frequency depends on traffic, cleaning habits, and sealer quality. Most residential installations benefit from annual resealing.
Addressing damage promptly prevents expansion. Cracked tiles should be removed and replaced before moisture penetrates underlying materials. Damaged grout needs repair to protect tile edges and maintain appearance.
Current design trends continue evolving tile styles and installation techniques. Learn more about modern options in Flooring Trends 2025: Styles, Materials, and Innovations.
Frequently Asked Questions
How long does tile installation take to complete?
A typical bathroom floor requires 2-3 days for complete tile installation, including mortar curing and grouting. Larger spaces take longer based on square footage and pattern complexity. Professional installers work faster than DIY attempts, completing jobs in less time.
Can tile be installed over existing flooring?
Tile can install over some existing surfaces if they provide adequate stability and flatness. Old vinyl or linoleum may work as bases if firmly attached. Existing tile can support new tile when properly prepared. Wood flooring should be removed before tile installation.
What tools are essential for laying tile?
Essential tools include a notched trowel for mortar, spacers for grout lines, a level for checking placement, and cutting tools appropriate for tile type. A rubber mallet helps seat tiles properly. Sponges and buckets assist with grout cleanup. Knee pads protect during extended floor work.
How do you know when to start tiling after mortar application?
Begin laying floor tile immediately after applying mortar to prevent skinning. Mortar working time varies from 15-30 minutes depending on conditions. Test by pressing a finger into mortar—if it transfers to skin cleanly, the mortar remains workable. If mortar skins over, remove and apply fresh material.
What causes tile to crack after installation?
Tile cracks result from subfloor movement, inadequate mortar coverage, or impact damage. Flexing subfloors crack rigid tile, making proper underlayment critical. Voids under tile create weak spots that fail under weight. Dropped objects can crack tile regardless of installation quality.
Should grout lines be sealed in all installations?
Sealing grout lines protects against stains and moisture in most residential installations. Bathroom and kitchen floors especially benefit from sealed grout. Some epoxy grouts do not require sealing due to their dense, non-porous nature. Check manufacturer recommendations for specific products.
How soon can you walk on newly installed tile?
Wait at least 24 hours before walking on fresh tile installation. This time allows mortar to gain sufficient strength. Full curing takes several days, so avoid heavy traffic and furniture placement for 72 hours. Grout requires complete curing before exposure to moisture.
What is the best way to cut tile around corners?
Measure corner spaces carefully, accounting for grout line gaps. Mark cut lines on tile using pencil or marker. Use appropriate cutting tools based on cut complexity—straight cuts work with snap cutters, while notches require wet saws. Test fit cut tiles before setting in mortar.
Conclusion

Successful tile flooring installation combines proper planning, quality materials, and careful execution. Understanding each step from surface preparation through final sealing ensures durable, attractive results. Whether choosing professional installation or tackling a DIY project, knowledge of proper techniques prevents common problems.
The process demands patience and attention to detail. Rushing through preparation or installation steps creates problems that compromise the finished floor. Taking time to measure, plan, and execute each phase delivers results that last for decades.
Tile offers unmatched durability and design flexibility for homes. Proper installation maximizes these benefits, creating floors that withstand daily demands while maintaining beauty. Investing in correct techniques and materials pays dividends through years of reliable service and satisfaction.