
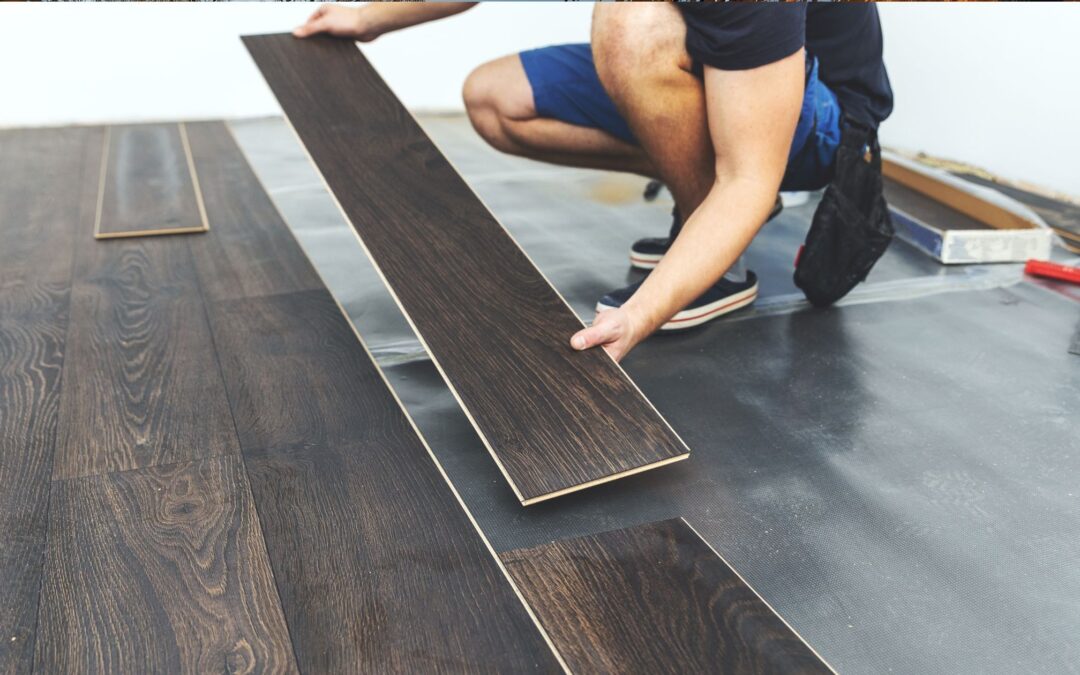
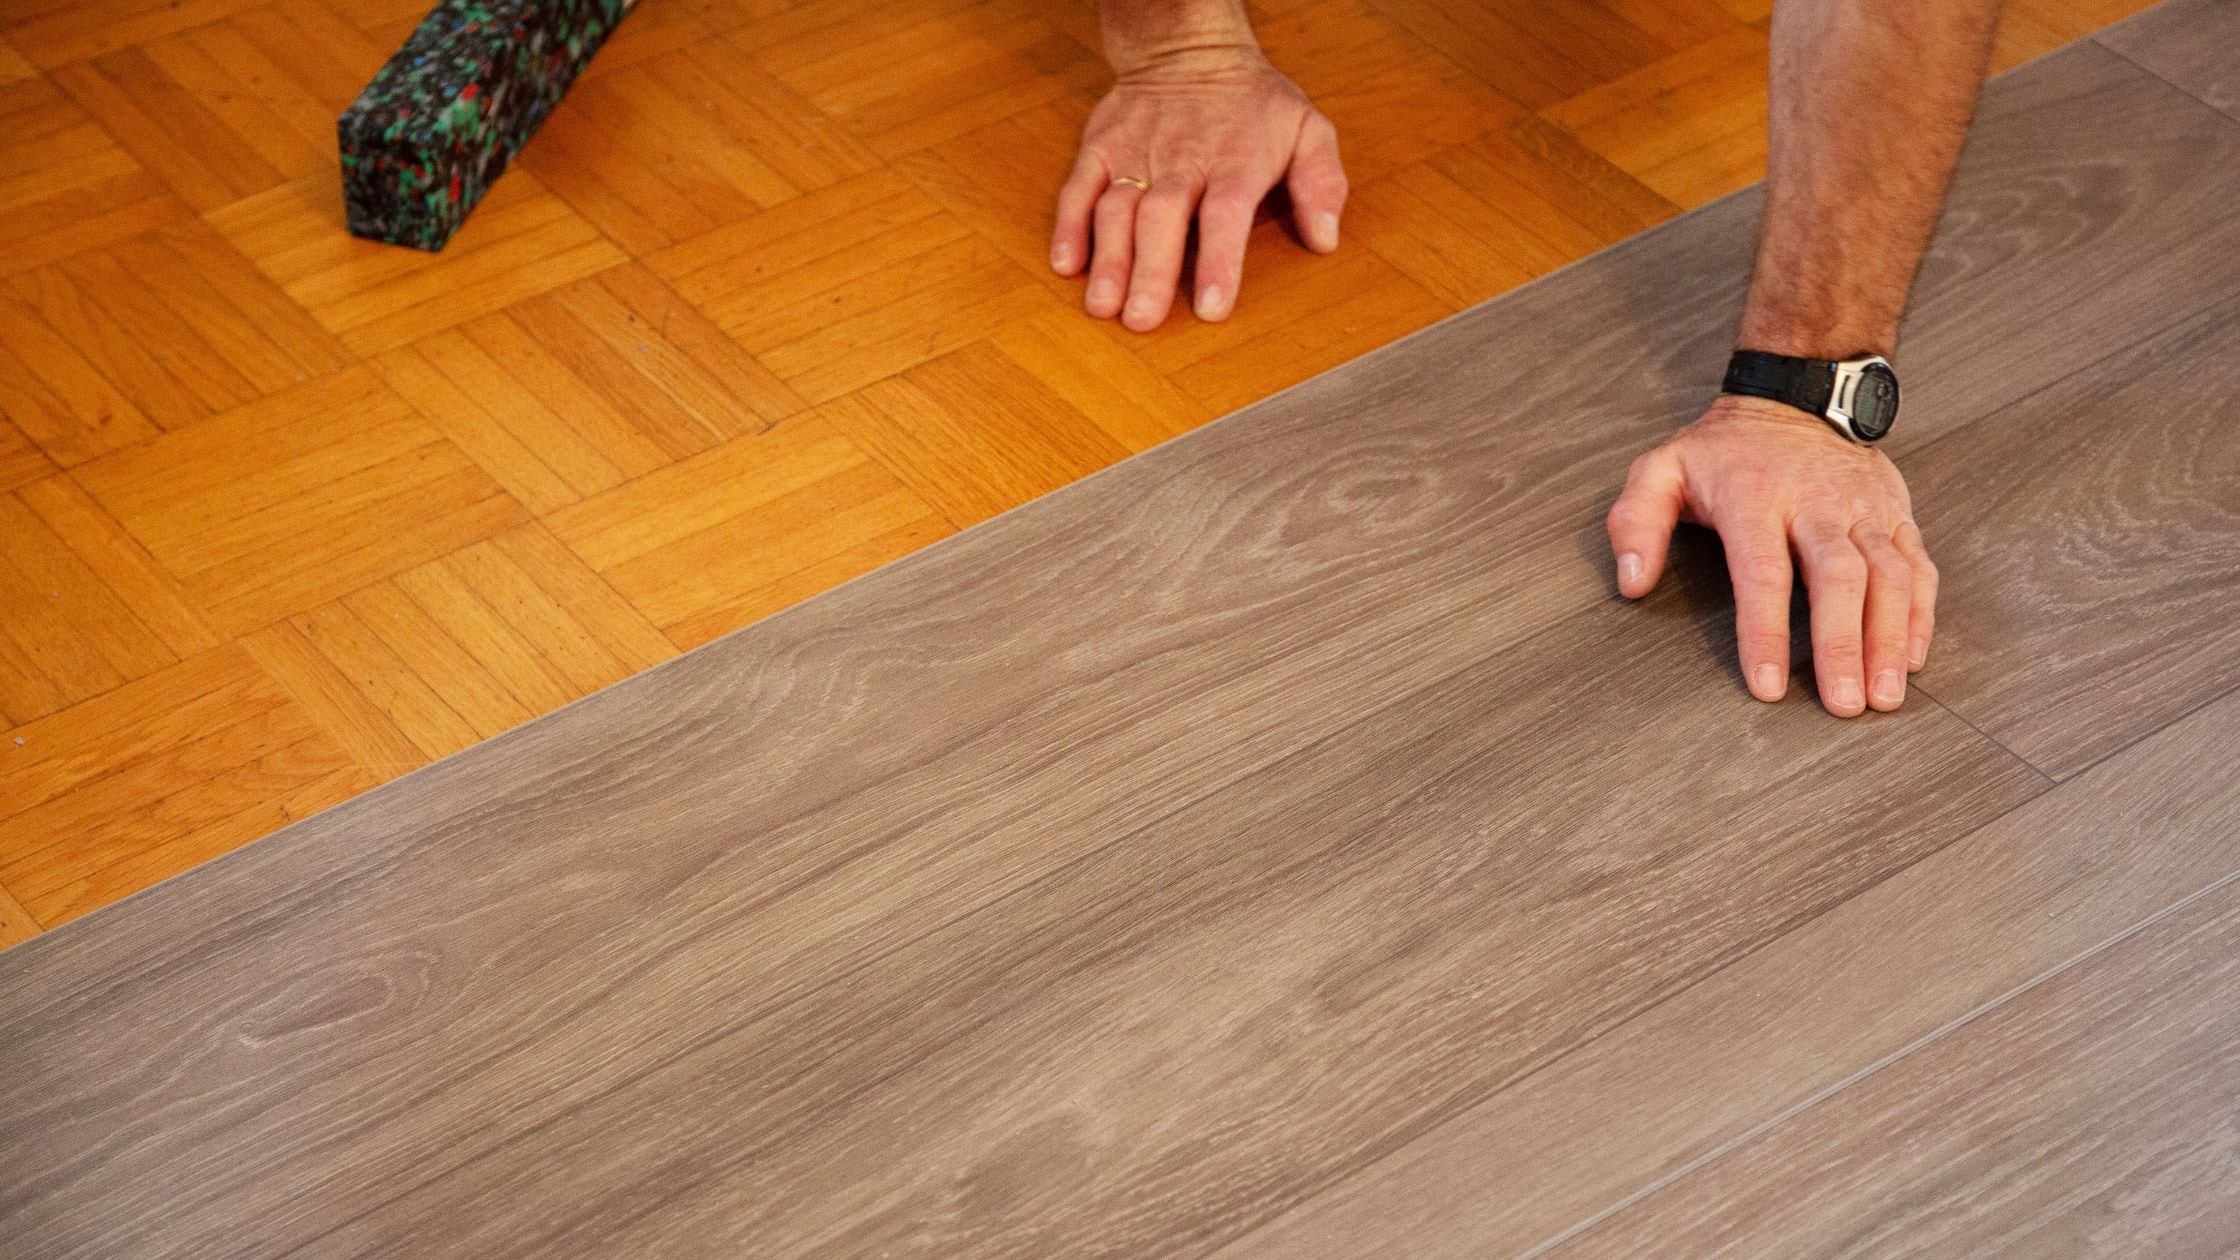
Learning how to install vinyl plank flooring transforms any room in your house with beautiful, durable results. This flooring option offers the appearance of hardwood while providing superior moisture resistance and easier maintenance. Homeowners choose vinyl plank because installation requires basic tools and skills that most people can master.
Modern vinyl plank flooring features click-and-lock systems that make installation fairly easy compared to traditional hardwood or tile. The planks connect without glue or nails, creating a floating floor that moves with temperature changes. This installation method works well over most existing surfaces, including concrete, old carpet, and laminate.
Proper preparation ensures your new flooring looks professional and lasts for years. Understanding each step prevents common mistakes that can cause gaps, buckling, or uneven surfaces. This comprehensive guide covers everything needed to complete a successful vinyl plank installation project from start to finish.
Understanding Vinyl Plank Flooring
Vinyl plank flooring consists of multiple layers designed to mimic natural wood grain patterns and textures. The top wear layer protects against scratches and stains, while the core provides stability and moisture resistance. These layers work together to create flooring that performs well in kitchens, bathrooms, and other moisture-prone areas.
Most vinyl plank products feature tongue-and-groove edges that lock together securely. This click-lock system eliminates the need for adhesives in most installations. The planks expand and contract as one unit, preventing individual pieces from separating over time.
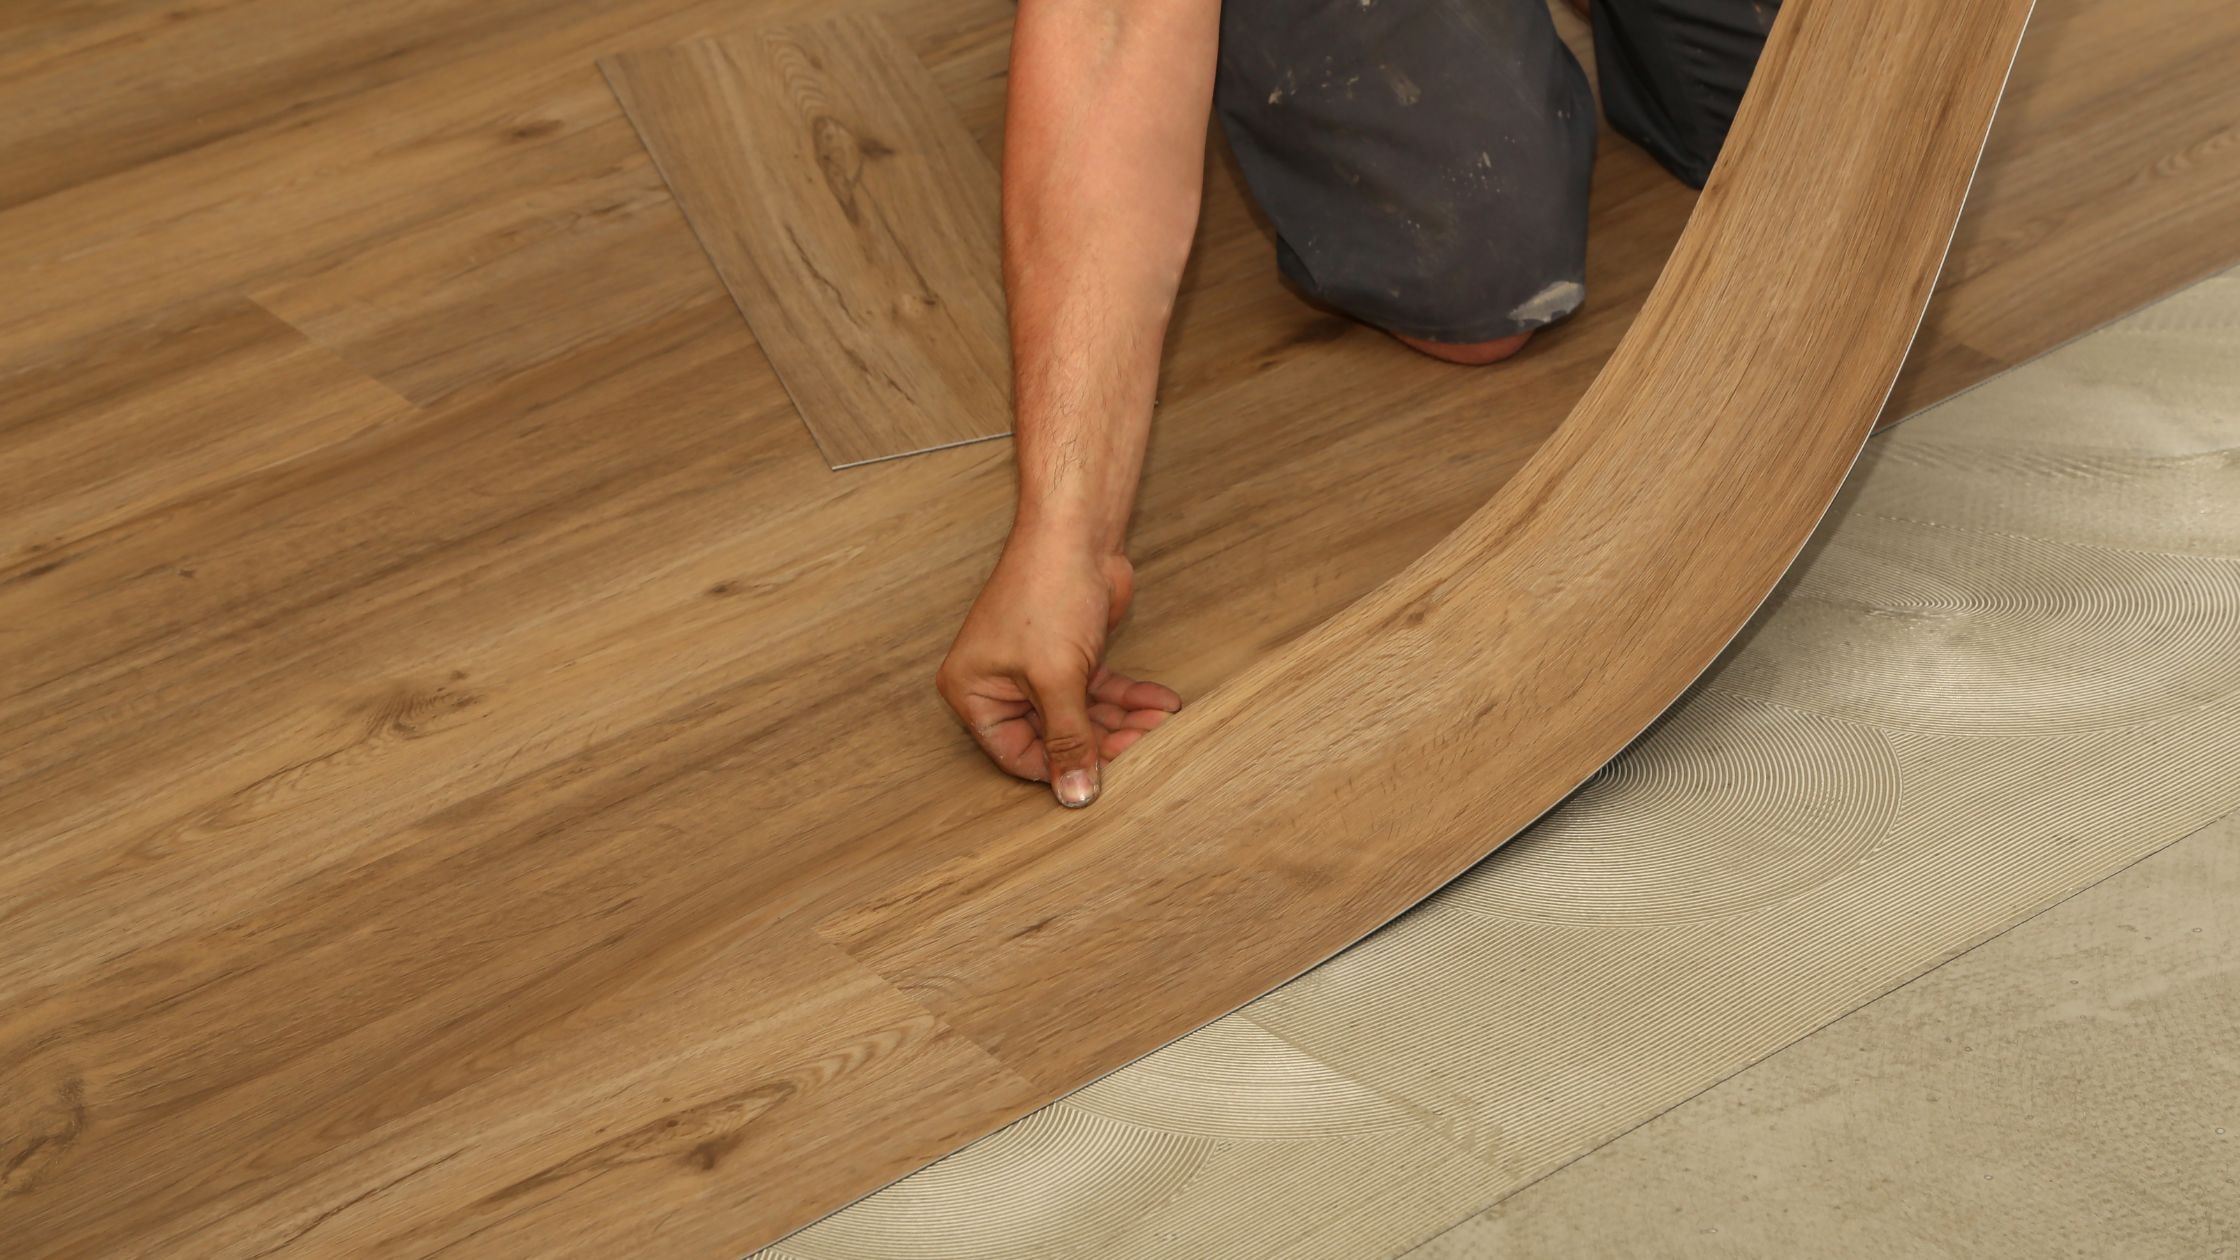
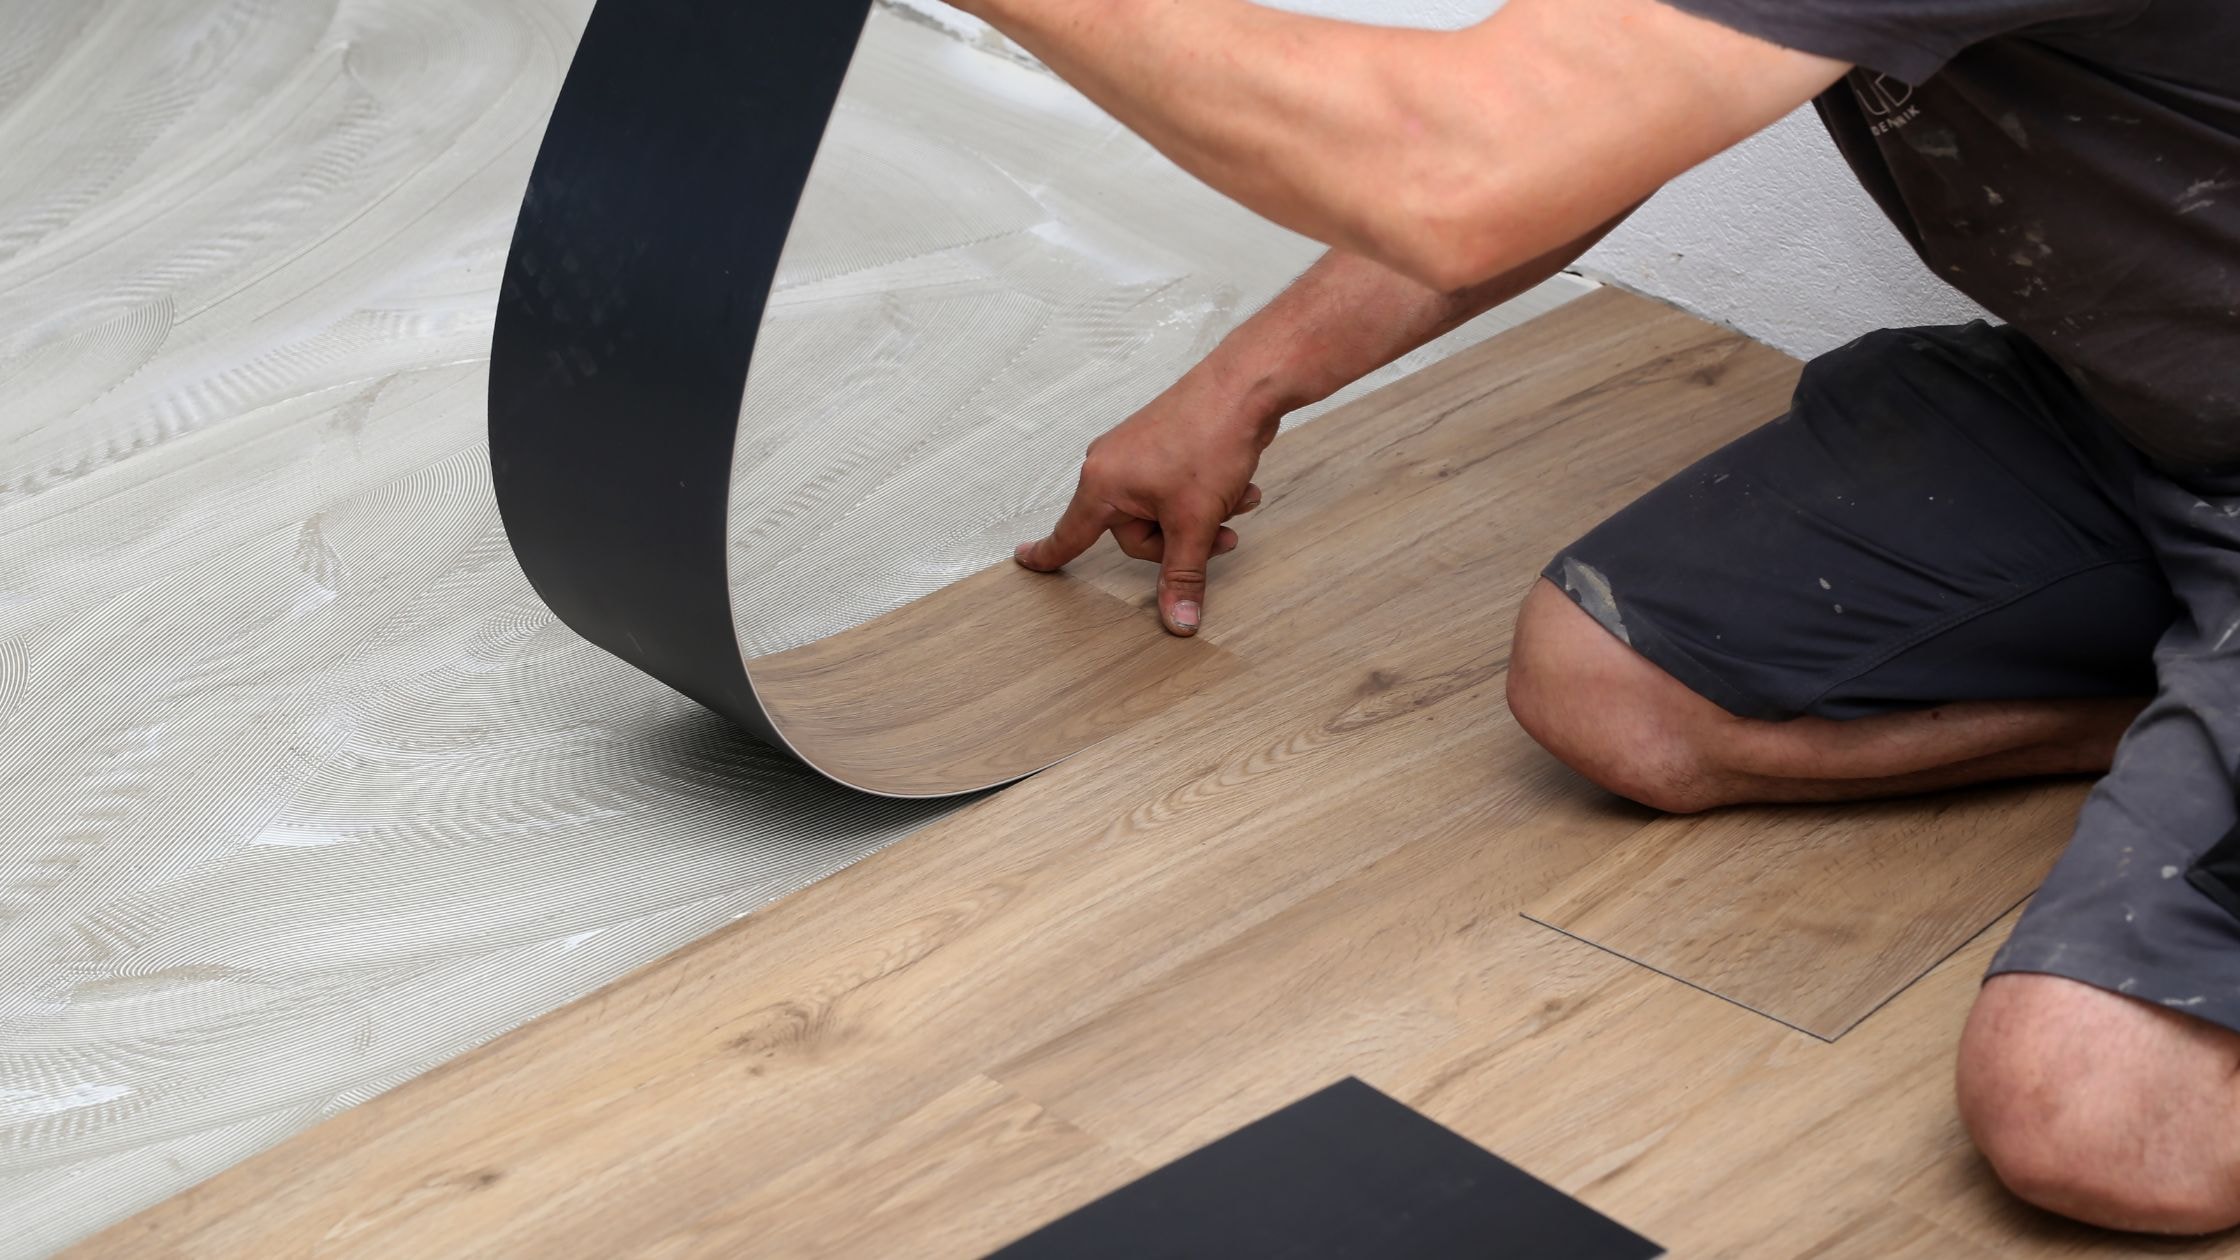
The floating floor installation method means the planks rest on top of the subfloor without permanent attachment. This approach works well over concrete floors, existing tile, and other stable surfaces. The floating installation also allows for easy replacement of damaged planks if needed in the future.
Quality vinyl plank flooring includes built-in underlayment that provides cushioning and sound reduction. This attached padding eliminates the need for separate underlayment in most situations. However, some installations may require additional moisture barriers or leveling compounds depending on subfloor conditions.
Essential Tools for Installation
Gathering the right tools before starting prevents delays and ensures professional results. Most vinyl plank installations require common household tools plus a few specialized items. Having everything ready makes the installation process smooth and efficient.
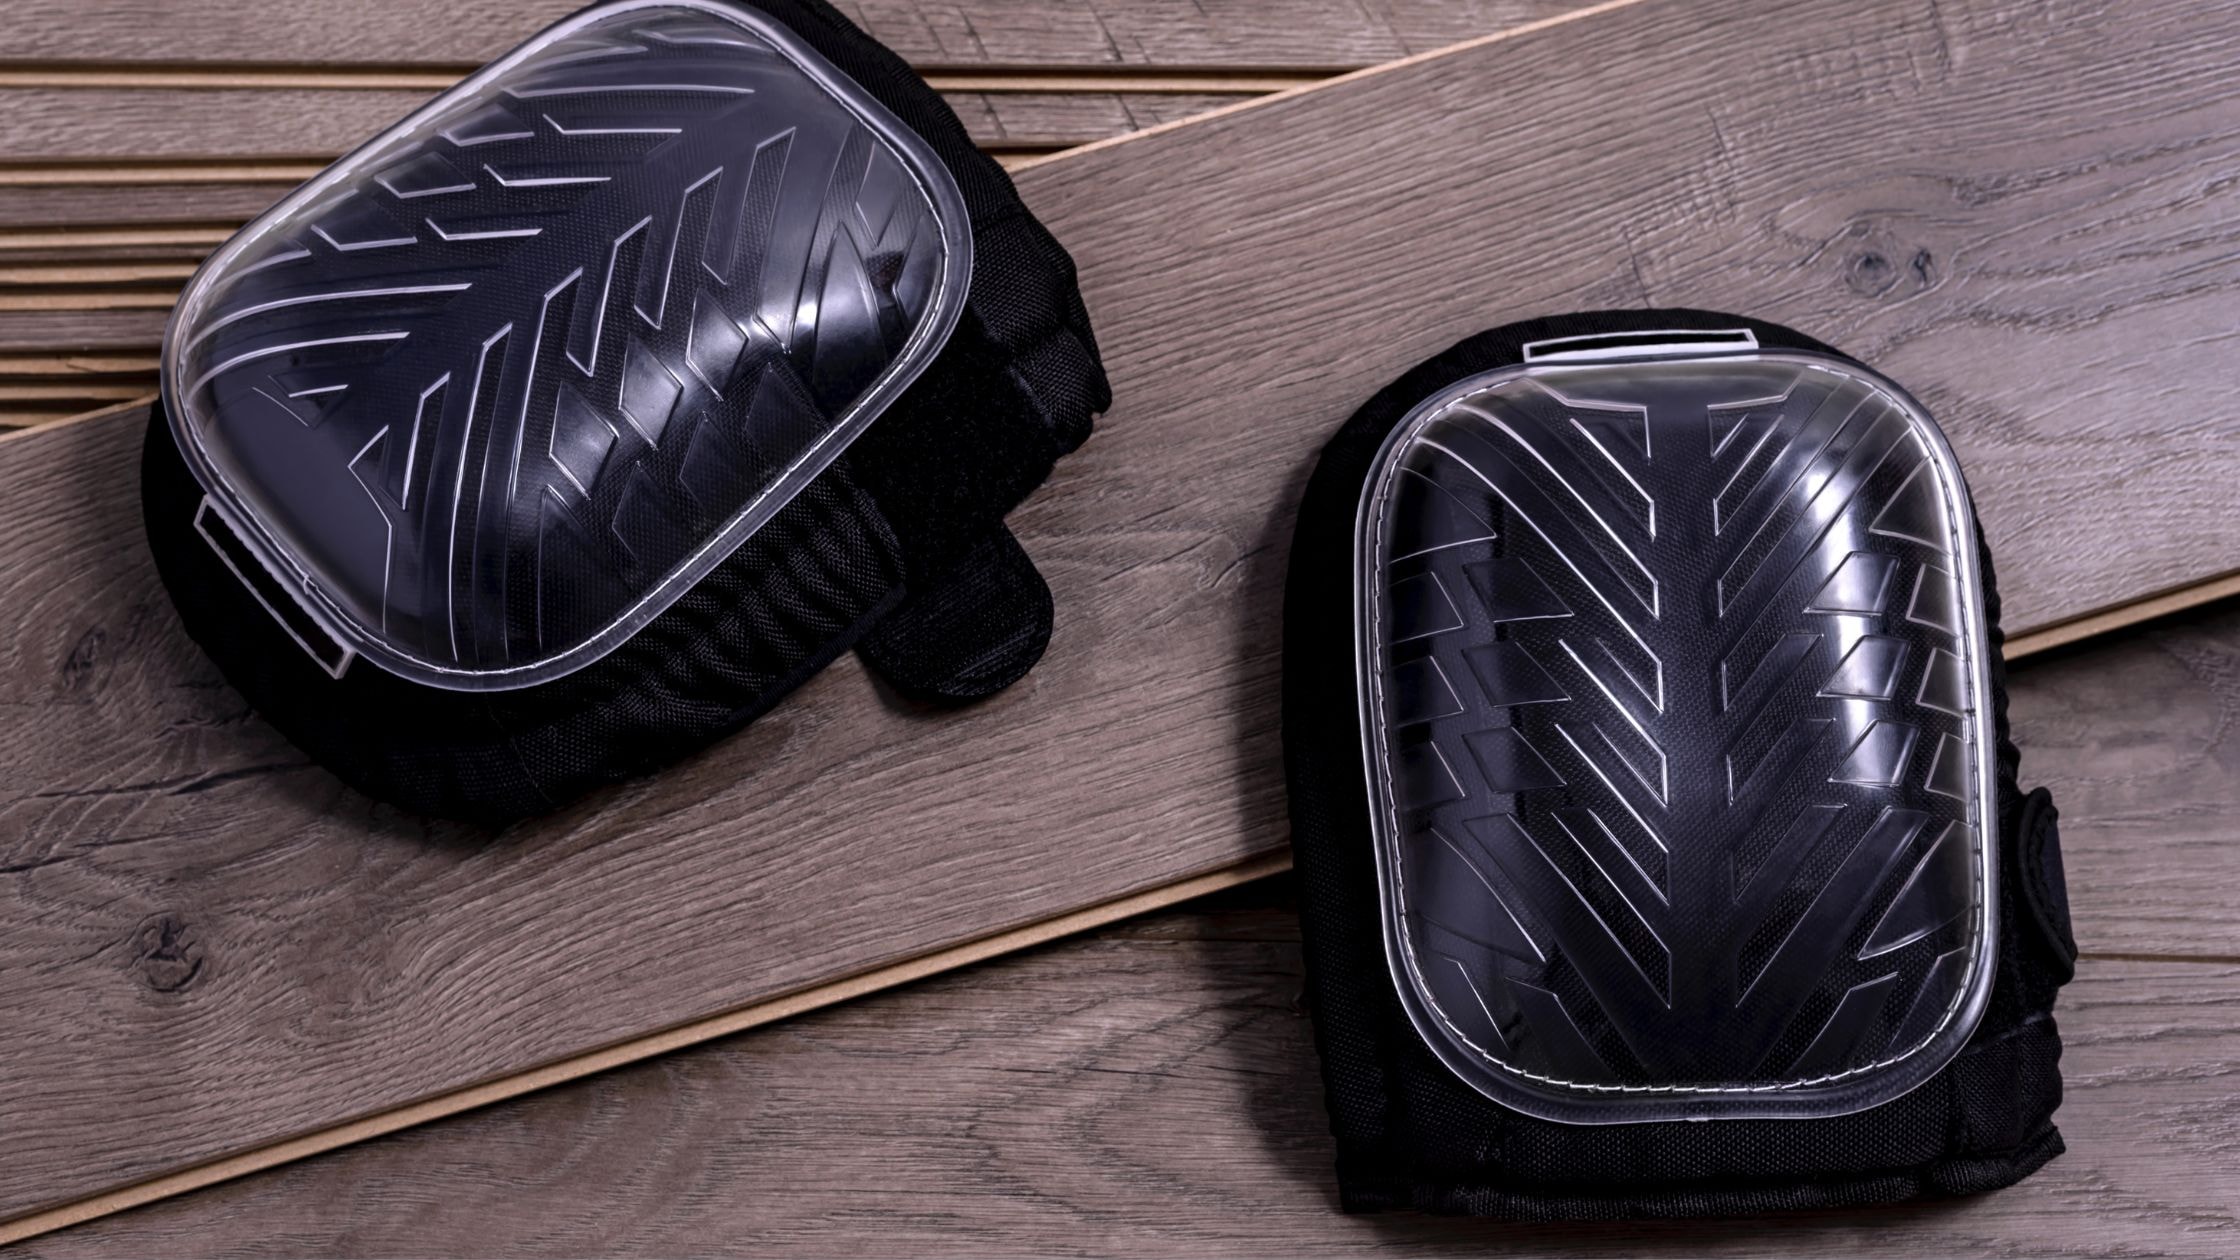
Quick tip: Knee pads protect your joints during the entire installation process. Quality pads with thick cushioning prevent soreness and allow you to work comfortably for extended periods.
A utility knife with sharp blades cuts planks cleanly without chipping the edges. Replace blades frequently to maintain clean cuts throughout the project. A metal straightedge guides the knife for perfectly straight lines on each cut.
Measuring tools include a tape measure for room dimensions and plank lengths. A chalk line helps establish straight reference lines across the room. These tools ensure accurate layout and prevent costly mistakes during installation.
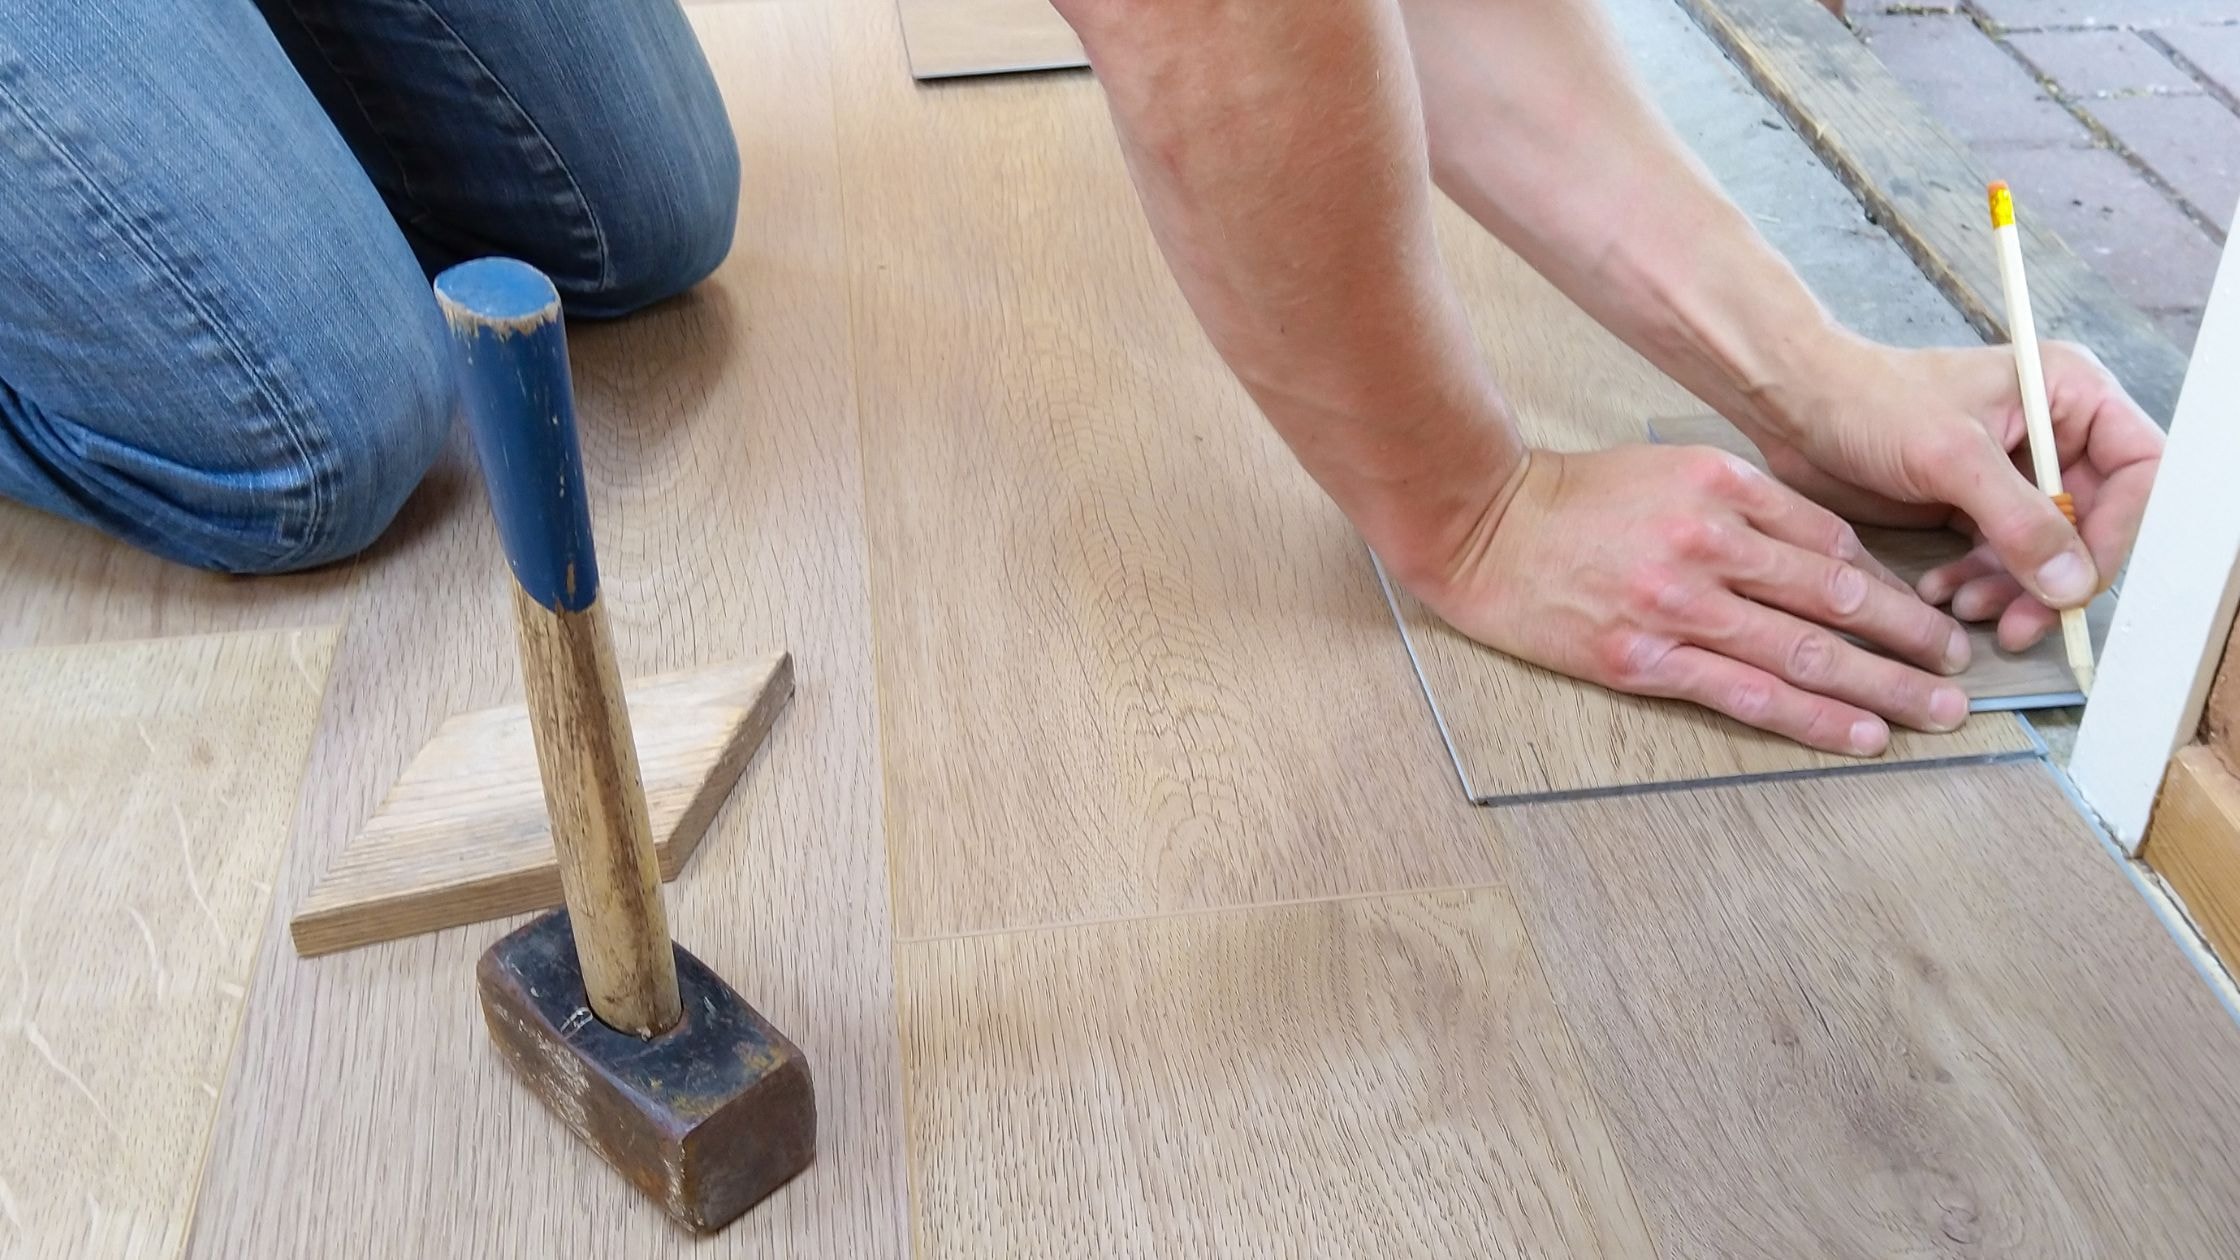
Additional tools include a rubber mallet for tapping planks into place and spacers to maintain proper expansion gaps. A pull bar helps connect the last plank in each row when space becomes tight near the wall. These specialized tools make installation much easier and produce better results.
Measuring and Planning Your Layout

Accurate measurements ensure you order enough material and create balanced borders around the room. Measure the length and width of the room at multiple points to account for walls that may not be perfectly square. Record these measurements and calculate the total square footage needed.
Add 10 percent to your square footage calculation to account for cuts and waste. This extra material also provides pieces for future repairs if needed. Order all materials at the same time to ensure consistent color and pattern matching throughout the installation.
Plan the layout to avoid narrow plank pieces at room edges. Measure the room width and divide by the plank width to determine how many full planks will fit. If the last row would be less than two inches wide, adjust the first row to create more balanced proportions.
Quick tip: Start installation along the longest, straightest wall in the room. This creates the best foundation for the entire floor and helps maintain straight lines throughout the project.
Establish a chalk line parallel to the starting wall to guide the first row installation. This reference line accounts for walls that may not be perfectly straight. Measure from the wall at both ends and snap the line to ensure it remains parallel throughout the room length.
Consider doorway transitions and how the flooring will connect to adjacent rooms. Plan cuts around obstacles like heating vents, cabinets, and other fixed elements. Having a clear plan prevents mistakes and ensures the finished installation looks professional.
How to Install Vinyl Plank Flooring: Step-by-Step Process
The installation process follows a logical sequence that builds from the first row across the entire room. Working methodically prevents mistakes and ensures each plank connects properly with its neighbors. Take time with each step to achieve professional results.
Starting the First Row
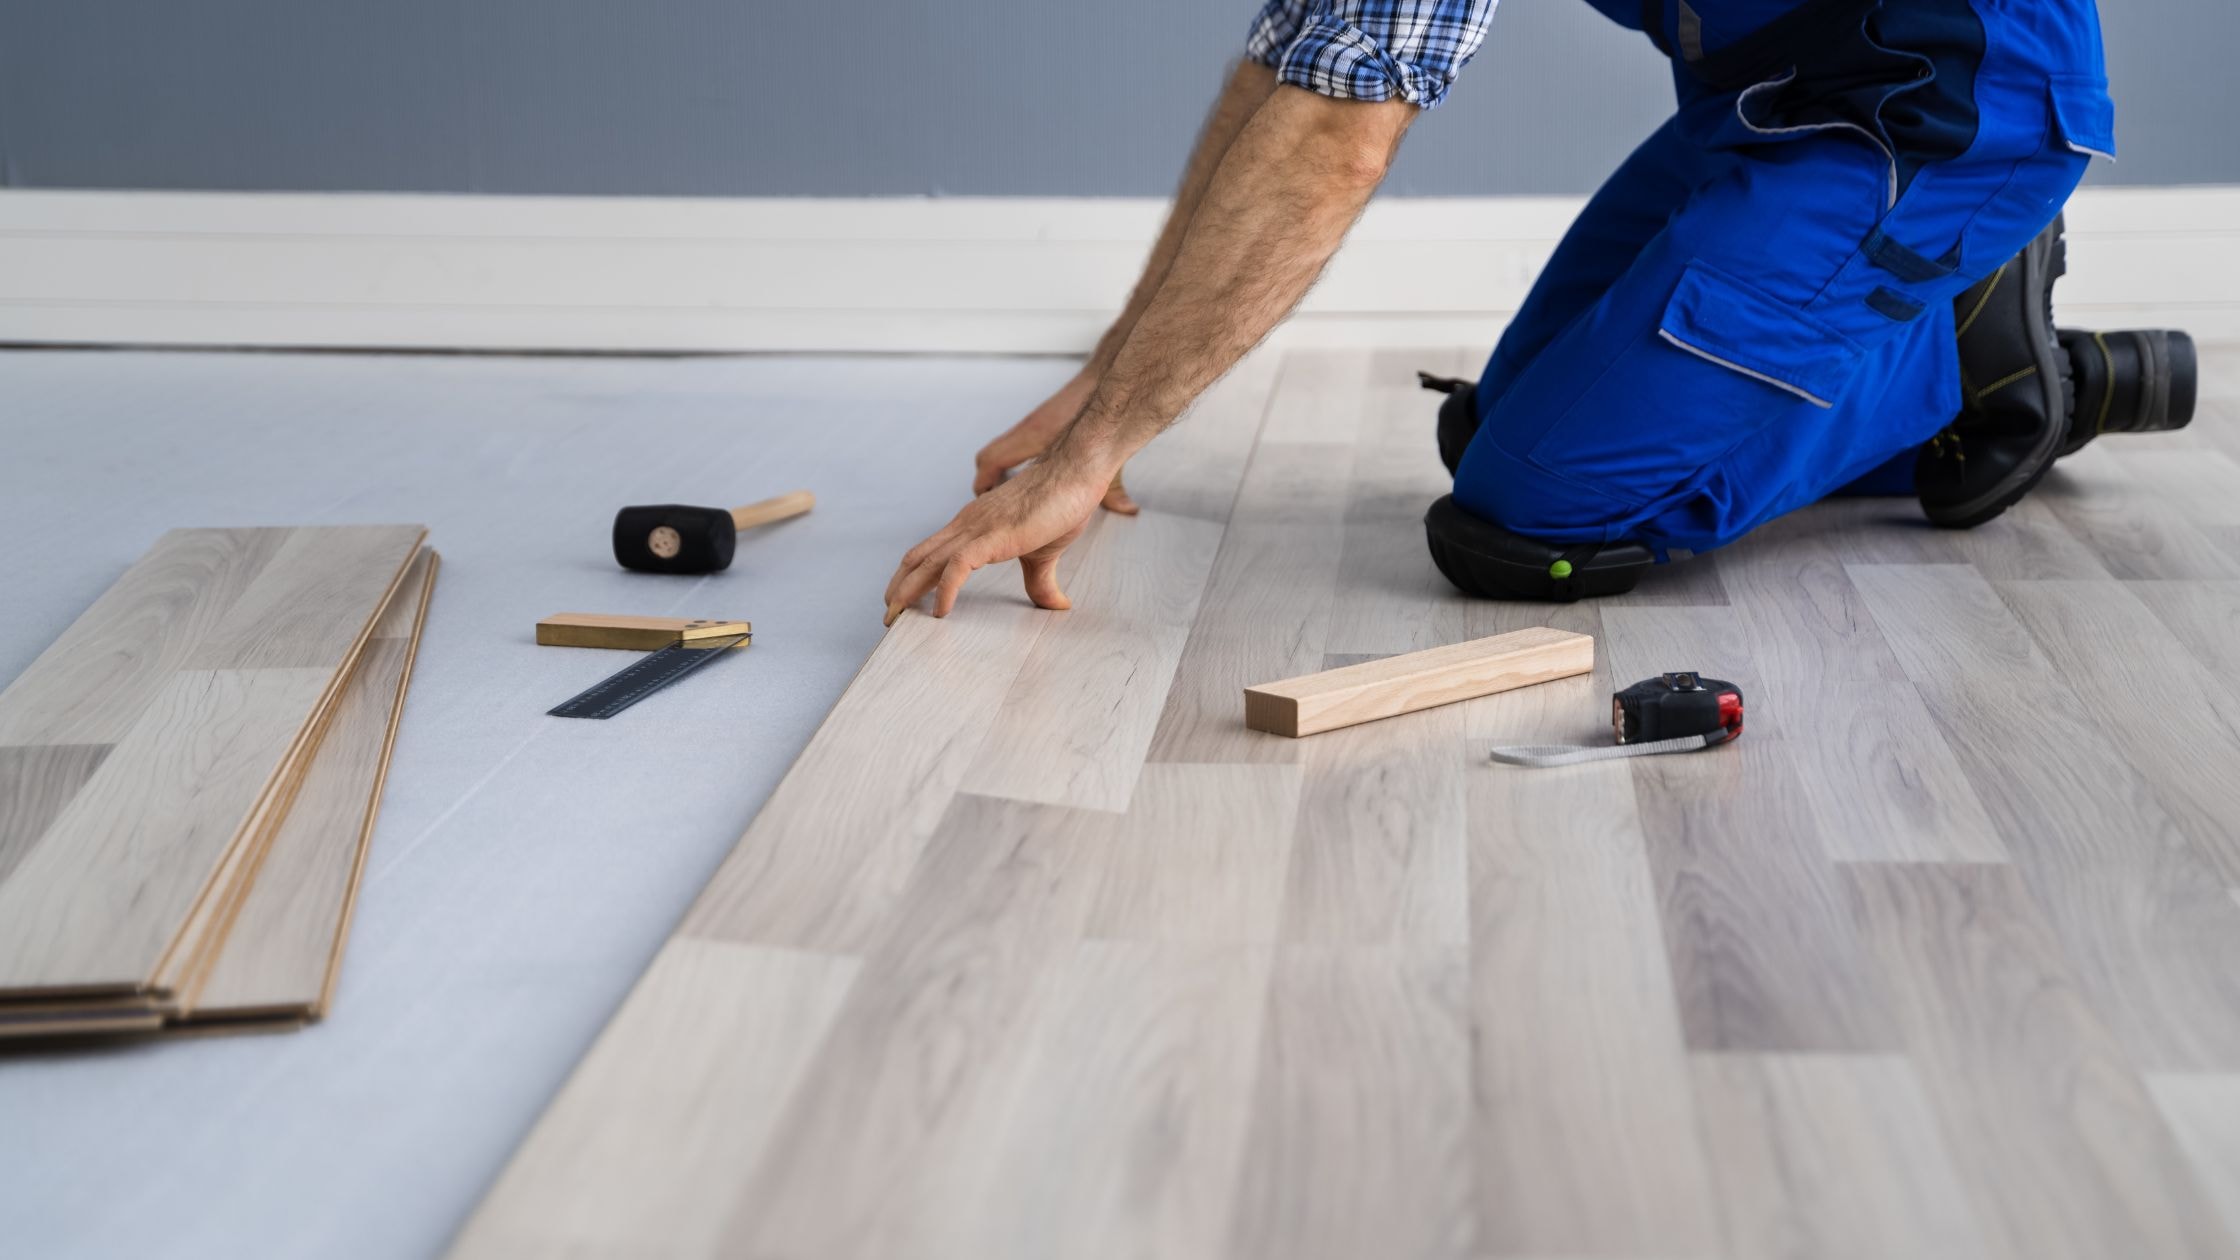
Begin installation along your line with full-length planks when possible. Cut the first plank to fit if the room length requires it, but avoid starting with a very short piece. Position spacers along the wall to maintain the proper expansion gap as specified by the manufacturer.
Place the first plank with its groove edge toward the wall and its tongue edge facing into the room. This orientation allows subsequent planks to lock into place more easily. Check that the plank aligns with your line before proceeding to the next piece.
Connect the second plank to the first by inserting the tongue into the groove at a slight angle. Lower the plank until it lies flat and the joint closes completely. The connection should feel secure without gaps between the pieces.
Continue installing the first row across the entire room length. Use a pull bar to connect the last plank in tight spaces near the wall. Check periodically that the row remains straight and aligned with your reference line.
Continuing with Additional Rows
Start the second row with the end piece cut from the last plank of the first row, provided it measures at least 12 inches long. This creates a staggered joint pattern that looks more natural and provides better structural integrity. If the end piece is too short, cut a new plank to the appropriate length.
Install each plank by connecting the long edge to the previous row first, then lowering it to engage the short edge connection. Work systematically across each row to maintain proper joint staggering. The seams should not line up between adjacent rows.
Maintain consistent spacing between parallel joints. Most manufacturers recommend at least 6 inches between end joints in adjacent rows. This staggering pattern distributes stress across the floor and prevents separation at the joints.
Check your work frequently to ensure the installation remains square and straight. Small errors compound quickly and become difficult to correct later in the process. Use a chalk line to verify alignment every few rows.
Managing Obstacles and Cuts
Cutting planks to fit around obstacles requires careful measuring and sharp tools. Mark each cut clearly and double-check measurements before cutting. Use a fine-tooth saw or utility knife for clean edges that won’t chip or splinter.
Door frames and casings require undercutting to allow the flooring to slide underneath. Use a jamb saw or oscillating tool to cut the bottom of the trim pieces. Test fit pieces to ensure adequate clearance before final installation.
Create templates for complex cuts around heating vents, pipes, or irregular obstacles. Cardboard or paper templates help ensure accurate cuts and reduce waste. Transfer the template pattern to the plank and cut carefully with appropriate tools.
Plan cuts to minimize visible joints in high-traffic areas. Hide seams under furniture or in less conspicuous locations when possible. This attention to detail creates a more professional appearance in the finished installation.
Working with Chalk Line and Straight Lines
Establishing and maintaining straight lines throughout the installation prevents problems that become noticeable as the project progresses. Use lines as reference points to check alignment and make corrections before they become major issues.
The initial line serves as the foundation for the entire installation. Take time to measure and mark this line accurately because all subsequent rows build from this reference. A crooked first row creates problems that worsen with each additional row.
Did you know? Professional installers often snap multiple lines across the room to maintain alignment during installation. These reference lines help catch alignment issues before they become costly mistakes.
Check alignment against your line every few rows during installation. Small deviations can be corrected by adjusting plank positions slightly. Large deviations may require removing and reinstalling several rows to correct the problem.
Use the line to verify that your installation remains square to the room. Measure from the line to the installed flooring at regular intervals. Consistent measurements indicate proper alignment, while varying measurements signal the need for corrections.
Maintain straight lines along walls by using spacers consistently throughout the installation. These small pieces keep the flooring at the proper distance from walls and ensure uniform expansion gaps. Remove spacers only after installation is complete and before installing trim pieces.
Handling End Pieces and Transitions

End pieces require careful planning to maintain the staggered joint pattern while avoiding very short pieces that look unprofessional. Plan each row to ensure end pieces measure at least 12 inches long. This length provides adequate stability and creates a more attractive appearance.
Cut end pieces using sharp tools to prevent chipping or rough edges. A utility knife works well for most cuts, while a miter saw produces the cleanest results for complex angles. Always cut from the back side of the plank to minimize visible damage to the surface.
Use end pieces from one row to start the next row when they meet the minimum length requirement. This approach reduces waste and maintains proper joint staggering. However, avoid creating a repetitive pattern that draws attention to the seams.
Plan transitions to adjacent rooms or different flooring materials during the layout phase. Transition strips bridge height differences and provide finished edges where different materials meet. Install these strips according to manufacturer instructions for proper function and appearance.
Consider the direction of plank installation when planning transitions between rooms. Running planks in the same direction throughout connected spaces creates visual continuity. However, structural requirements or room proportions may dictate different orientations.
Store cut end pieces in order as you create them to avoid confusion during installation. Label pieces if necessary to ensure they install in the correct locations. This organization speeds installation and prevents mistakes.
Addressing Low Spots and Subfloor Issues
Low spots in the subfloor create problems that become apparent after vinyl plank flooring installation. These depressions cause planks to flex and may lead to joint separation or premature wear. Address subfloor irregularities before installation begins.
Use a long straightedge to identify low spots across the subfloor surface. Mark areas that show gaps of more than 1/8 inch between the straightedge and subfloor. These spots require leveling compound to create a smooth, flat surface for the new flooring.
Quick tip: Self-leveling compounds work well for large areas with multiple low spots. These products flow to create a smooth surface but require careful application to avoid creating new high spots.
Fill small low spots with appropriate leveling compound according to manufacturer directions. Allow the compound to cure completely before proceeding with flooring installation. Sand high spots smooth to maintain consistent subfloor levels.
Check concrete floors for moisture issues before addressing low spots. Moisture problems require proper treatment before any leveling work begins. Use appropriate sealers and barriers to prevent future moisture issues that can damage the new flooring.
Plywood subfloors may develop low spots due to joist movement or settling. Secure loose plywood sheets with screws before applying leveling compounds. This prevents future movement that could crack the leveling material or affect the flooring above.
Start Installing: Best Practices
Successful vinyl plank flooring installation requires attention to detail and consistent technique throughout the project. Following best practices ensures professional results that perform well over time. These techniques help avoid common problems that affect appearance and durability.
Acclimate the flooring materials to room temperature before installation begins. Store planks in the installation area for at least 24 hours before use. This prevents expansion or contraction issues that can cause gaps or buckling after installation.
Work in good lighting conditions to see joint alignments and surface imperfections clearly. Natural light reveals color variations and texture details that artificial lighting may hide. Install additional lighting if necessary to maintain visibility throughout the project.
Keep the work area clean and free of debris that can interfere with plank connections. Sweep regularly and remove cut pieces immediately to maintain a safe, organized workspace. Small particles can prevent proper joint engagement and create gaps in the finished floor.
Install vinyl plank flooring when room temperature remains between 65 and 75 degrees Fahrenheit. Extreme temperatures can affect material flexibility and joint connections. Maintain consistent temperature during and after installation until the floor stabilizes.
Take breaks regularly to inspect your work and maintain quality standards. Fatigue leads to mistakes that can be costly to correct. Step back periodically to check alignment and overall appearance from different angles.
Vinyl Flooring vs Other Options

Comparing vinyl flooring to other materials helps homeowners make informed decisions about their flooring projects. Each material offers different benefits and challenges that affect installation difficulty, cost, and long-term performance. Understanding these differences guides material selection.
Laminate flooring shares some characteristics with vinyl plank but performs differently in moisture-prone areas. Laminate installation follows similar techniques but requires more careful moisture protection. Both materials offer DIY-friendly installation processes that most homeowners can complete successfully.
Traditional hardwood installation requires professional skills and specialized tools that make DIY installation challenging. Hardwood costs more initially but can be refinished multiple times to extend its life. Vinyl plank provides similar appearance without the maintenance requirements or moisture sensitivity.
Ceramic tile installation requires different skills and tools compared to vinyl plank flooring. Tile work involves adhesives, grout, and precision cutting that challenge inexperienced installers. Vinyl plank installation proves much more forgiving for beginners while still delivering attractive results.
Carpet installation involves different techniques and considerations compared to hard surface flooring. Removing old carpet before vinyl plank installation requires proper disposal of materials and tack strips. The transition from carpet to hard surfaces often improves room appearance and maintenance requirements.
For homeowners interested in simpler installation options, peel-and-stick vinyl flooring offers an alternative that requires minimal tools and experience while providing decent results in appropriate applications.
Professional vs DIY Installation Considerations
Deciding between professional installation and DIY work depends on several factors including skill level, available time, and project complexity. Both approaches offer advantages that appeal to different homeowners. Consider these factors when making installation decisions.
DIY installation saves labor costs and provides personal satisfaction from completing the project independently. Most homeowners can successfully install vinyl plank flooring with basic tools and careful attention to instructions. The forgiving nature of modern click-lock systems helps beginners achieve good results.
Professional installation ensures proper technique and typically includes warranty coverage on both materials and labor. Experienced installers complete projects quickly and handle complications that might challenge DIY installers. They also carry insurance coverage that protects homeowners from installation-related damage.
Complex room layouts with multiple obstacles, irregular shapes, or challenging transitions may benefit from professional expertise. Professionals have specialized tools and experience handling difficult situations that slow or frustrate DIY installers. They also understand local building codes and permit requirements.
Time constraints often favor professional installation for busy homeowners. While DIY installation costs less, it requires significant time investment for planning, preparation, and actual installation work. Professionals complete most residential projects in one or two days.
For comprehensive guidance on all flooring options and professional services, reference The Ultimate Guide to Flooring Installation for Homeowners which covers material selection, installation methods, and contractor selection criteria.
Frequently Asked Questions
Can vinyl plank flooring be installed over concrete?
Yes, vinyl plank flooring installs well over concrete floors when properly prepared. The concrete must be level, clean, and completely dry before installation begins. Test moisture levels and address any issues before proceeding with the flooring installation.
How much space should be left around the room perimeter?
Most manufacturers require 1/4 inch expansion gaps around all room perimeters and obstacles. These gaps allow the floating floor to expand and contract with temperature changes. Baseboards and trim pieces hide these gaps after installation completion.
What tools are absolutely necessary for installation?
Essential tools include a utility knife, tape measure, rubber mallet, and spacers for expansion gaps. A chalk line helps establish straight reference lines. Knee pads provide comfort during the installation process. Most other tools can be borrowed or rented if needed.
Quick tip: The Home Depot provides additional installation guidance and tips for homeowners considering DIY vinyl flooring projects. Their comprehensive resource covers tools, techniques, and troubleshooting common installation challenges.
How long does vinyl flooring installation take?
Installation time depends on room size, complexity, and experience level. Most average-sized rooms take one to two days for complete installation including preparation work. Larger or more complex spaces may require additional time for proper completion.
Can damaged planks be replaced after installation?
Individual planks can be replaced in most vinyl flooring systems, though the process requires some skill. Floating floor systems allow easier replacement than glued installations. Keep extra planks available for future repairs as needed.
Does vinyl flooring require underlayment?
Most vinyl flooring includes built-in underlayment that eliminates the need for additional padding. However, some installations over concrete may benefit from moisture barriers or additional sound reduction materials depending on specific conditions and requirements.
Getting Started with Your Installation Project
Planning and executing a successful vinyl flooring installation requires careful preparation and attention to detail throughout the process. The techniques and tips outlined in this guide help ensure professional results that enhance your home’s appearance and value. Take time to understand each step before beginning your project.
Gather all necessary materials and tools before starting installation to prevent delays once work begins. Proper preparation of the subfloor proves critical for long-term performance and appearance. Follow manufacturer guidelines for all aspects of the installation process to maintain warranty coverage.
Consider your skill level and available time when deciding between DIY installation and professional services. While vinyl flooring installation proves fairly easy for most homeowners, complex layouts or challenging conditions may benefit from professional expertise. Quality installation ensures years of satisfaction with your new flooring choice.