
Picture this—you walk into a beautifully carpeted room, and instead of smooth, uniform flooring, you’re greeted with ripples, waves, or bunching. Not exactly ideal, right? These imperfections are often signs that your carpet is in desperate need of stretching. Carpet stretching is a game-changer, not just for aesthetics but also for the longevity and functionality of your flooring.
This guide will walk you through everything you need to know about carpet stretching, including its benefits, how to spot trouble areas, and a step-by-step guide to fixing the issue yourself (or deciding when to call a pro). By the end of this guide, you’ll know exactly how to restore your carpet to its former glory—smooth, safe, and wrinkle-free.
What Is Carpet Stretching and Its Benefits?
Carpet stretching is the process of tightening and smoothing out your existing carpet to remove wrinkles, ripples, or bunching. This process involves pulling the carpet taut and securing it along the edges with tack strips and gripping nails. It’s a vital technique for ensuring your carpet maintains its appearance and functionality over time.
Why Does Carpet Stretching Matter?
- Extend Carpet Life: Reduces wear and tear, especially in spots affected by heavy foot traffic.
- Boost Safety: Eliminates ripples and wrinkles, reducing trip hazards.
- Enhance Appearance: Provides a neat, uniform appearance that complements your home or office.
- Cost Efficiency: Saves money by extending your carpet’s life span, postponing the need for a new carpet.
Did you know? Improper installation or a subfloor issue can also lead to carpet wrinkles. Always ensure your surface is prepared properly.
Signs Your Carpet Needs Stretching
Spotting problems early can save you time, effort, and cash. Here’s what to watch out for:
- Loose Carpet and Carpet Wrinkles: Notice sections of your carpet that look wavy or lifted off the subfloor.
- Visible Ripples in Carpet Pad: If the underlying carpet pad is shifting, it may affect the overlying carpet.
- Carpet Bunching Near Carpet Edges: Excess carpet gathering at the baseboards indicates it’s time for stretching.
Quick tip: Carpets installed under heavy furniture may become loose over time due to uneven weight distribution. Keep an eye out for this if you’re frequently moving furniture.
Preparing for Carpet Stretching
Proper preparation ensures a smoother stretching process. Here’s how:
- Clear Space: Remove all furniture from the room. Need to save time? Move furniture to one side, stretch half, then shift it.
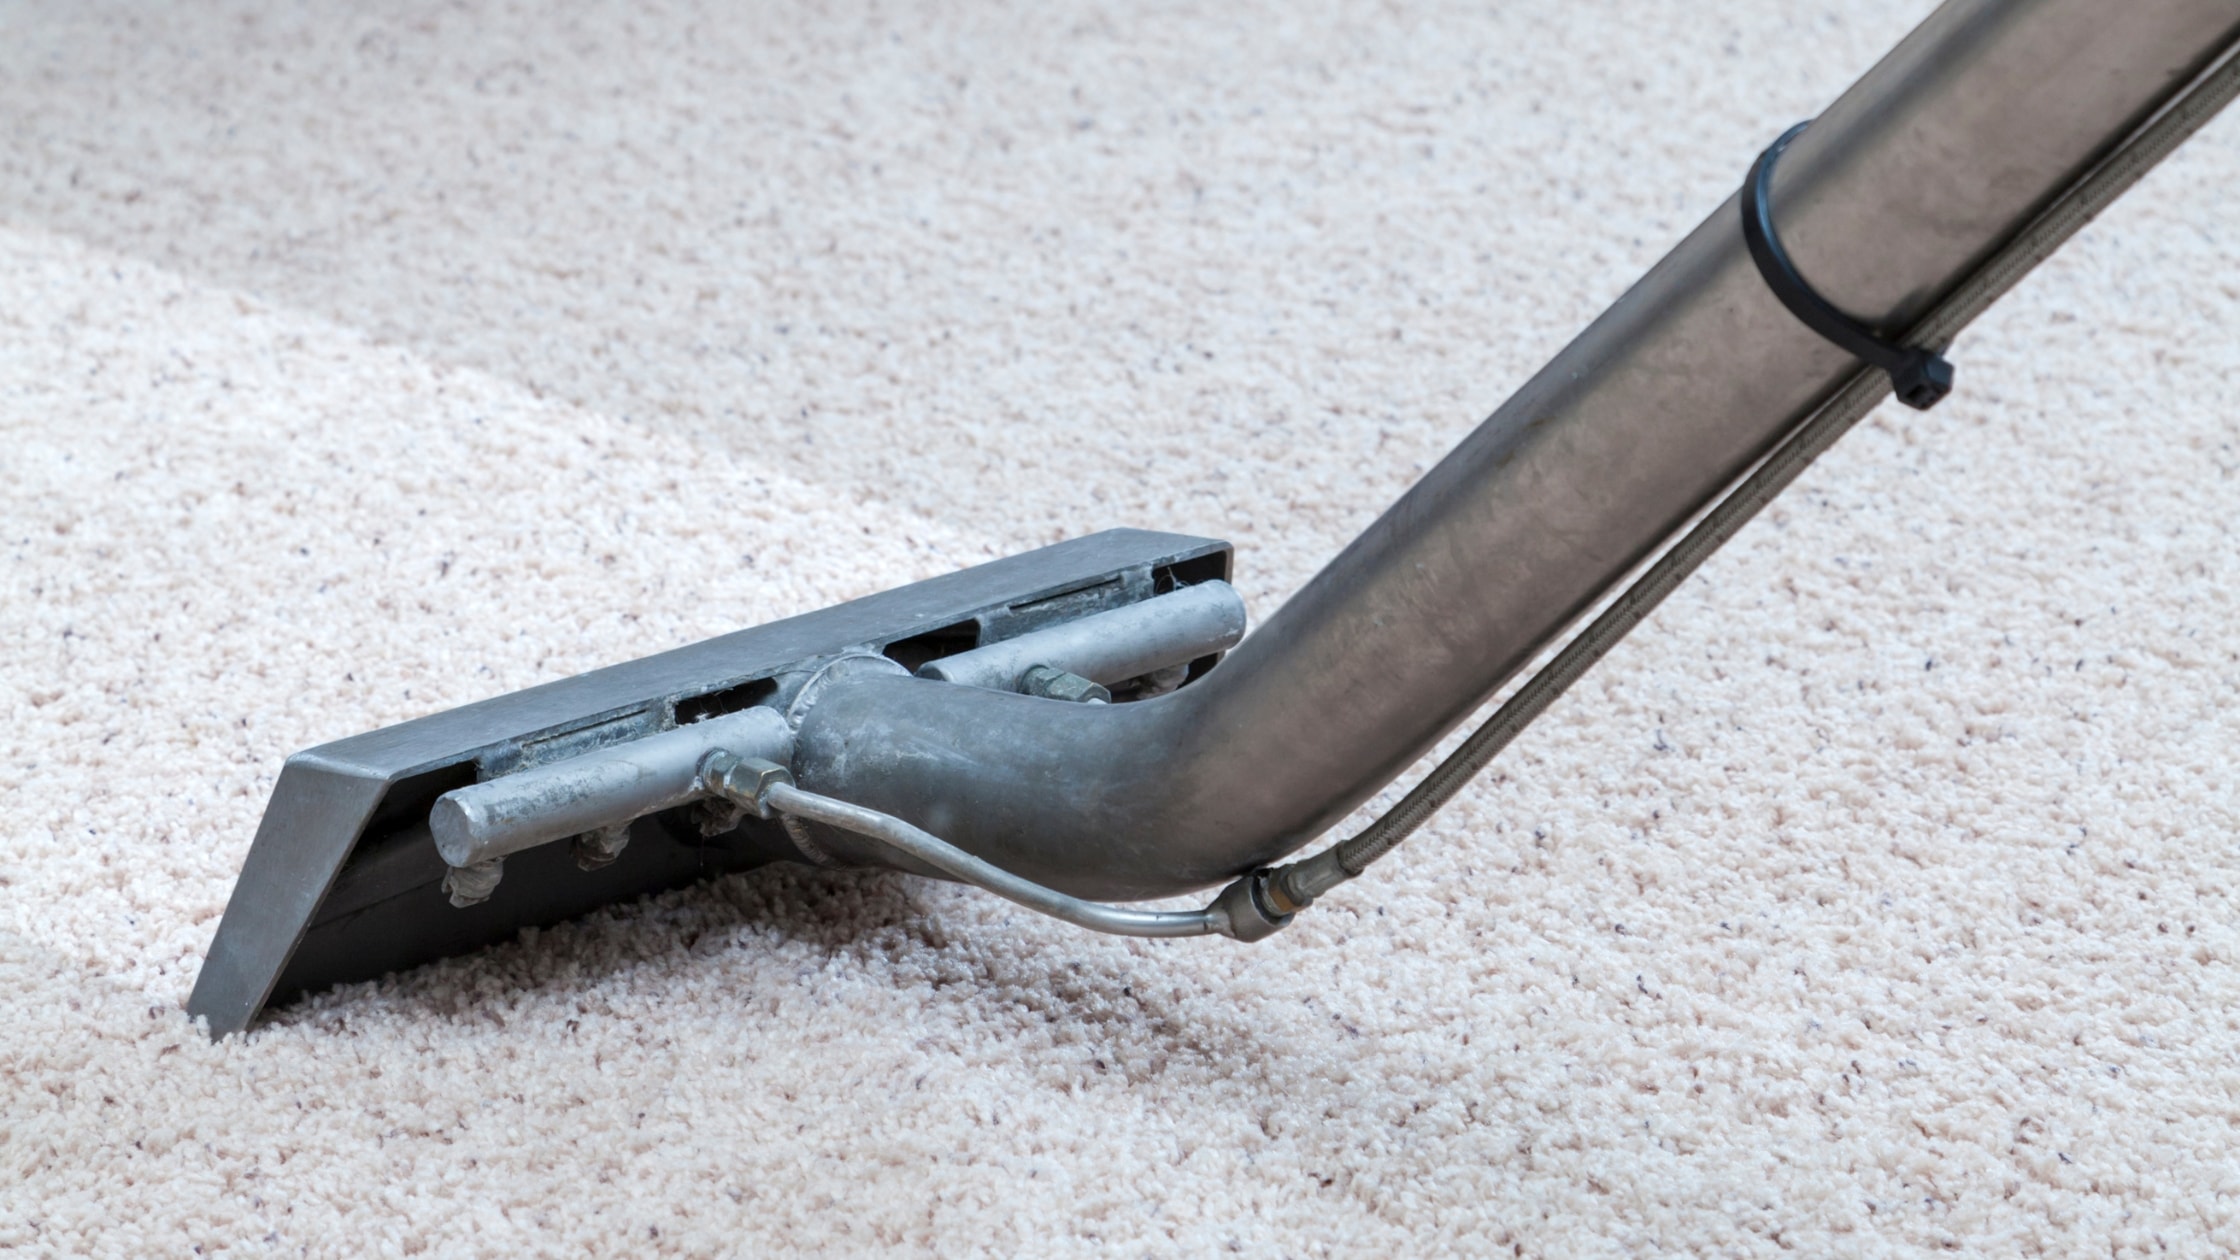
- Clean Thoroughly: Vacuum and remove any debris from your carpet for a clean work surface.
- Check Tools: Ensure you have all the needed equipment, including a carpet cutter, utility knife, power stretcher, and knee kicker.
Quick tip: Planning to stretch a room with tricky layouts? Start stretching the carpet from the longest wall and work toward the opposite wall.
Tools and Equipment Needed
Carpet stretching relies on having the right tools at your fingertips:
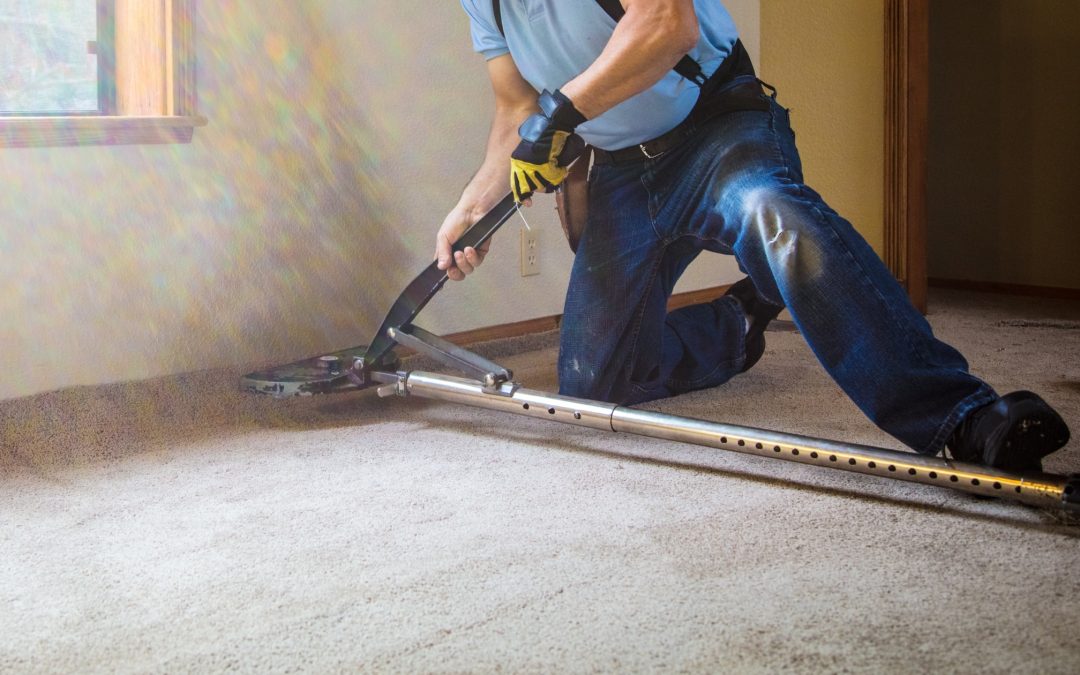
- Power Stretcher: Essential for tackling larger wrinkles and loose carpets effectively.
- Knee Kicker: Great for smaller spaces and securing carpet edges.
- Tack Strips and New Tack Strips: Tack strips anchor the carpet securely in place.
- Carpet Cutter or Utility Knife: For trimming excess carpet neatly.
- Hammer, Nails, and Pliers: For removing old tack strips and securing new ones.
Step-by-Step Guide to Carpet Stretching
1. Remove the Existing Carpet
Carefully pull up the existing carpet from its tack strips using a pair of pliers, starting in a corner of the room. Work slowly to avoid damaging the subfloor underneath. Roll the carpet back in sections as you go, exposing the carpet pad and subfloor beneath.
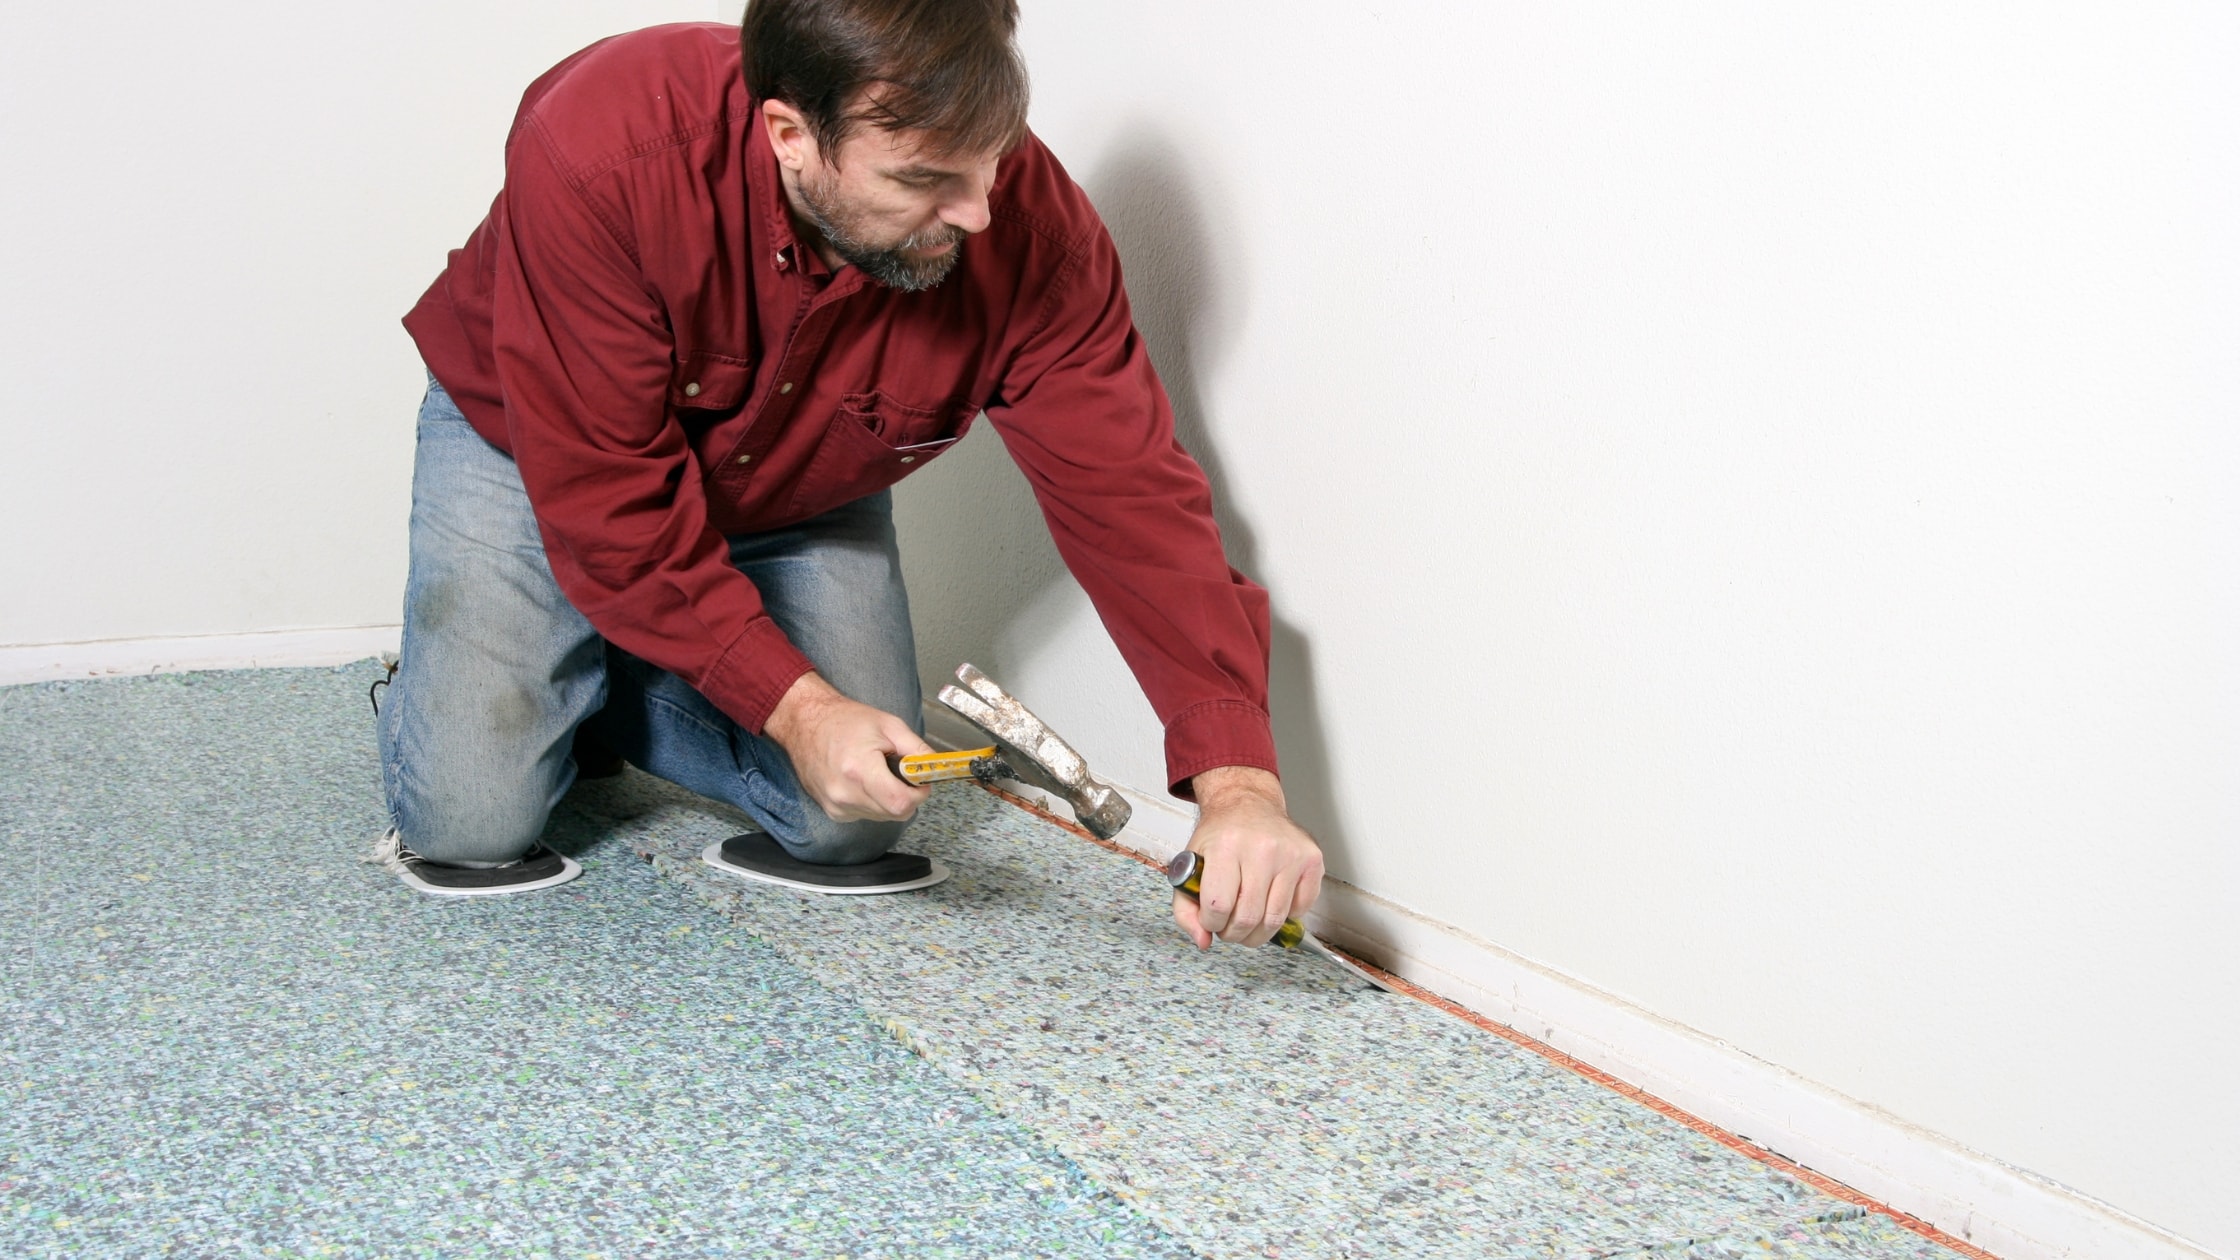
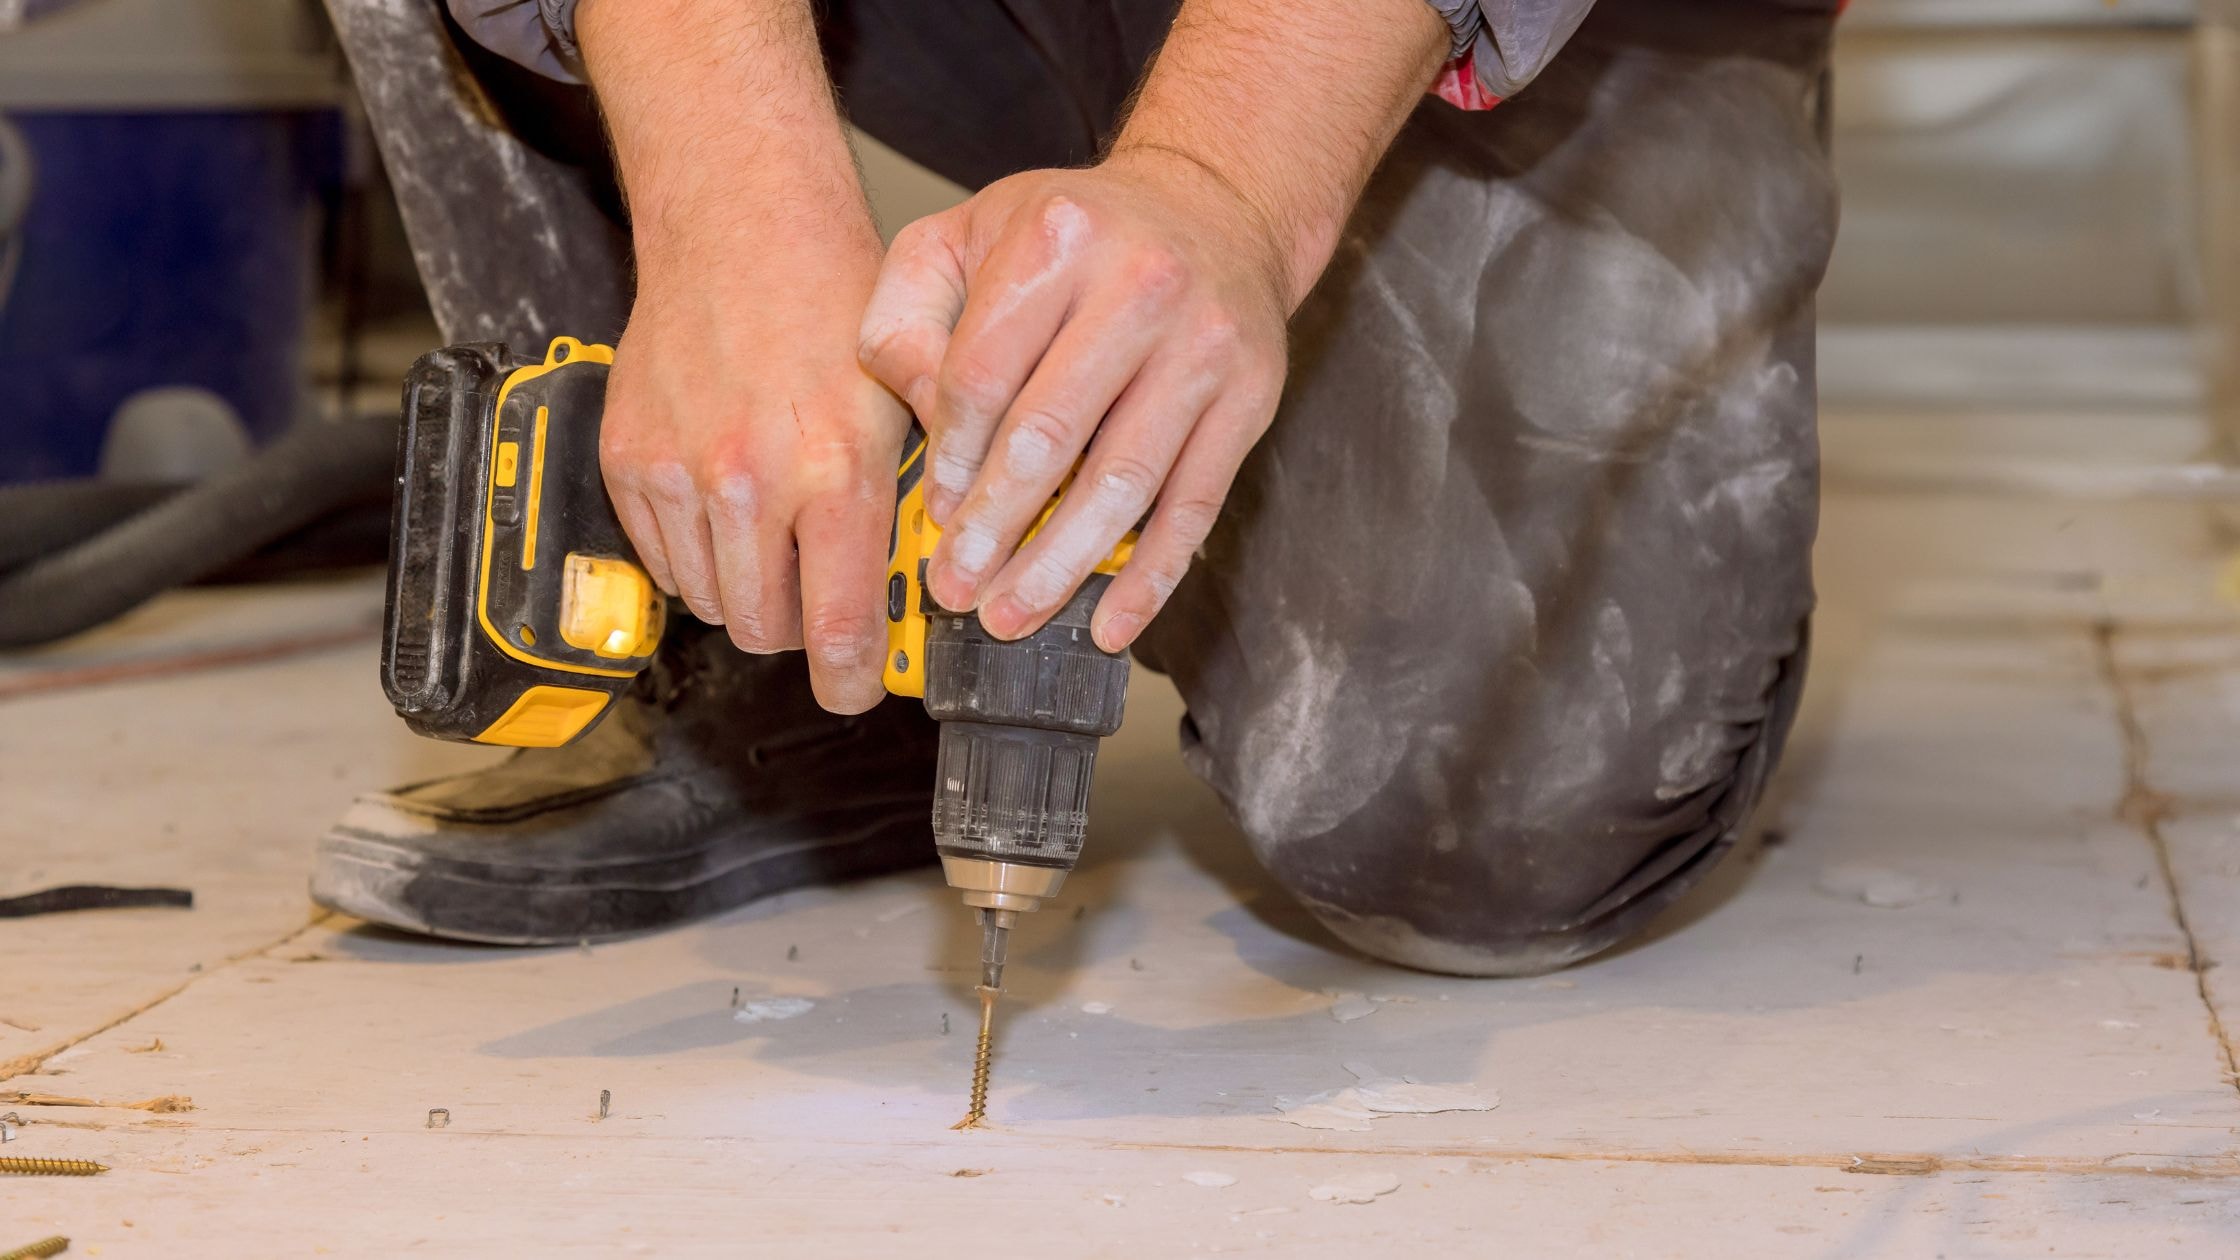
2. Install (or Replace) Tack Strips
Inspect all existing tack strips around the room. If they are in good condition, you can reuse them, but replace damaged ones. To install new tack strips, place them about half an inch from the wall, leaving enough space for the carpet to be tucked in. Nail the strips securely into the subfloor, ensuring the gripping nails on top are angled toward the wall so they hold the carpet tightly when stretched. Wear gloves to protect your hands from the sharp nails.
3. Position before Stretching Carpet
Unroll the new carpet and position it over the subfloor, making sure it covers the entire area with a slight overhang at the edges. Align the carpet carefully to avoid wrinkles or misalignment. Start stretching the carpet using a power stretcher, which you’ll need to place against the wall and adjust diagonally across the room for optimal tension. Move the power stretcher incrementally to pull the carpet taut in sections. For tight areas or corners, use a knee kicker to push the carpet into place. Be gentle to avoid tearing or overstretching the carpet.
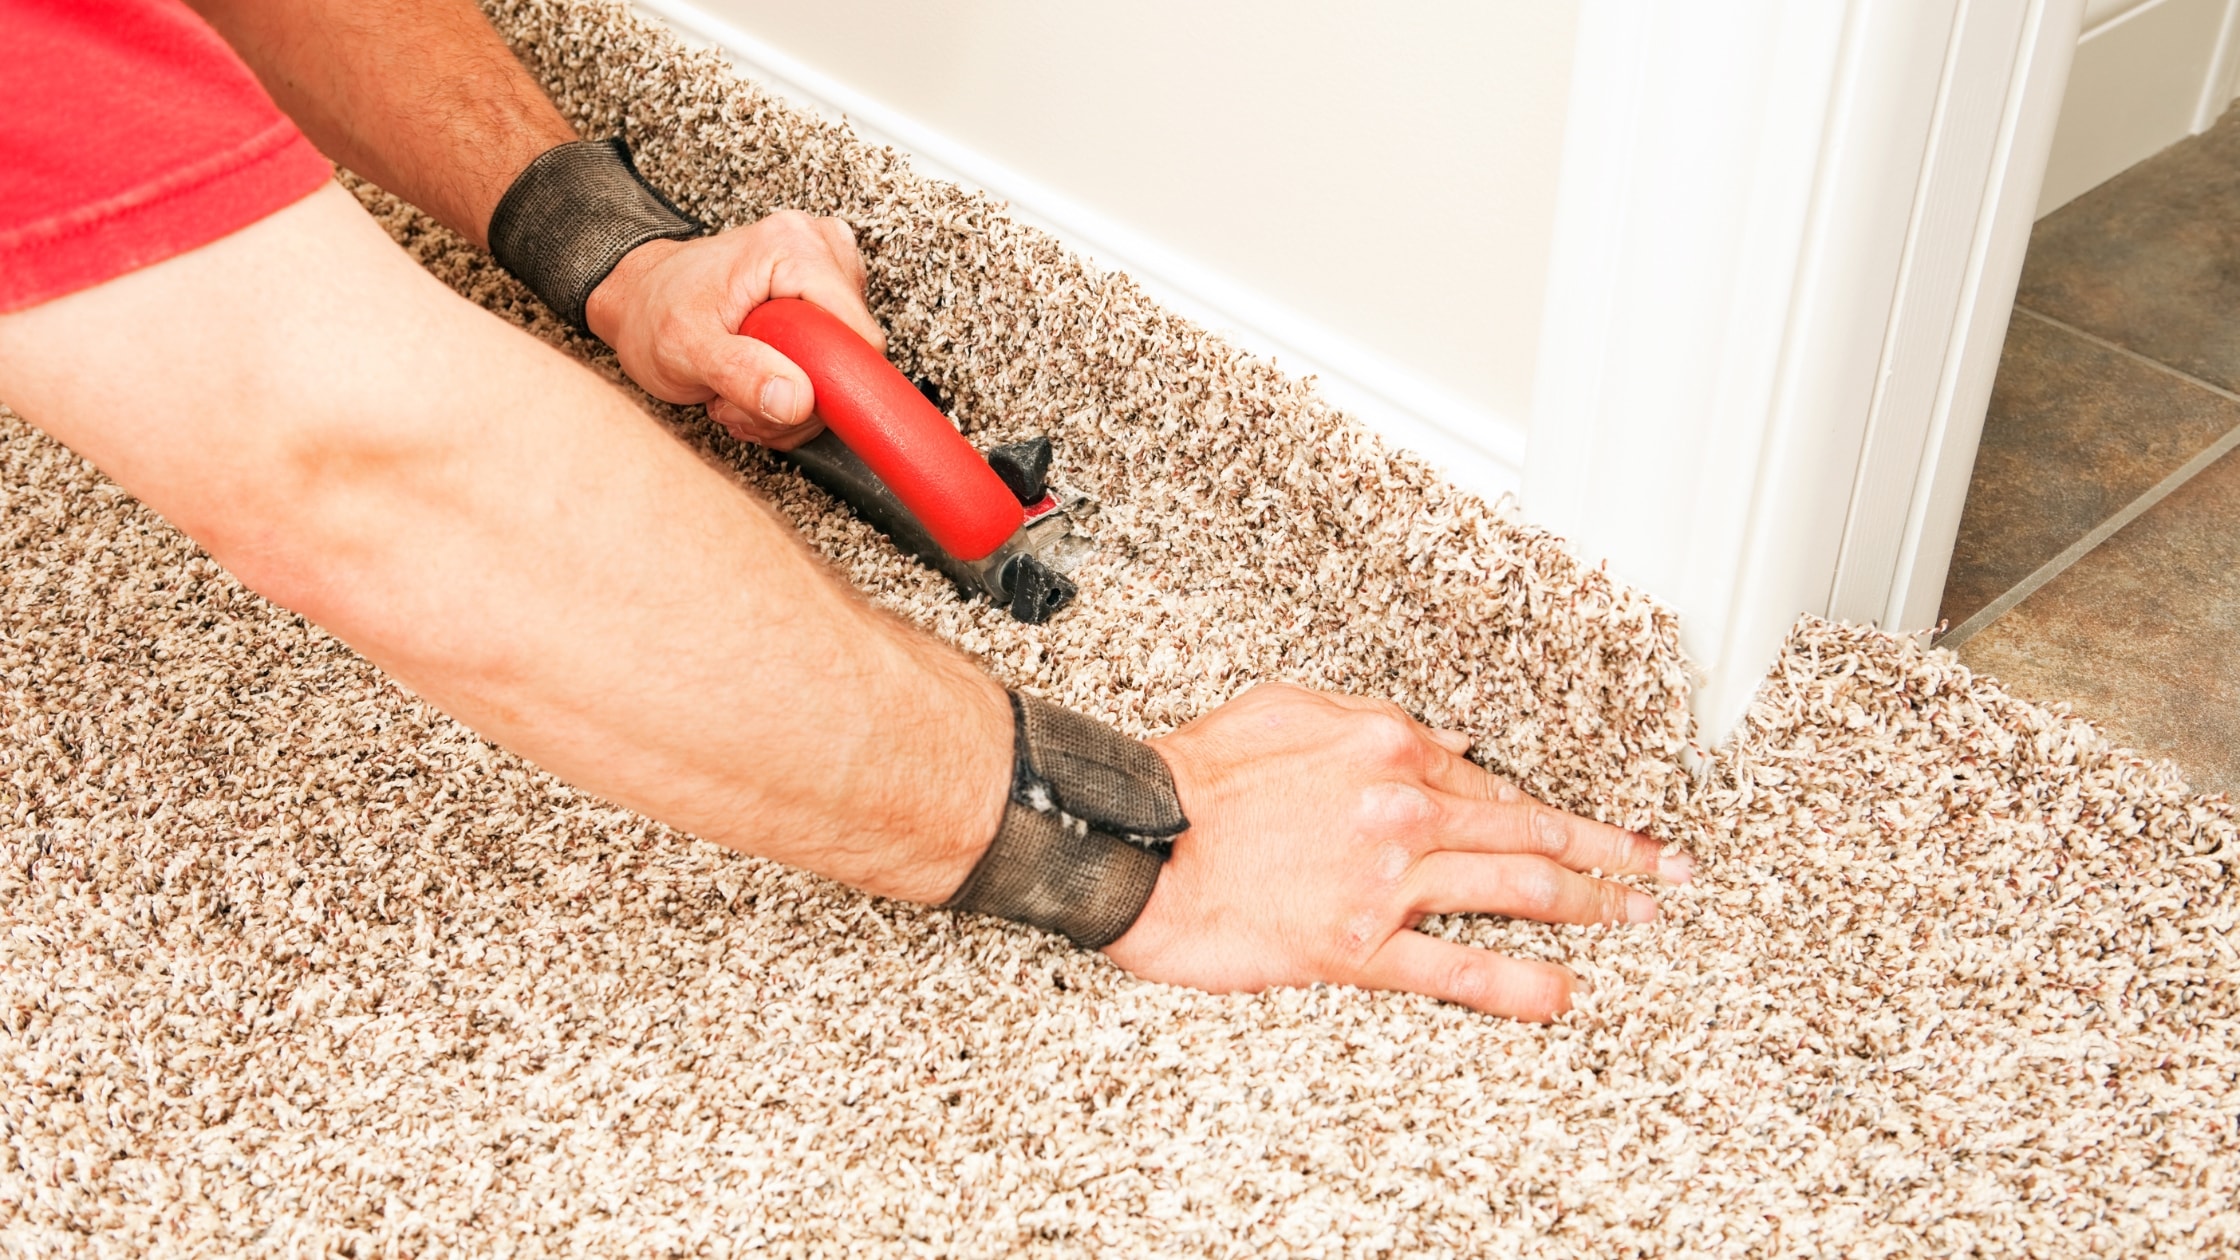
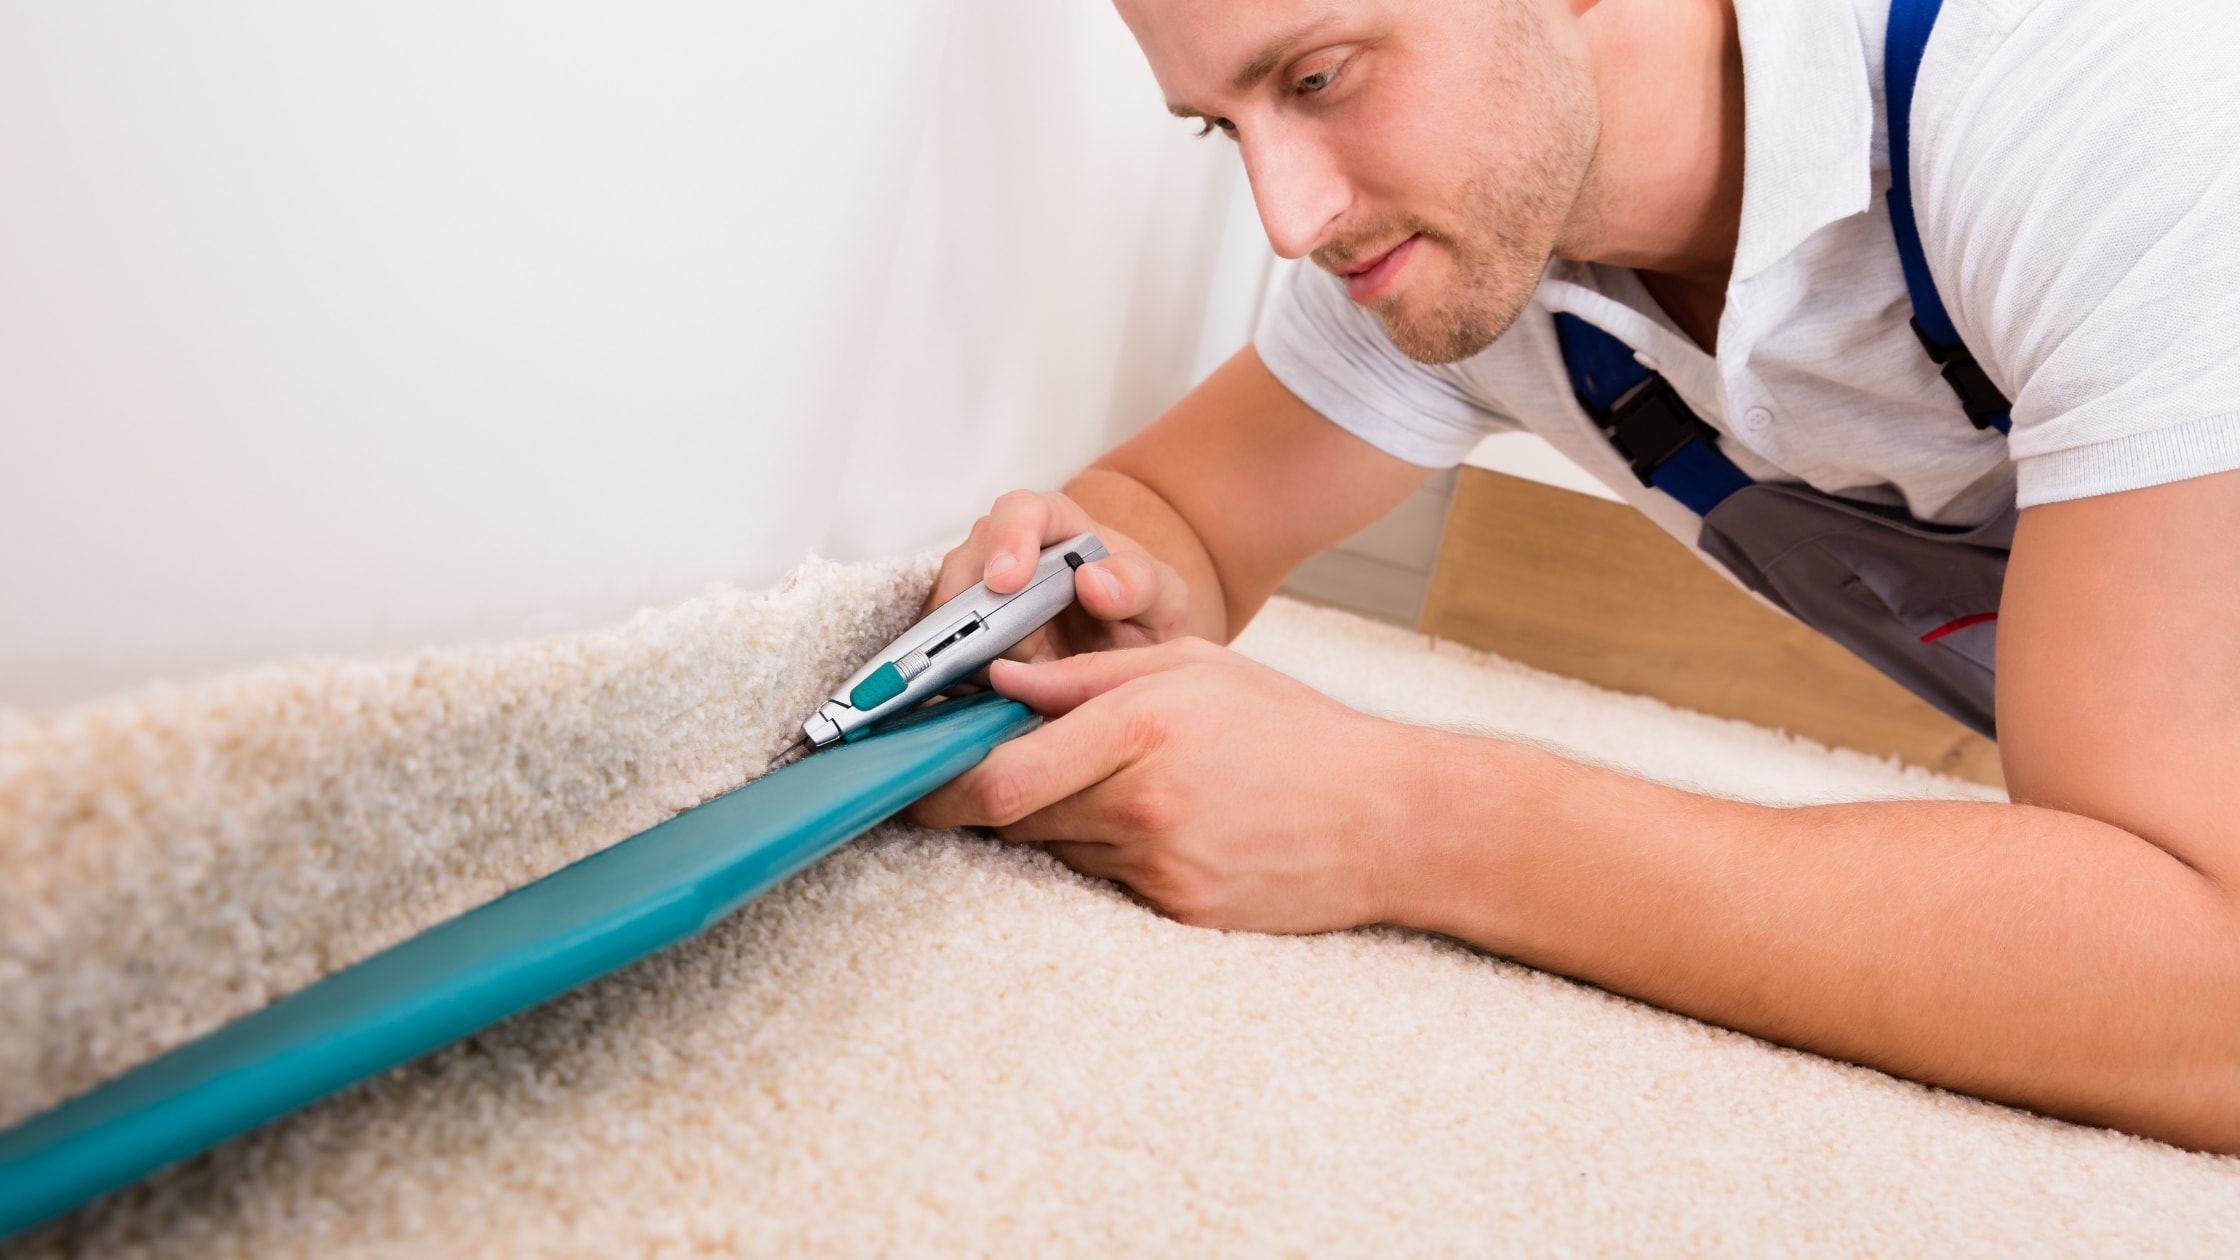
4. Trim the Carpet
Once the carpet is properly stretched and secured over the tack strips, use a carpet cutter or a sharp utility knife to trim away the excess material along the edges. Be precise to ensure a clean, seamless edge where the carpet meets the wall or baseboards. Tuck the trimmed edges neatly between the tack strips and the wall using a stair tool or tucking tool. Double-check that the carpet is securely attached to the tack strips and that there are no loose sections or wrinkles. For final touches, vacuum the carpet to remove any debris and enjoy your newly installed flooring.
Quick tip: Always stretch the carpet diagonally to ensure it lays flat without damaging the fibers.
DIY vs. Hiring a Professional Carpet Stretching Service
Both approaches have benefits:
- DIY Stretching: This method is great for smaller areas and allows you to save on costs, but it does require some physical effort and basic skills. While DIY stretching can be effective, it may not be the best option for uneven subfloors or larger spaces, as it can be challenging to achieve a perfectly smooth finish without professional experience.
- Hiring a Professional: If you’re dealing with large spaces, uneven subfloors, or feel uncertain about the process, hiring a carpet stretching professional is the safest route. Professionals come equipped with advanced tools and expertise to ensure precise, wrinkle-free results. They can also address underlying issues, such as damaged padding or tricky corners, saving you time and potential frustration. Though it comes at a higher cost, the quality and efficiency of the outcome are often worth the investment.
Considering tackling this yourself? Check out our guide on DIY Carpet Installation vs. Hiring a Pro.
Troubleshooting Common Carpet Repair Issues
Occasionally, even with proper stretching, issues may arise:
Uneven Subfloor: An uneven subfloor creates an unstable foundation for your carpet, causing ripples, bumps, or waves to reappear even after stretching or adjustments. Without addressing the subfloor issues, any fixes will likely be temporary. Proper subfloor leveling and preparation are essential for ensuring your carpet lays flat and stays in place over time. Related reading—The Role of Subfloor Preparation in Carpet Installation Success.
Carpet Damage: Tears, worn areas, or thin spots in your carpet can weaken its structure and may lead to further damage if left unaddressed. These issues typically require targeted carpet repair to replace or patch the affected sections. Ignoring such damage not only affects aesthetics but can also reduce the lifespan of your carpet.
Improper Installation: Installing the wrong type of carpet for your space or using incorrect techniques can lead to long-term problems, such as uneven surfaces or premature wear. For example, high-traffic areas require more durable materials, while improper stretching or securing during installation may cause ripples or loose spots. Ensuring the right carpet type and professional installation is key to avoiding these issues.
Need detailed instructions for your next installation? Check out this Comprehensive Carpet Installation Guide.
Refresh Your Space with Carpet Stretching
Carpet stretching is more than a fix for wrinkles or loose ends—it’s a way to enhance safety, durability, and aesthetics. Whether you decide to tackle this as a DIY project or call a professional, following the right steps ensures a smooth, uniform appearance every time.
Remember to address any underlying issues like improper installation or subfloor concerns to maximize results. And if you’re looking for an expert hand, don’t hesitate to explore your options with a reputable carpet stretching professional.