
Installing carpet is a great way to refresh your home, adding comfort and style to your space. But when it’s time to tackle this project, the big question arises—should you do it yourself or hire a professional? Both options have their advantages, and making the right decision comes down to factors like budget, time, skill level, and desired results.
This guide will walk you through the pros and cons of DIY carpet installation and hiring a pro. You’ll also learn important tips and tricks for tackling this project, from installing carpet and using tack strips to picking the best tools for a flawless finish.
What to Consider Before Installing Carpet Yourself
DIY carpet installation might seem like an excellent way to save money, but it’s important to fully understand the process and challenges before committing to the project. Installing carpet requires precision, proper tools, patience, and a significant amount of effort. While the idea of doing it yourself can be appealing, there are several factors to weigh when deciding if this is the right choice for your home.
Advantages of DIY Carpet Installation
There are some clear benefits to installing carpet on your own, especially if you’re looking to cut costs or enjoy the flexibility of handling the project on your schedule.
Cost Savings
One of the biggest reasons homeowners opt for DIY carpet installation is to save money. By eliminating labor costs, you can significantly reduce the overall expense of carpeting a room, which can make a big difference for budget-conscious homeowners.
Flexibility
DIY projects allow you to work on your own timeline, eliminating the need to coordinate schedules with professional carpet installers. This can be especially helpful if you’re working on a larger renovation project or have a busy schedule.
Sense of Accomplishment
There’s nothing quite like the satisfaction of completing a home improvement project yourself. Successfully installing carpet can be both rewarding and empowering, leaving you with a sense of pride every time you step into the room.
Disadvantages of DIY Carpet Installation
While there are clear benefits, it’s equally important to be aware of the potential drawbacks of DIY carpet installation. This project is not without its challenges, and some aspects may be more difficult than they initially seem.
Time-Consuming
Installing carpet can take a significant amount of time, especially for beginners who need to learn the techniques and gather materials. Preparing the room, cutting carpet to the right size, and ensuring proper fitting can easily turn into a weekend or longer project.
Skill Level Required
Carpet installation is not as simple as laying down a rug. It involves specialized tools such as a knee kicker, carpet stretcher, and carpet roller, all of which require specific techniques to use properly. Without prior experience, using these tools may feel overwhelming and lead to mistakes.
Potential for Errors
Even small errors during the installation process, such as uneven seams or incorrect tension, can result in visible flaws like wrinkles or ripples in the carpet. These issues can reduce the lifespan of the carpet and affect the overall appearance of the room.
Additional Tools and Preparations to Consider
Before starting a DIY carpet installation project, it’s essential to ensure you have everything you need. Beyond the carpet itself, you’ll need tack strips, padding, utility knives, and adhesives. Proper preparation of the subfloor is also crucial to ensure the carpet lays smoothly and securely.
DIY carpet installation can be a great option if you’re looking to save money, have the time to invest in learning the process, and enjoy hands-on projects. However, it’s not without its challenges. Carefully consider the time, effort, and skills required before deciding if this is the right approach for you. If the potential drawbacks feel too overwhelming, hiring professionals may save you time and stress in the long run.
Quick tip: Measure the square footage of your room before purchasing materials to avoid under-ordering.
How to Install Carpet Yourself
Thinking about tackling your carpet installation? It’s a rewarding project that can save you money while giving your home a refreshed look. Here’s a detailed guide to help you through the process step-by-step.
Step 1: Gather the Right Tools
Before starting, make sure you have all the tools and materials needed for a successful carpet installation. Essential tools include a power stretcher, knee kicker, utility knife, duct tape, tin snips, and measuring tape. For securing the edges, you’ll need a rubber mallet, tack strips, and a staple gun. Additionally, have a seaming iron ready for joining carpet seams and a straight edge for accurate cutting.
Step 2: Prepare the Room
A clean and clear workspace is crucial for proper carpet installation. Remove all furniture from the room and vacuum the subfloor thoroughly. On wood subfloors, check for loose nails or screws and ensure the surface is smooth. For concrete floors, make sure the surface is level and free of cracks or debris. If needed, use a self-leveling compound to fix uneven areas.
Step 3: Install Tack Strips
Tack strips provide a secure anchor for your carpet. Position tack strips around the perimeter of the room, leaving about half an inch of space between the wall and the strip. Install them with the tacks angled toward the wall for better grip. On concrete floors, use concrete-specific tack strips and secure them with masonry nails or adhesive. Be cautious around doorways and corners to ensure proper placement.
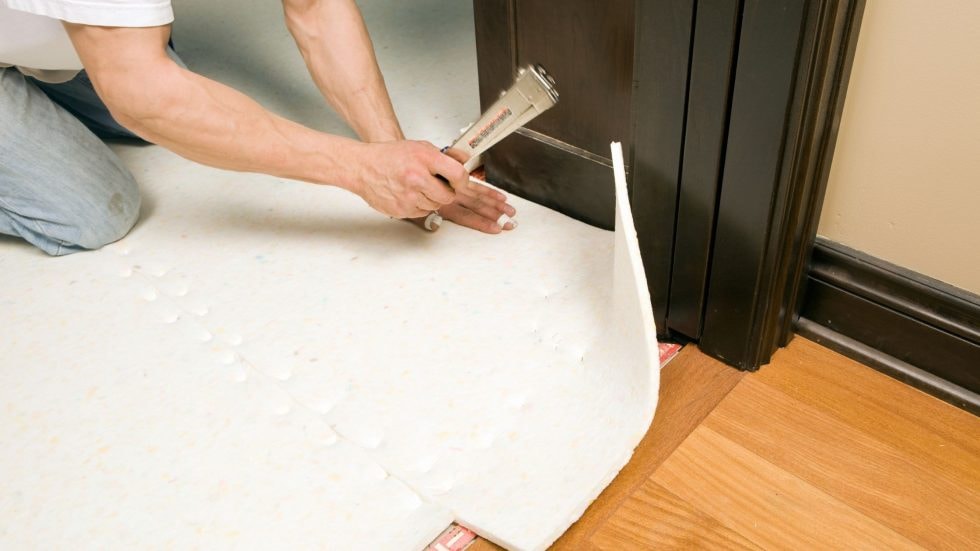
Step 4: Lay Carpet Padding
Carpet padding, also known as underlayment, is essential for comfort and durability. Roll out the padding across the subfloor and cut it to size using a utility knife. Tape the seams securely with duct tape to prevent shifting during carpet installation. Make sure the padding doesn’t overlap the tack strips, as this can interfere with securing the carpet edges.
Step 5: Roll Out and Cut the Carpet
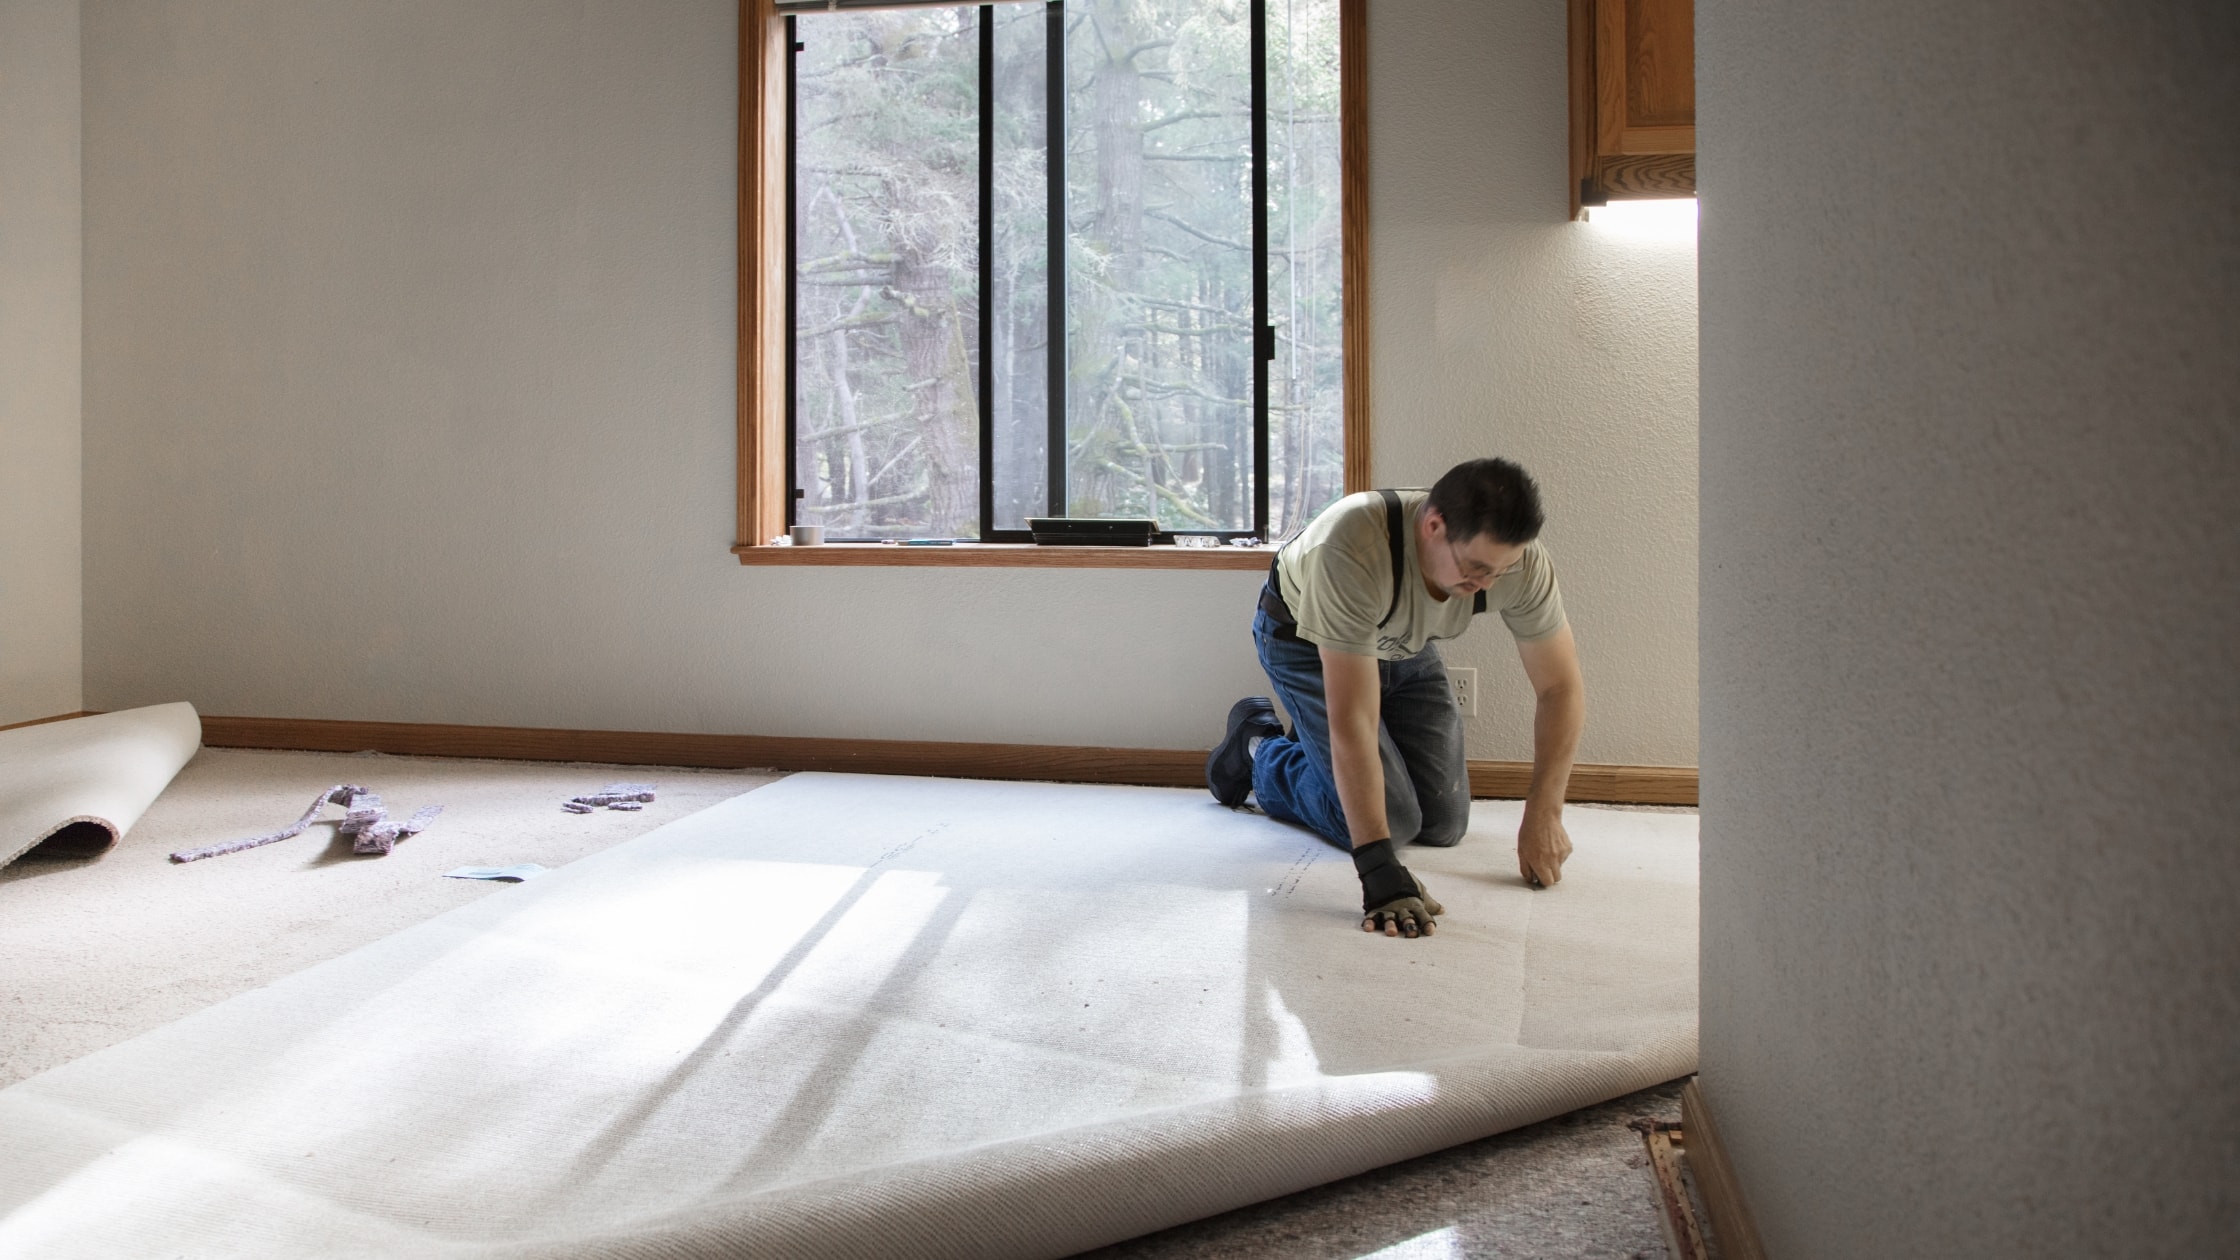
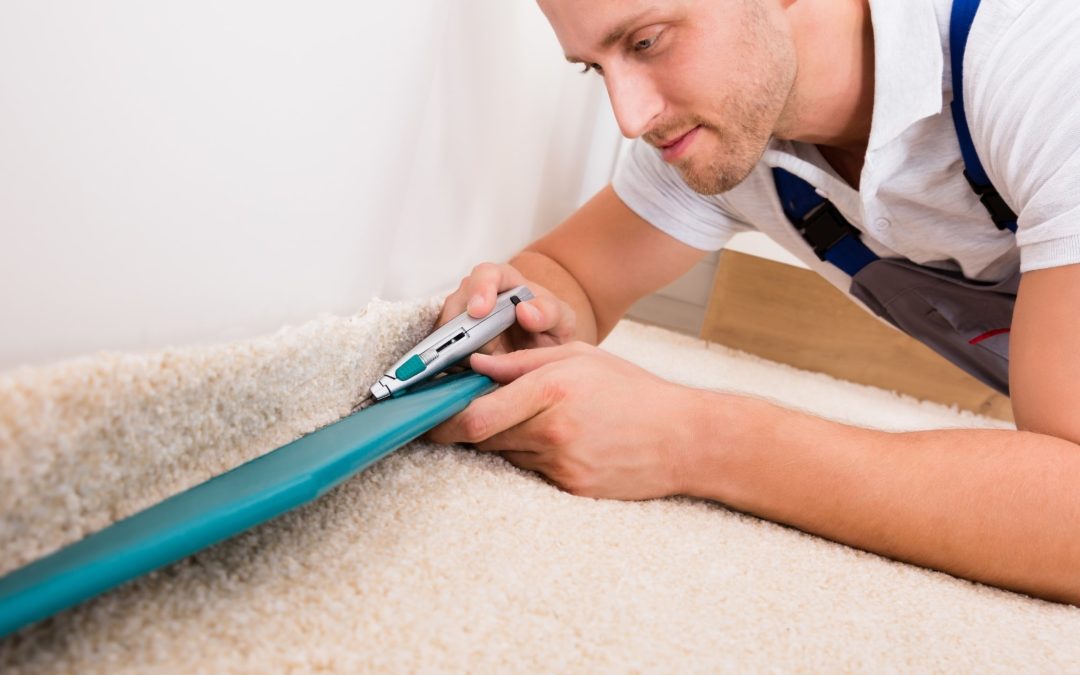
Unroll your carpet carefully and position it in the room. Allow for some overhang along the edges. Using a utility knife and a straight edge, cut the carpet to fit the room’s dimensions, leaving an extra inch or two at the edges for adjustments. If you’re working with multiple pieces, use a seaming iron to join the pieces seamlessly.
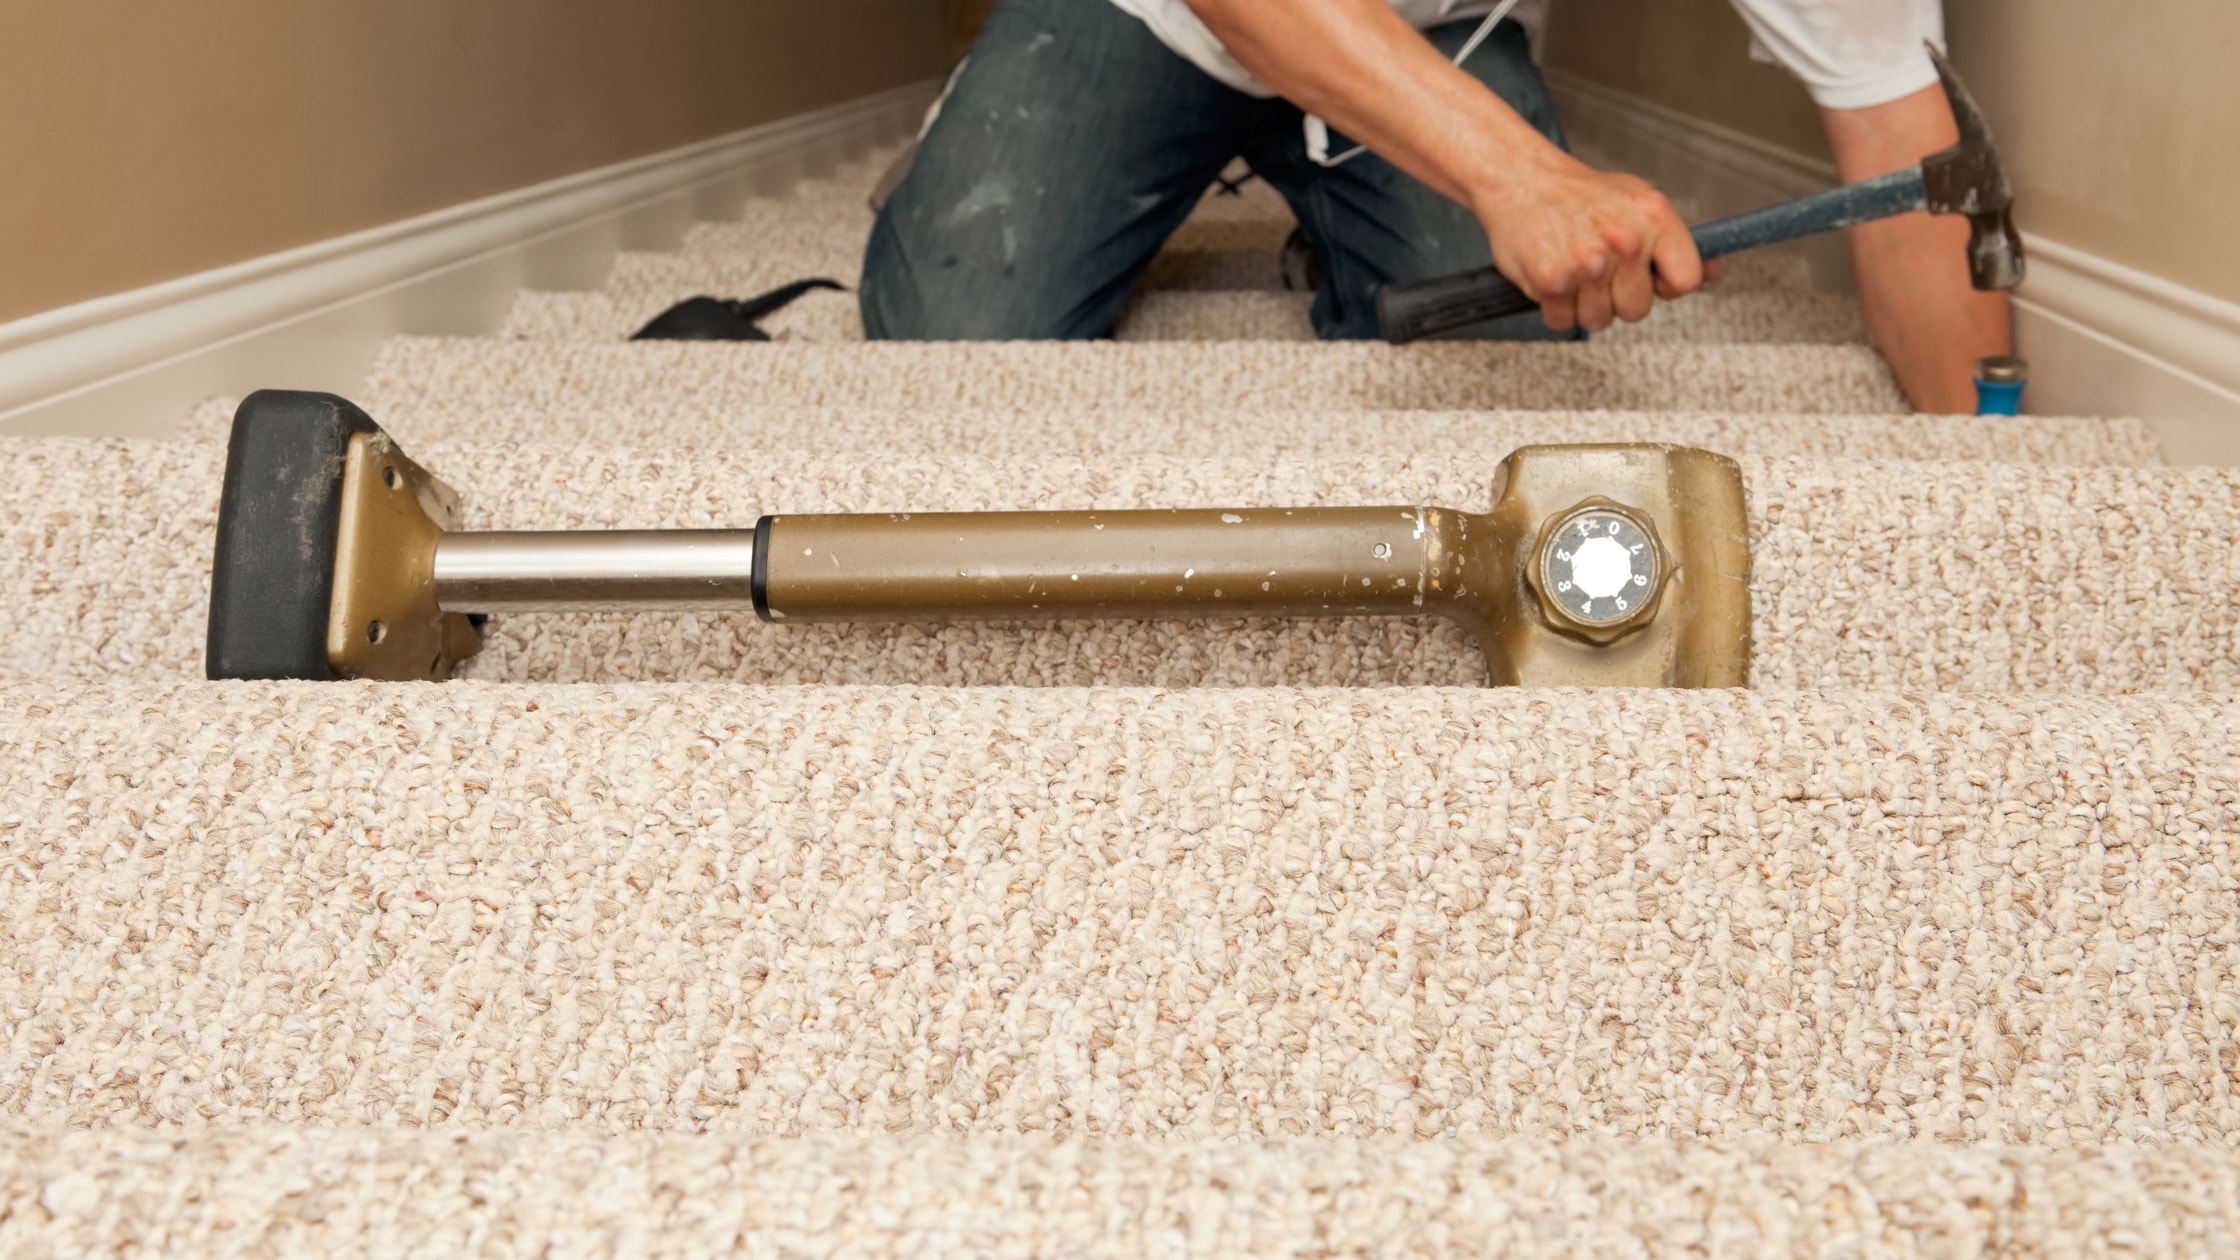
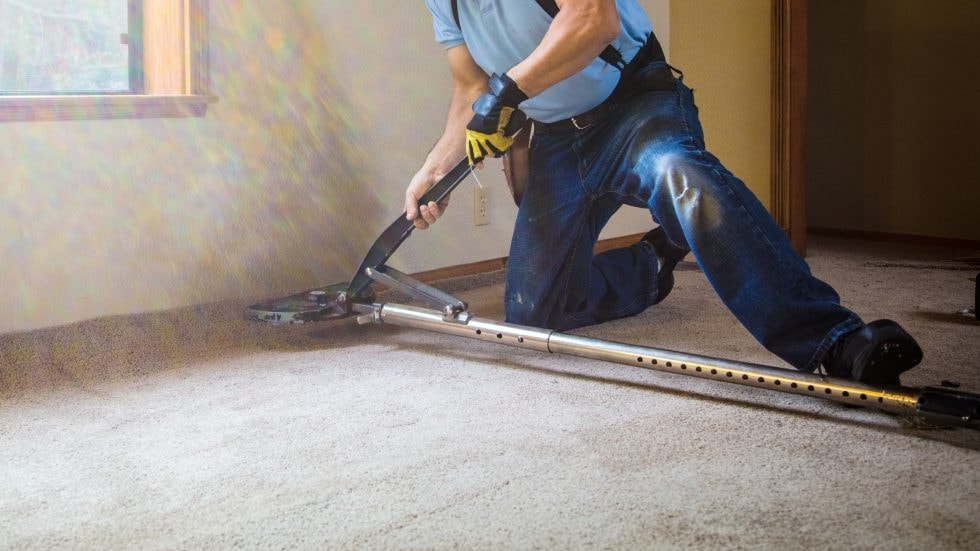
Step 6: Stretch the Carpet
Stretching the carpet properly is important to eliminate wrinkles and ensure a smooth finish. Start by securing one side of the carpet using a knee kicker. Use a power stretcher to pull the carpet tightly across the room, working in sections toward the opposite wall. Stretch the carpet evenly to avoid lumps or looseness.
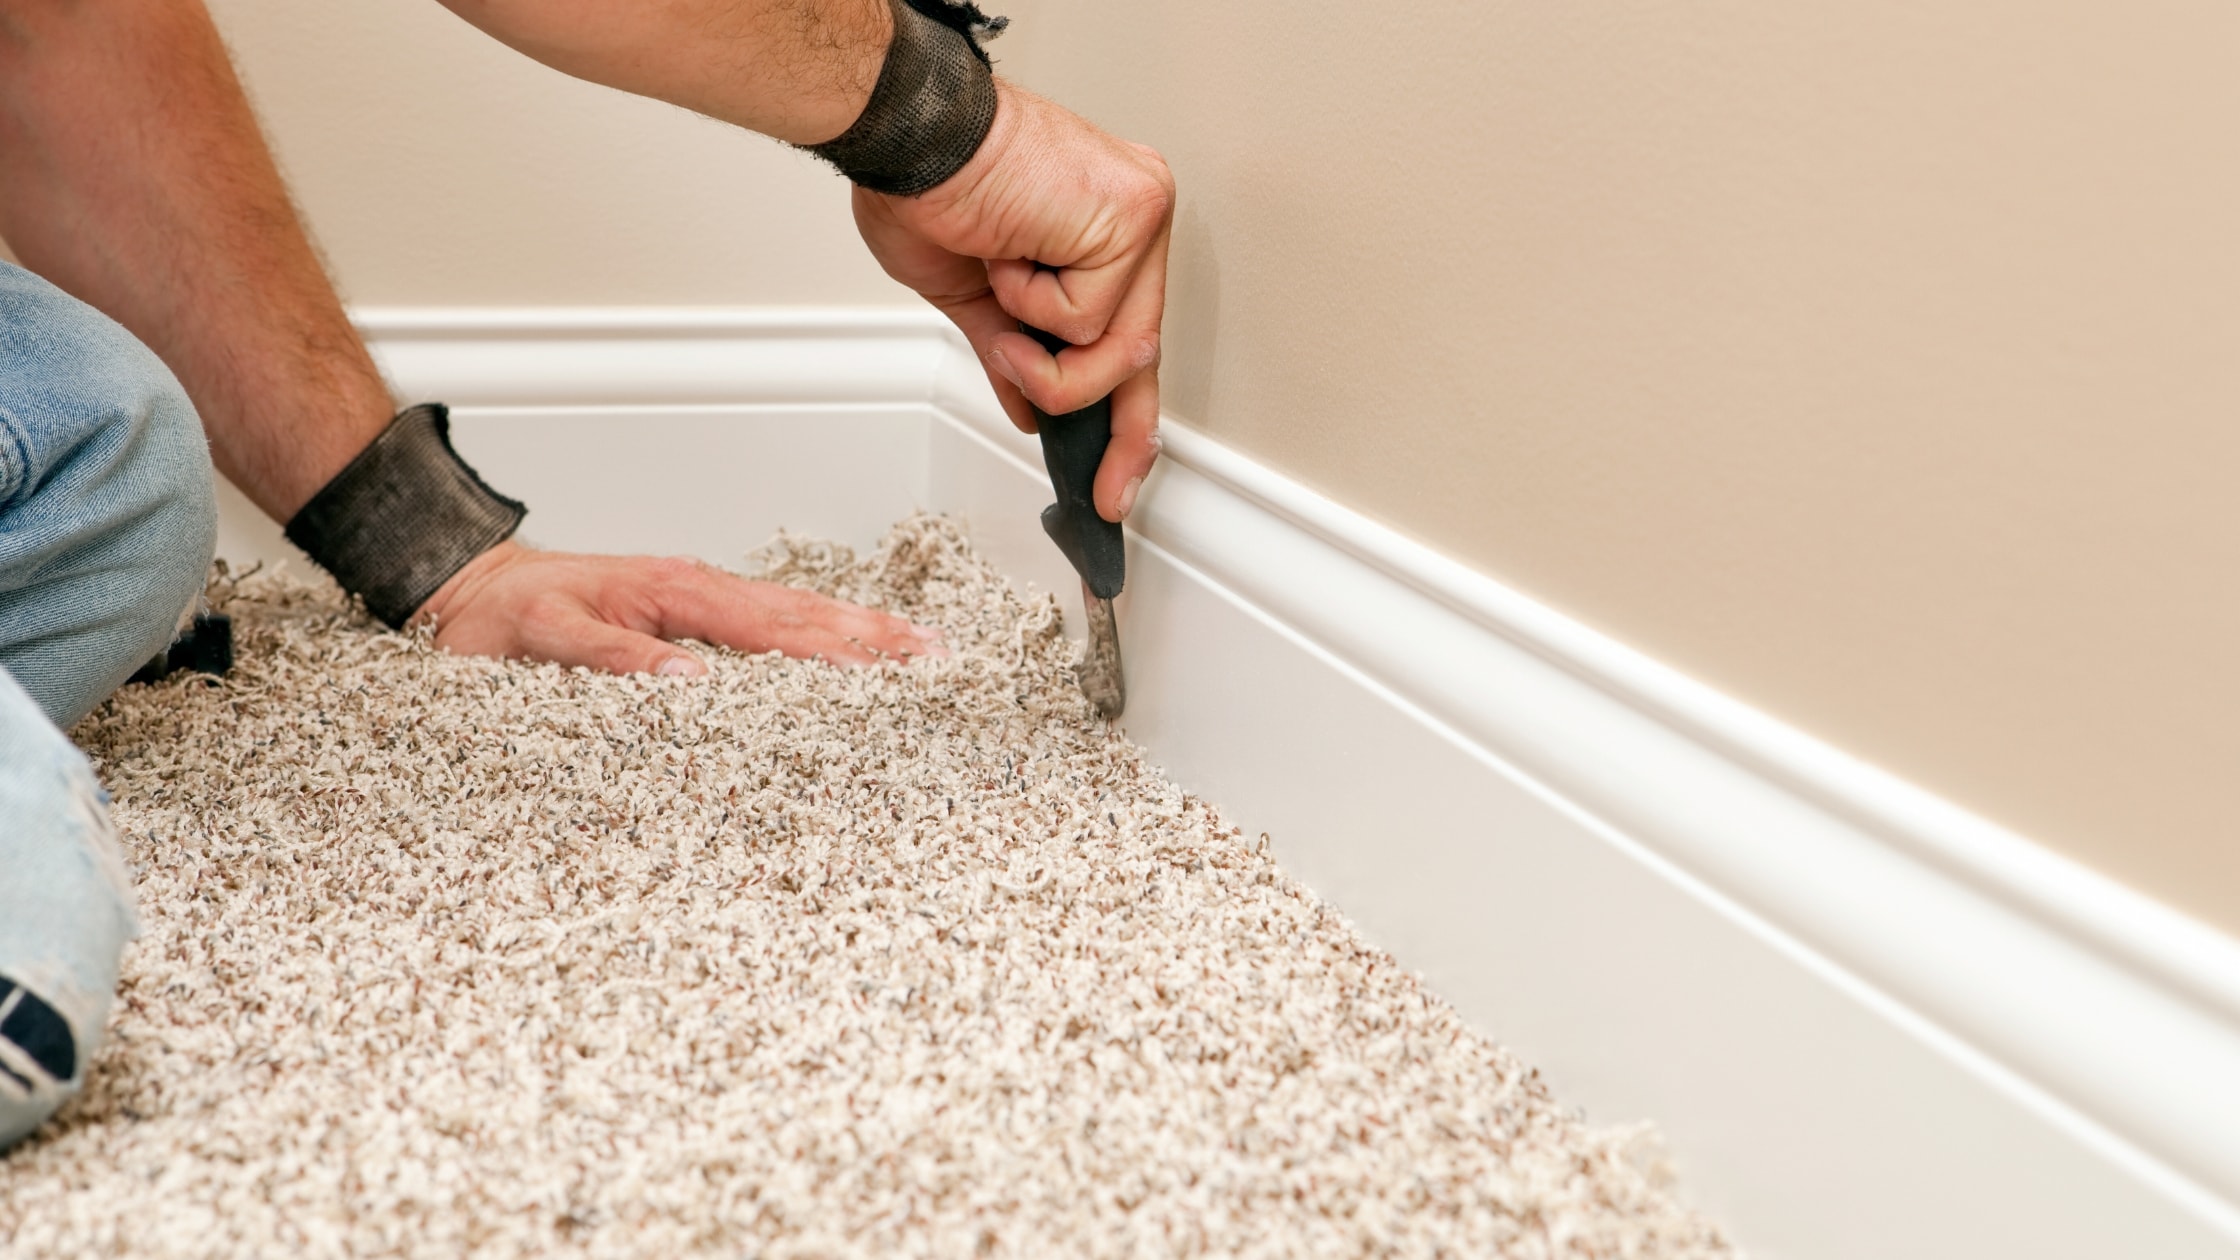
Step 7: Trim and Secure the Carpet
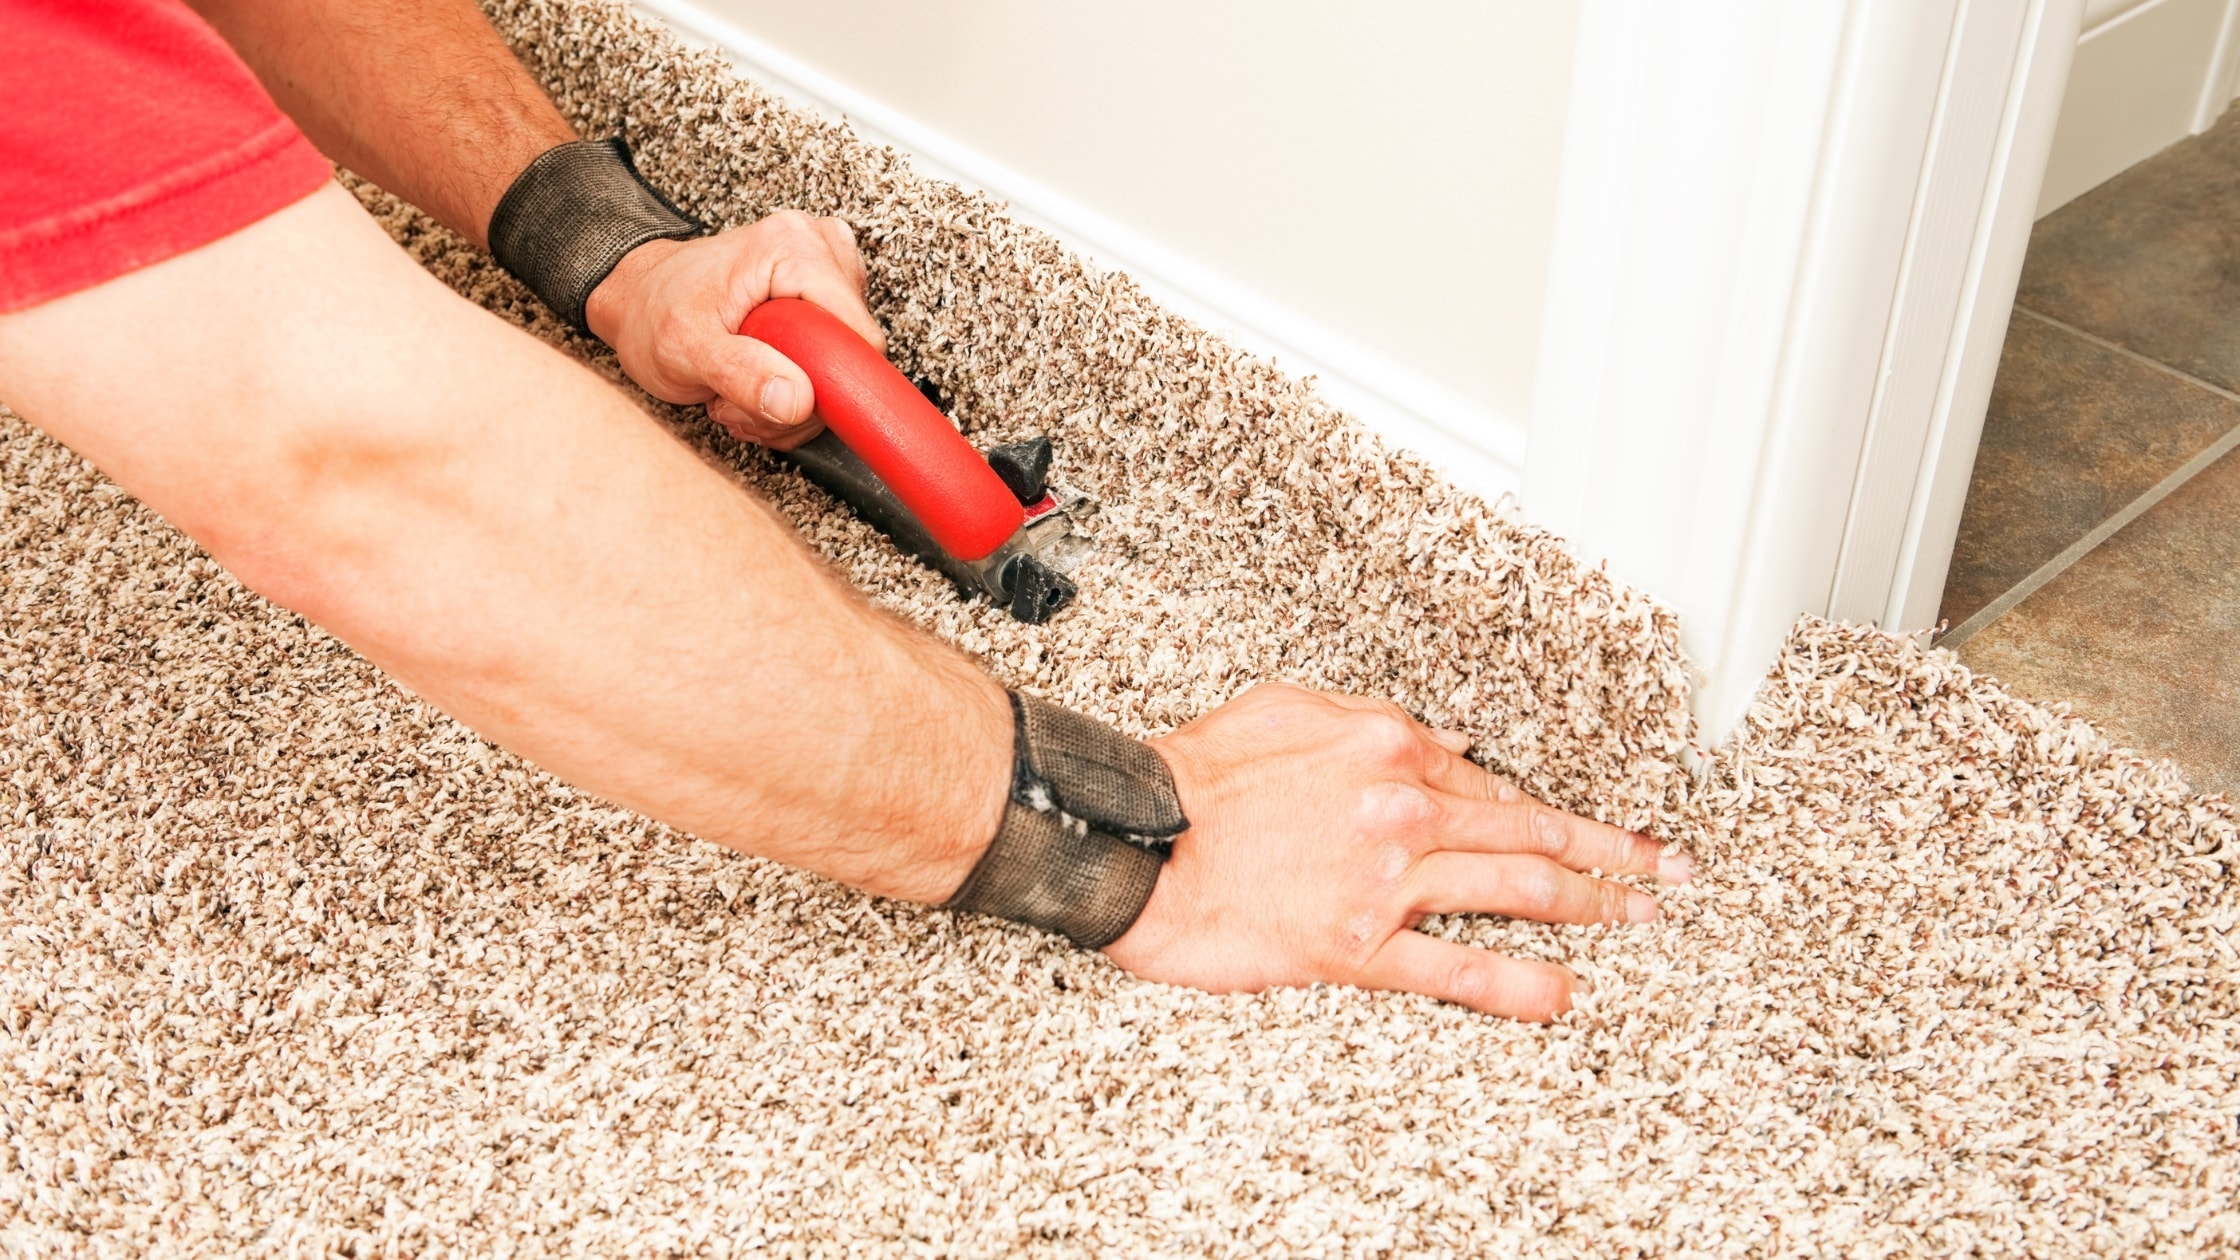
Once the carpet is stretched and fits snugly, trim any excess material along the edges using a utility knife. Tuck the edges securely under the tack strips with a stair tool or flat screwdriver. Pay special attention to doorways and corners to create a neat transition between the carpeted and non-carpeted areas of the house.
By following these steps, you’ll achieve a professional-looking carpet installation that enhances your space and adds comfort to your home. With the right tools and preparation, installing carpet yourself can be a satisfying and cost-effective project.
Did you know? Stretching the carpet diagonally reduces the risk of wrinkles, giving a smooth, professional finish.
When Hiring Pros is the Better Choice
While DIY carpet installation can work for smaller spaces or for homeowners on a tight budget, there are many scenarios where hiring professional carpet installers is the smarter choice. Whether it’s ensuring a flawless finish or saving time, professionals bring expertise and efficiency to the job.
Why Professional Carpet Installation is Worth It
Hiring expert carpet installers can make all the difference when it comes to the final look and longevity of your carpet. Here’s why it pays to go pro:
Perfect Results
Professionals ensure your carpet is installed seamlessly. From precise cuts to wrinkle-free finishes, they deliver a clean, polished look that’s hard to achieve with DIY methods. Neat edges, proper alignment, and tight stretching mean your carpet will look better and last longer.
Access to Specialized Tools
Carpet installation requires advanced tools like seaming irons, power stretchers, and knee kickers to ensure everything fits perfectly. Professionals have access to these tools and know how to use them effectively to give your carpet a secure and durable finish.
Saves Time and Effort
A professional crew can complete a carpet installation job in a fraction of the time it would take a DIY enthusiast. Not only do they work faster, but they also know how to troubleshoot common issues, avoiding unnecessary delays. This means less disruption to your home and more time for you.
What to Know About Hiring Professionals
When choosing professional carpet installers, it’s important to understand potential costs and plan accordingly.
Understanding Costs
While professional carpet installation might seem straightforward, there are hidden costs to be aware of. These can include charges for removing and disposing of old carpet, moving furniture, or purchasing additional materials like extra square yards of carpet to account for cutting and fitting.
Finding the Right Installers
Look for experienced installers with positive reviews, proper certifications, and clear pricing. Ask about their process and ensure they provide estimates upfront to avoid surprises.
Want to Learn More?
For a deeper dive into budgeting for professional carpet installation, check out The Hidden Costs of Carpet Installation. Knowing these details ahead of time will help you make an informed decision and avoid unexpected expenses.
Quick tip: When working with pros, communicate your expectations and double-check measurements to avoid surprises.
Comparing Costs of DIY vs. Professional Installation

Cost is often a deciding factor when it comes to replacing carpet. DIY costs can be lower but account for renting tools and labor.
Factors That Influence Cost:
Material quality
Square footage and room size
Tool availability (e.g., renting a power stretcher vs. buying one)
Subfloor preparation on concrete surfaces or tile
Key Mistakes to Avoid During Carpet Installation
Proper carpet installation is crucial to avoid costly repairs and ensure a lasting, professional look. Here are some of the most common mistakes and how to avoid them:
Not Cleaning the Subfloor
A clean subfloor is essential for a smooth, secure carpet installation. Dirt, debris, or uneven surfaces can cause bumps or premature wear. Always vacuum thoroughly and inspect for any damage or imperfections before installing the carpet.
Using Low-Quality Tack Strips
Tack strips are critical for holding the carpet in place. Using poor-quality materials or failing to secure them properly can lead to loose edges or a carpet that shifts over time. Make sure to invest in durable tack strips and double-check that they’re firmly installed along the perimeter.
Failing to Stretch the Carpet Correctly
Stretching the carpet properly is key to preventing wrinkles or ripples. Always stretch the carpet in the same direction across the entire room for consistency and a tight fit. Skipping this step or rushing through it can lead to an uneven or unprofessional finish.
Overlooking Proper Padding
Using the wrong type or thickness of padding can impact the comfort and durability of your carpet. Choose padding that suits the carpet type and ensures proper support. Poor-quality padding can lead to faster wear and tear.
For tips on maintaining your carpet over time, read The Comprehensive Guide to Carpet Installation.
Expert Tips for a Perfect Carpet Finish
Want to achieve a professional-quality finish when installing carpet yourself? With the right tools and techniques, you can make your DIY carpet installation look seamless and polished. Follow these expert tips for the best results:
Invest in High-Quality Tools
Using high-quality tools is essential for a smooth installation. Tools like a knee kicker and power stretcher are must-haves for properly stretching the carpet into place and avoiding wrinkles. Don’t forget to have a utility knife for precise cutting and a carpet tucker for neatly tucking edges.
Secure Nail Strips with Care
When installing nail strips, use rubber mallets to tap them down securely. This ensures the carpet stays firmly anchored and doesn’t shift over time. Make sure the nail strips are aligned properly, leaving the right amount of gap for the carpet to fit snugly.
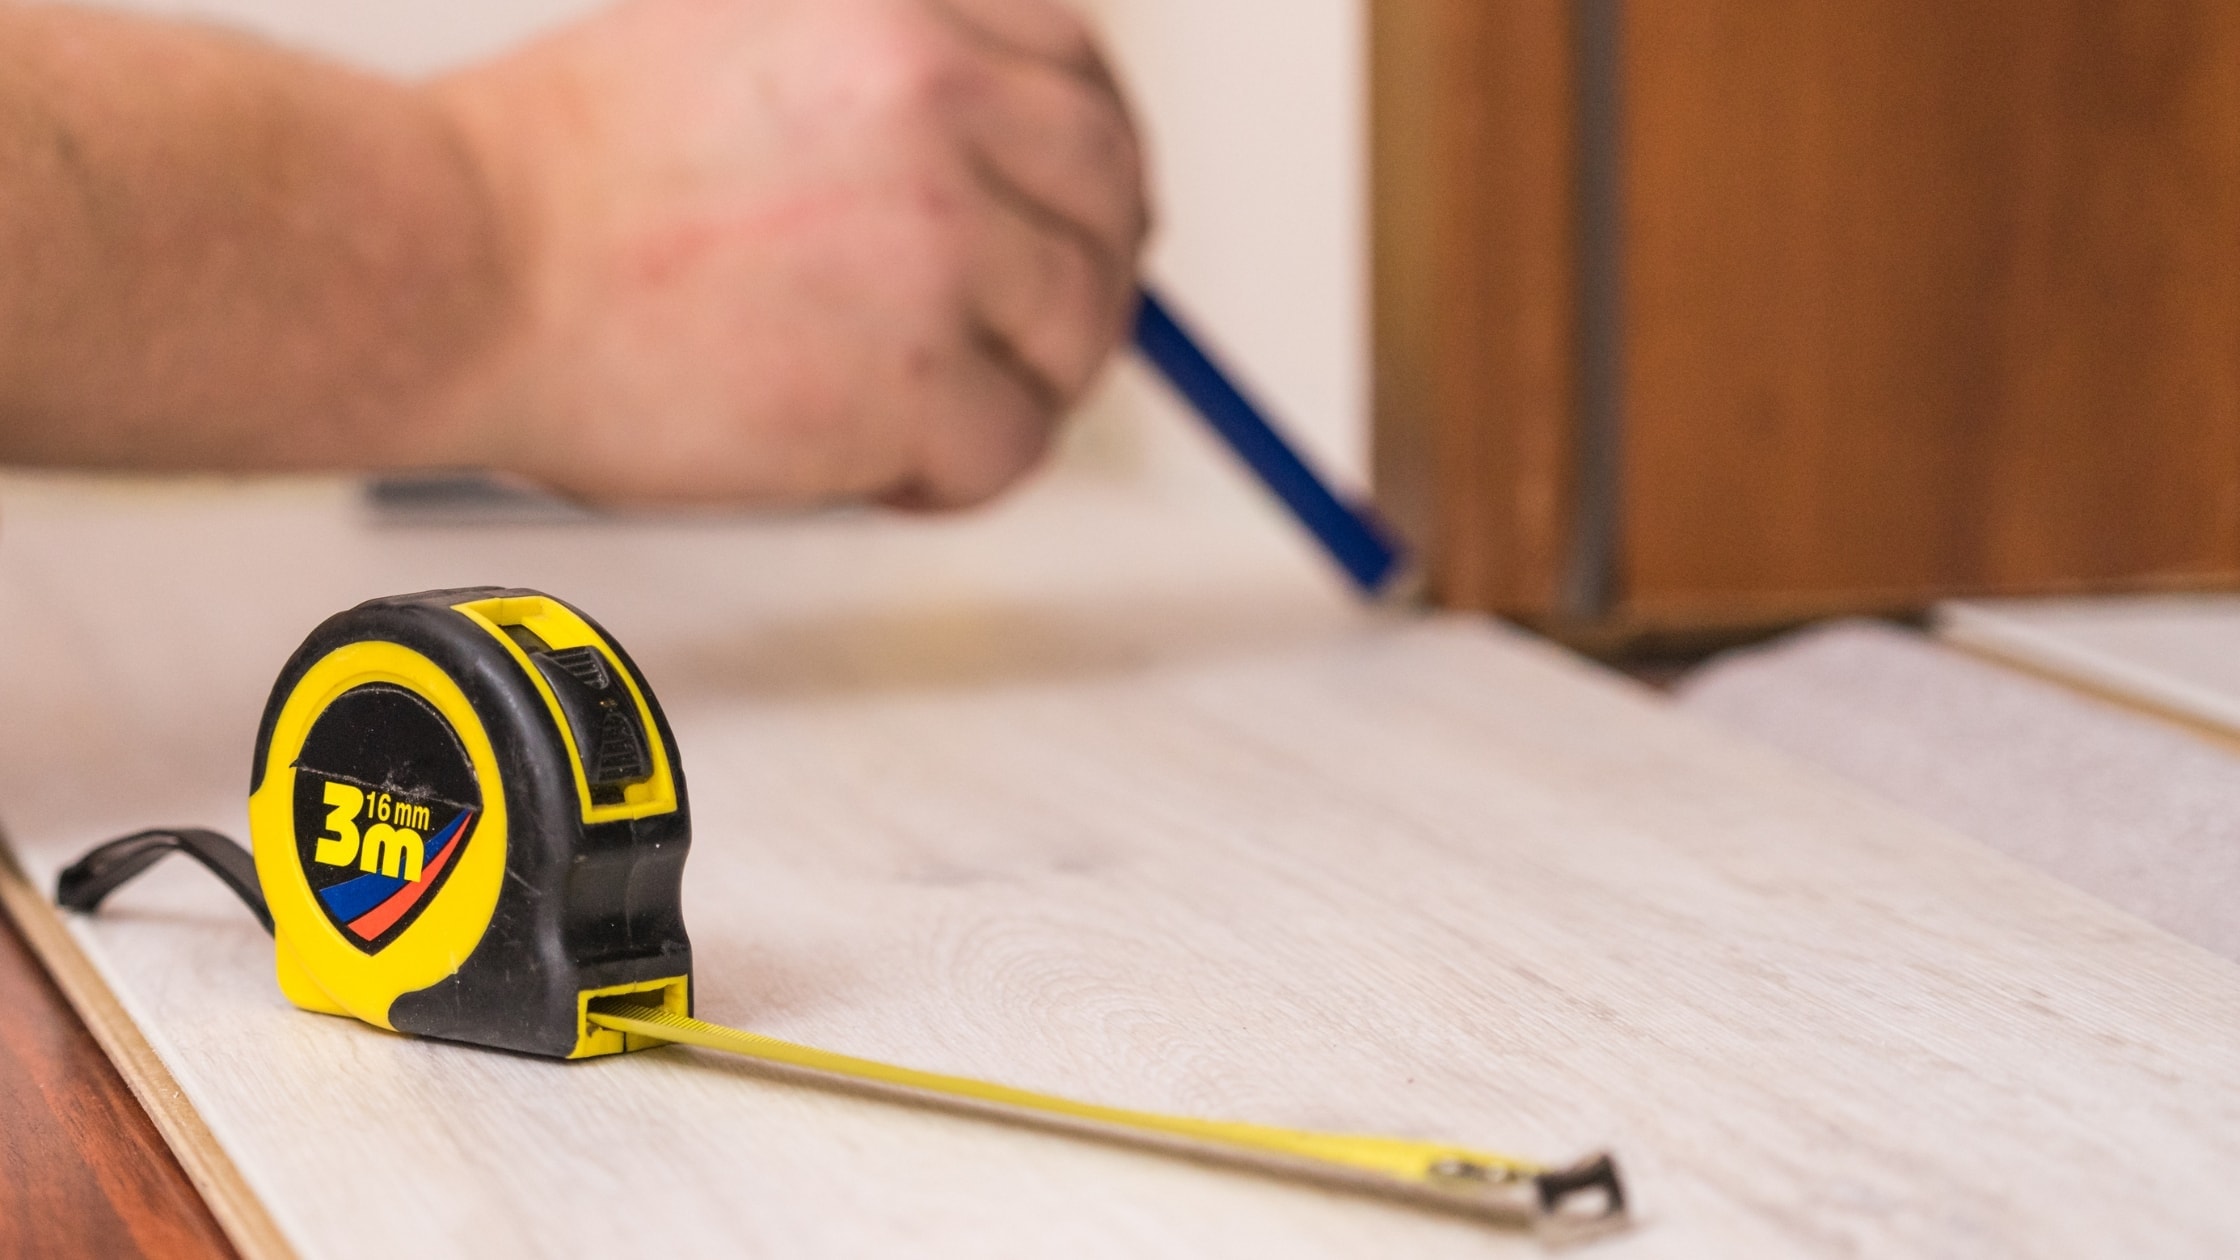
Measure and Plan Ahead
Always measure your space carefully before cutting. Accurate measurements help you avoid unnecessary seams and ensure the carpet fits perfectly. When seams are unavoidable, position them in less noticeable areas and ensure they are tightly joined for a clean, invisible look.
Final Touches
Once the carpet is laid, smooth it out and check for any imperfections. Use a carpet roller to flatten the surface and secure adhesive areas. Double-check all edges and corners to make sure they are well-secured and look tidy.
FAQs
Can I install new carpet on concrete floors?
Yes, but ensure the concrete surface is clean, level, and free of moisture. Use concrete tack strips for a secure hold.
How can I ensure my edges don’t come loose?
Tuck the carpet tightly into tack strips with a tucking tool and secure everything fully.
How do I remove old carpet?
Use a utility knife to cut the old carpet into strips for easier handling. Remove from the edges and use pliers to pull from the corners.
What’s the best carpet padding to use?
The best underlayment offers both comfort and durability. Choose one that suits the job—thicker padding is better for low-traffic areas, while thinner padding works well for high-traffic spaces.
Do all rooms need a professional?
It depends on the complexity of the installation and your confidence in DIY. Large rooms often benefit from professional tools and expertise.
Final Thoughts on DIY vs. Pro Carpet Installation
Whether you’re exploring DIY carpet installation or leaning toward hiring a pro, the key is preparation. Assess your skill level, budget, and project scope before beginning. For large projects or uneven subfloors, professional installers are often the best bet.
If your current carpet has ripples or wrinkles, consider learning about Carpet Stretching—a technique that ensures longevity and a smooth finish.
Take your time, gather the right tools, and follow proper techniques. Soon enough, your entire room will be transformed!